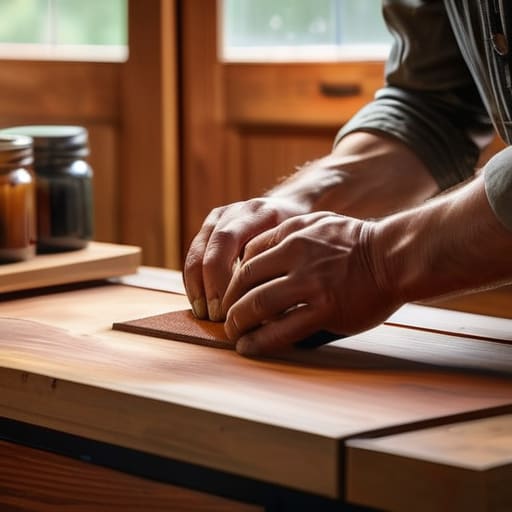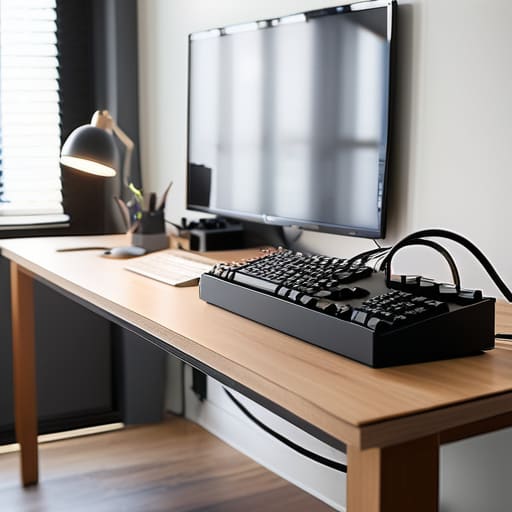
Creative DIY headboard ideas for every style.

Diy Headboard Ideas for Every Style and Budget

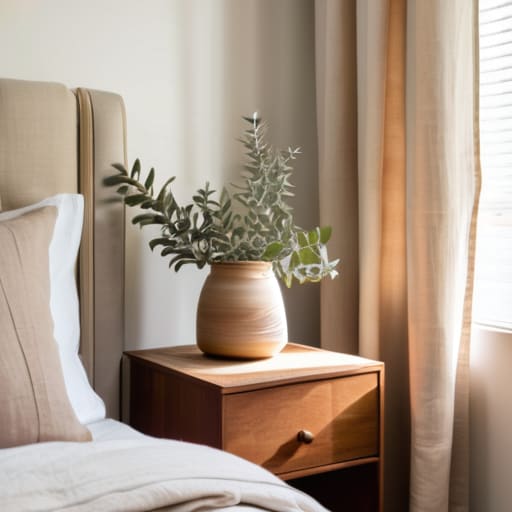
I remember moving into my first real apartment and staring at this massive, blank wall behind my bed. It felt so cold and unfinished, like a hotel room that hadn’t quite found its soul yet. I wanted something that had character, but every time I looked at high-end furniture stores, my bank account practically screamed at me to turn around. That’s when it hit me: I didn’t need to drop a month’s rent on a designer piece when I could just build something better myself. Exploring different diy headboard ideas became my new weekend obsession, and honestly, it’s one of the most rewarding ways to make a bedroom feel like actually yours.

In this guide, I’m breaking down five of my favorite projects that range from “I have a drill and an hour” to “I might need a trip to the lumber yard.” Whether you’re working with a tight budget or just want to flex those creative muscles, these ideas are all about being smart with your materials and keeping things simple. By the end of this list, you’ll have a clear roadmap to transform that empty wall into a stunning focal point without breaking the bank.

Table of Contents

The Classic Plywood & Fabric Combo

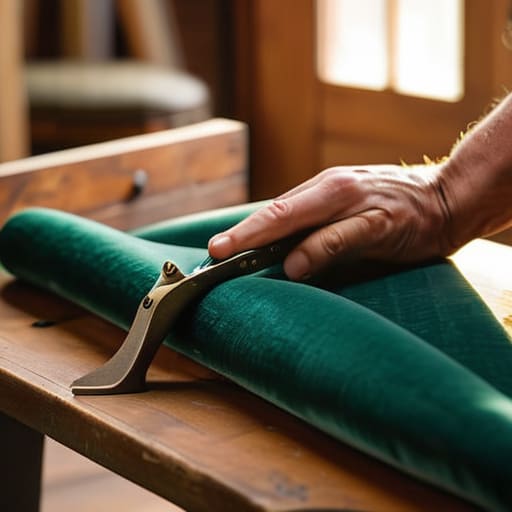
The Classic Plywood & Fabric Combo DIY.

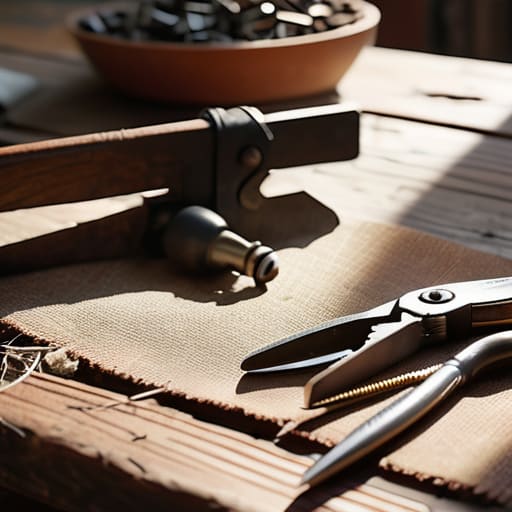
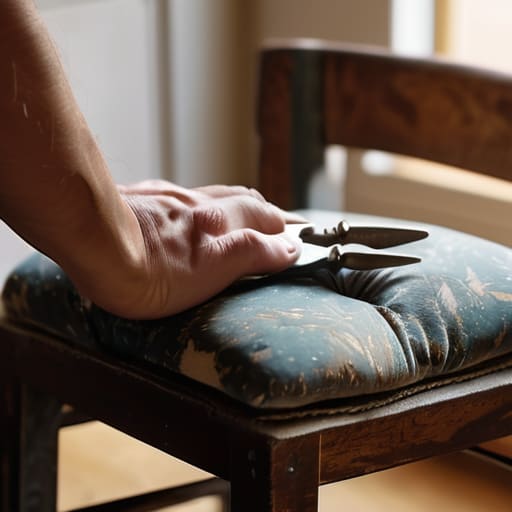
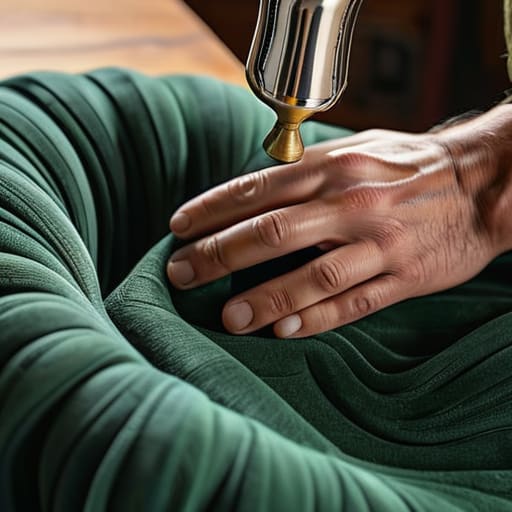
If you’re looking for that high-end upholstered look without the high-end price tag, this is my go-to move. You just need a decent sheet of birch plywood, some high-density foam, and whatever fabric catches your eye at the craft store. I like to use a staple gun to pull the fabric tight over the foam and then onto the wood, making sure there are no wrinkles in sight before you pull that trigger.

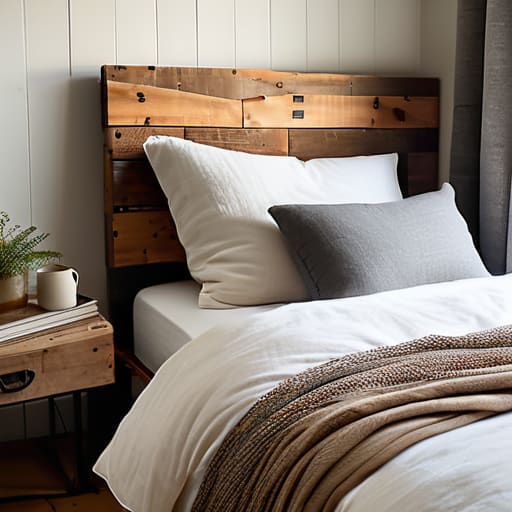
Rustic Pallet Wood Charm

Rustic Pallet Wood Charm farmhouse decor.

For those of you who like a bit of a rugged, farmhouse vibe, nothing beats the character of reclaimed wood. I’ve spent plenty of weekends scavenging old pallets, but my best advice is to make sure you find “heat-treated” ones so you aren’t bringing weird chemicals into your bedroom. Once you’ve got your wood, give it a good scrub and a light sanding so you don’t end up with a splinter in your back while you’re reading in bed.

The Floating Slat Wall

Vertical wood The Floating Slat Wall.

If you want something that feels a bit more architectural and “designer,” I highly suggest going with vertical wood slats. You can buy inexpensive pine strips from the lumber aisle, cut them to length, and mount them directly to the wall behind your bed. It creates this incredible sense of height in a room, making even a small bedroom feel a lot more open and airy.

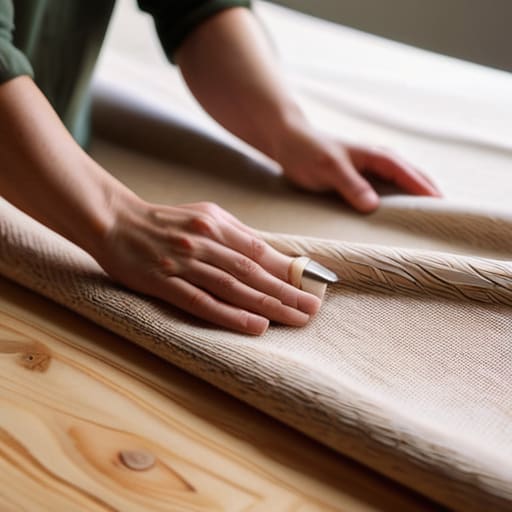
The Sophisticated Cane Webbing Hack

Cane webbing is having a huge moment right now, and for good reason—it looks expensive and feels incredibly light. You don’t need to be a master carpenter to pull this off; you can actually buy pre-made cane webbing rolls that are quite easy to work with. All you really need is a simple wooden frame, which you can build from some basic 1×4 pine boards, and a bit of patience while you weave or staple the material in.

The Easy-Peasy Hanging Tapestry

Sometimes, you don’t want to deal with saws, drills, or even a single screw, and that is totally fine. If you’re in a rental or just want a change of scenery without the heavy lifting, a large-scale textile or a heavy woven tapestry can act as a “soft” headboard. It adds an instant layer of warmth and coziness to the room that hard wood just can’t replicate.

The Bottom Line on Your DIY Headboard

Don’t let the “pro” look intimidate you; most of these projects are just about picking a solid design and taking it one measurement at a time.

Always prioritize your tools and safety first, because a project isn’t a win if you end up with a busted thumb or a crooked frame.

Start with the project that fits your current skill level and budget, and remember that the best part of DIY is that you can always tweak it as you go.

## The Real Value of DIY

“At the end of the day, a headboard isn’t just about making your bed look better; it’s about that feeling of pride when you lay your head down at night knowing you actually built the thing yourself.”

Nathan Cole

Making It Your Own

Whether you decided to go with the rustic charm of reclaimed wood, the cozy feel of a padded fabric design, or a sleek modern look using simple slats, you’ve officially moved past the “just looking” phase. Each of these projects proves that you don’t need a professional workshop or a massive budget to transform your bedroom. From the heavy lifting of a timber build to the more delicate task of upholstery, the key is really just taking it one step at a time. Once you have your materials gathered and your workspace cleared, you’ll realize that a custom headboard isn’t just a piece of furniture—it’s a massive upgrade to your space that you built with your own two hands.

I know that staring at a pile of lumber or a roll of fabric can feel a little daunting at first, but trust me, the feeling of leaning back against something you created is unbeatable. Don’t sweat the small imperfections; those little quirks are what give a handmade piece its character and soul. The most important part isn’t getting every measurement perfect on the first try, but rather having the courage to start. So, grab your drill, clear off that workbench, and get to it. You’ve totally got this, and I can’t wait for you to see how much better your room feels once the job is done.

Frequently Asked Questions

Do I need special power tools for these projects, or can I get away with just a basic drill and a screwdriver?

Look, I’ll be honest: you don’t need a workshop full of heavy machinery to pull these off. If you’ve got a decent cordless drill and a basic screwdriver set, you’re already halfway there. For most of these, a drill is your best friend for driving screws without stripping them. You might want a sander if you’re going for a super smooth wood finish, but even then, a bit of elbow grease and some sandpaper will get the job done.

How do I make sure the headboard is actually secure and won't tip over or wobble while I'm sleeping?

That is the million-dollar question. There’s nothing worse than waking up to a headboard that’s decided to migrate halfway across the room. To keep it steady, don’t just lean it against the wall. I always use heavy-duty L-brackets to screw the frame directly into the wall studs. If you’re renting and can’t drill, grab some adhesive furniture bumpers or even some heavy-duty Command strips to kill that wobble. Just make sure it’s locked down tight.

What’s the best way to attach a DIY headboard to a bed frame without making a huge mess or damaging the wall?

Look, I’ve definitely made the mistake of drilling way too many holes in a wall just to hang a piece of wood. If you want to avoid the mess, skip the heavy-duty anchors and try using heavy-duty Command strips or even some simple Velcro industrial tape. If your headboard is a bit heavier, I usually just lean it against the wall and use some small, discrete L-brackets to secure it directly to the bed frame instead of the drywall.

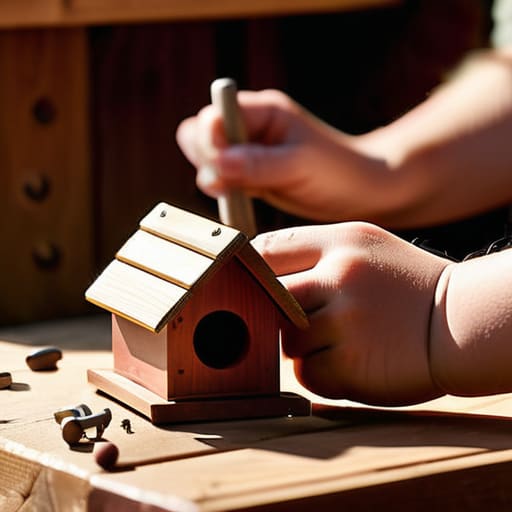
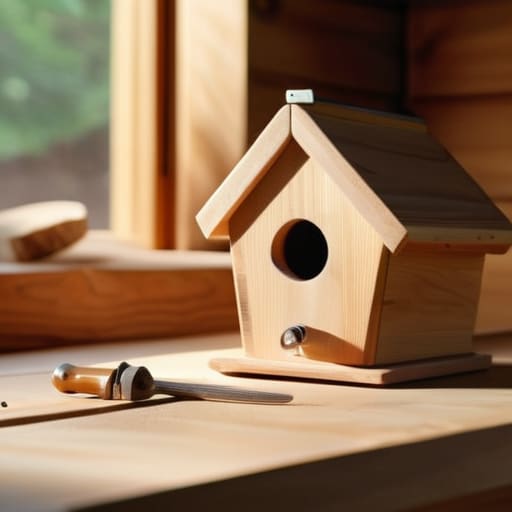
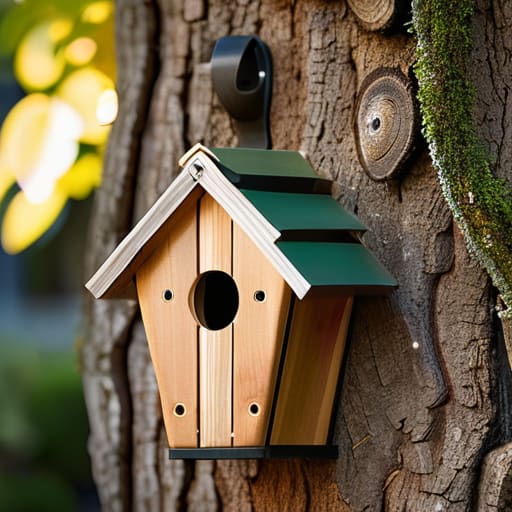
Kids learning how to build a birdhouse.

How to Build a Birdhouse With the Kids

I remember standing in my backyard last spring, staring at a pile of scrap cedar and a handful of rusty nails, feeling completely overwhelmed by a “simple” DIY project. I had this idea that learning how to build a birdhouse required a professional-grade workshop and a master carpenter’s precision, but honestly? That’s just a myth that keeps people from ever picking up a hammer. I spent way too much time worrying about whether my joints were perfectly seamless, only to realize that the birds don’t care about perfection—they just want a sturdy place to nap.

In this guide, I’m stripping away all the fancy jargon and complicated blueprints that make woodworking feel intimidating. I’ll walk you through exactly how to grab your tools, cut your wood, and assemble a home that actually lasts through a rainy season. We’re going to focus on practical, easy steps that anyone can follow, even if you haven’t touched a saw in years. By the time we’re done, you won’t just have a finished project; you’ll have the confidence to tackle whatever else you decide to build next.

Table of Contents

Guide Overview

Total Time: 1-2 hours
Estimated Cost: $15-30
Difficulty: Beginner

Tools & Supplies

  • Hand saw or miter saw for cutting wood
  • Hammer for assembling pieces
  • Drill with small bits for pilot holes and entrance
  • Untreated cedar or pine board (1" x 6" x 4')
  • Galvanized nails or exterior screws (small box)
  • Wood glue (waterproof)

Step-by-Step Instructions

  • 1. First things first, you’ve got to grab your materials. I usually head to the local hardware store and pick up a single cedar board—about a one-by-six—because cedar is naturally rot-resistant and holds up great against the weather. You’ll also need some exterior-grade wood screws (or galvanized nails if you prefer), a drill, a saw, and a tape measure. Don’t worry about getting the fanciest tools in the shop; as long as you can make a straight cut, you’re already halfway there.
  • 2. Now, let’s get to the measuring and cutting. Grab your tape measure and mark out your pieces: a floor, a roof, a front, a back, and two sides. I like to make the back piece a little longer than the rest so you have some extra wood at the top and bottom to screw it onto a tree or a post later. When you’re cutting, just take your time; a slightly crooked line won’t kill the bird, but it’ll definitely make your life harder if you rush it.
  • 3. Once you have your pieces laid out, it’s time to tackle the entrance hole. This is the most important part because different birds like different sized “front doors.” For a standard bluebird, you’ll want a hole about 1.5 inches wide. Use a drill with a spade bit to cut the hole into your front panel, about two-thirds of the way up. I always tell people: measure twice, drill once, because you don’t want to end up with a hole that’s way too low or off-center.
  • 4. Time to start putting the pieces together. I like to start by attaching the sides to the back piece using your drill and screws. If you’re using screws, I highly recommend pre-drilling small pilot holes first. This prevents the wood from splitting, which is a rookie mistake I definitely made a lot when I was starting out. Once the sides are steady, go ahead and screw in the floor and the front panel.
  • 5. Let’s get that roof on. You want the roof to have a bit of an overhang—kind of like a porch—to keep the rain from splashing directly into the entrance hole. Line up your roof piece so it sits flush against the back, but extends out over the front. Secure it firmly with your screws, and just make sure there aren’t any huge gaps where water could seep in and make the whole thing a soggy mess for the birds.
  • 6. Before you hang this thing up, I like to do a quick “safety check.” Take a piece of sandpaper and smooth out any rough edges around the entrance hole so the birds don’t snag a feather on a splinter. Also, make sure you haven’t left any screw heads sticking out. Finally, if you want to add a little character, you can leave the wood natural or use a non-toxic outdoor stain, but keep it simple—birds generally prefer a house that looks like it belongs in nature.

Picking the Best Wood for Birdhouses and Simple Tools

Picking the Best Wood for Birdhouses and Simple Tools

Before you head out to the lumber aisle, let’s talk about what you’re actually working with. You don’t need anything fancy or expensive, but you do want something that can stand up to the elements. In my experience, the best wood for birdhouses is usually cedar, redwood, or pine. These woods are naturally durable, and since we want to keep things safe for the birds, I always recommend avoiding pressure-treated lumber, which can have nasty chemicals. If you’re using pine, just make sure you have a plan for protecting birdhouses from weather by using a non-toxic sealant on the exterior only.

As for the gear, don’t feel like you need a professional workshop to get this done. Most of the essential woodworking tools for birdhouses are things you probably already have in your garage or can grab at a local hardware store: a handsaw, a hammer, a drill, and some galvanized nails. If you’re feeling a bit more advanced, a cordless drill makes life a lot easier when you’re attaching the birdhouse roof or drilling those precise entrance holes. Just keep it simple, stay steady, and you’ll be fine.

Getting the Dimensions Right for Your Local Bird Species

Getting the Dimensions Right for Your Local Bird Species

Now, before you start cutting, you’ve got to think about who your new neighbors are going to be. I’ve learned the hard way that a birdhouse isn’t a “one size fits all” kind of project. If you make the entrance hole too big, you might end up inviting a bully like a blue jay or even a squirrel into the nest. You really want to nail down the safe birdhouse entrance hole size based on the specific birds in your neck of the woods—like bluebirds, wrens, or chickadees. Each one has its own “goldilocks” zone for height and width.

I always tell folks to do a quick bit of backyard scouting first. See who’s hanging around your trees, then look up the specific birdhouse dimensions for different species online. A house built for a tiny wren is going to be way too cramped for a larger bird, and vice versa. It’s a little extra legwork upfront, but it makes all the difference. Getting these measurements right ensures you aren’t just building a pretty wooden box, but a real, functional home where birds actually feel safe raising their families.

Five Pro-Tips to Make Sure Your Birdhouse Actually Works

  • Skip the paint on the inside. I know, a bright red birdhouse looks cool in a catalog, but you want to keep the interior natural. Chemicals in paint or stains can be nasty for the birds, so just stick to raw wood or a very light, non-toxic exterior finish if you really want to dress it up.
  • Don’t go overboard with the “fancy” entrance. It’s tempting to carve a cool design around the hole, but keep it simple. If the hole is too big, predators like squirrels or larger birds can get in and make a mess of things. Stick to the size you planned for your specific bird.
  • Give them some breathing room. You don’t want your feathered friends sitting in a sauna. Make sure you drill a couple of small holes in the bottom for drainage and a few near the top for ventilation. It keeps the nest dry and the air moving.
  • Forget the perch. This is a big one that a lot of people get wrong. Most people think birds need a little stick to land on before they go inside, but actually, those perches just make it easier for predators to hang onto while they try to get to the nest. Real birds are great at landing on the edge of the hole without any help.
  • Mount it smart. Don’t just slap it on a tree and hope for the best. Try to mount it in a spot that’s stable and away from where cats or other neighborhood bullies can easily reach it. A little bit of height and a clear line of sight goes a long way in making them feel safe.

Quick Tips to Keep You on Track

Don’t sweat the perfection; birds care way more about a sturdy, dry home than they do about whether your saw lines are laser-straight.

Always pick a wood that can handle the weather, like cedar or pine, so you aren’t rebuilding the whole thing after the first big rainstorm.

Double-check your hole size before you start drilling, because getting that measurement right is the difference between a happy local bird and a visitor that just can’t get in.

## A Little Perspective on the Project

“At the end of the day, don’t sweat the tiny imperfections or the slightly crooked nail; a bird isn’t going to care if your craftsmanship is museum-quality, they just want a sturdy place to call home that you built with your own two hands.”

Nathan Cole

Finishing Your Project

Finishing Your Project: Assembling a birdhouse.

Once you’ve got your wood selected and those dimensions dialed in for your local birds, you’re basically home free. Just remember that it doesn’t have to be a masterpiece straight out of a high-end woodworking magazine. As long as you’ve used the right species of wood, kept the entrance hole sized correctly, and made sure your assembly is sturdy enough to withstand a summer storm, you’ve done the heavy lifting. Take a second to double-check that there aren’t any sharp edges or protruding nails that might catch a bird’s wing, and then you are officially ready to mount that thing and let nature do its thing.

I know that starting a project like this can feel a little daunting when you’re staring at a pile of lumber and a handful of tools, but look at what you just did. You took an idea and actually turned it into something real and useful. That’s the best part of DIY—that feeling of looking at something you built with your own two hands and knowing it’s going to serve a purpose in the world. So, get that birdhouse up in a good spot, grab a cold drink, and wait for your first feathered tenants to move in. You earned it.

Frequently Asked Questions

Do I need to paint or stain the outside of the birdhouse to make it last longer?

Here’s the thing: you definitely want to protect the wood, but you’ve got to be careful about how you do it. I usually suggest a light coat of water-based exterior stain on the outside only. It helps the wood stand up to the rain and sun. Just whatever you do, never paint or stain the inside. You don’t want any fumes or chemicals drifting near the birds or their nestlings. Keep it natural in there!

How do I stop squirrels or other predators from getting into the birdhouse?

Look, I’ve been there—you spend all weekend building this perfect little sanctuary only to have a squirrel try to turn it into a snack bar. To keep the uninvited guests out, your best bet is a predator guard. You can buy metal baffles that slide onto your pole, or even DIY a simple metal shroud. Also, keep that entrance hole small; if it’s too wide, larger predators will squeeze right in.

Where is the best spot in my yard to actually hang or mount the finished birdhouse?

Now that your birdhouse is looking sharp, don’t just toss it anywhere. You want a spot that’s safe and quiet. I usually aim for somewhere about five to ten feet off the ground—high enough to keep cats at bay, but low enough that you can actually enjoy watching the birds. Try to find a location that gets some morning sun but stays shaded during the heat of the afternoon. A sturdy post or a tree trunk in a calm corner of the yard is your best bet.

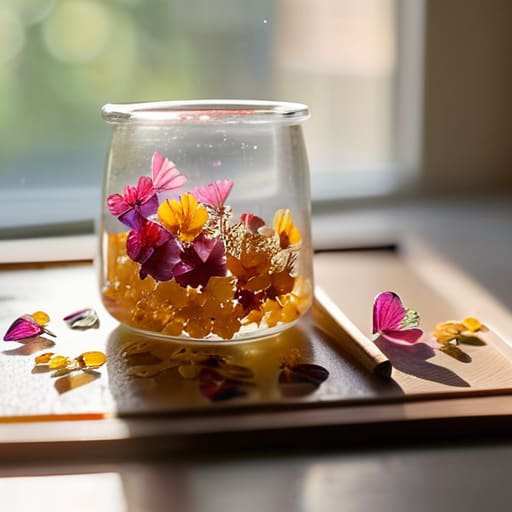
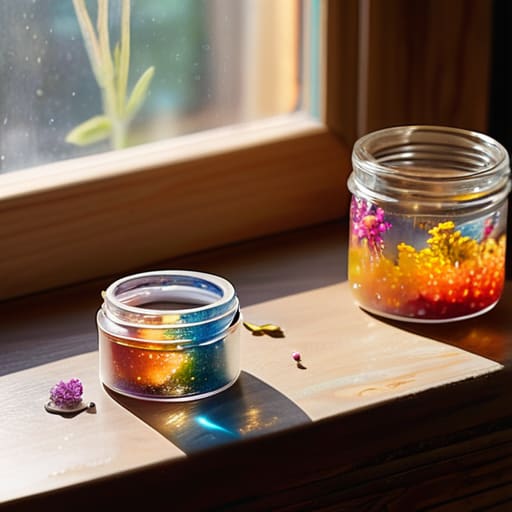
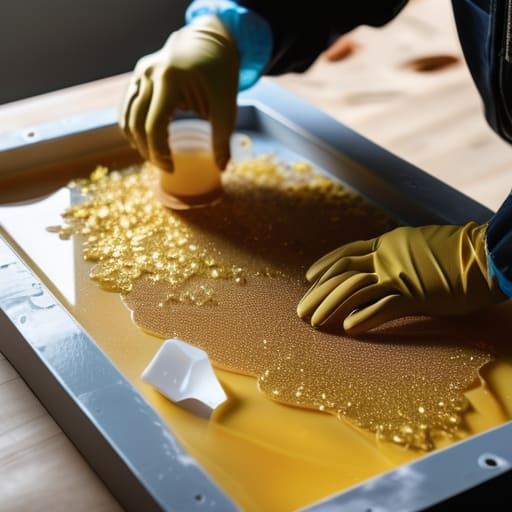
Simple guide to resin crafts for beginners.

Resin Crafts for Beginners: a Simple Starting Guide

I was standing in my garage last Tuesday, staring at a puddle of half-cured, sticky disaster that was supposed to be a custom coaster, wondering why I ever thought I could do this. Most people will tell you that resin art is this high-end, untouchable hobby that requires a professional studio and a chemistry degree, but that is a total myth. The truth is, resin crafts for beginners don’t need to be expensive or complicated to look incredible; you just need to understand how the stuff actually behaves before you pour it. I learned the hard way so you don’t have to, and I promise it’s much more figure-out-able than those polished Instagram videos make it seem.

In this guide, I’m stripping away all the fluff and getting straight to the grit. I’ll walk you through the essential gear you actually need—and more importantly, the stuff you can skip—plus the simple techniques to avoid those annoying air bubbles that ruin everything. We’re going to tackle the basics of mixing, pouring, and curing so you can start making your own projects without the massive headache. Let’s get to work.

Table of Contents

Guide Overview

Total Time: 24-48 hours (including curing)
Estimated Cost: $50-80
Difficulty: Beginner

Tools & Supplies

  • Silicone molds for shaping the resin
  • Mixing cups for combining components
  • Wooden stir sticks for blending
  • Digital scale for precise measurements
  • Heat gun or lighter to remove bubbles
  • Epoxy resin kit (2-part resin and hardener)
  • Silicone molds (assorted shapes)
  • Liquid pigments or mica powders for color
  • Nitrile gloves for hand protection
  • Safety mask for respiratory protection

Step-by-Step Instructions

  • 1. First things first, you’ve gotta set up your workspace. Resin isn’t something you want to be cleaning out of your carpet later, so grab a silicone mat or some cheap parchment paper to lay down. Make sure you’re in a room with plenty of airflow—open a window or crack a door—because you really don’t want to be breathing in those fumes all afternoon.
  • 2. Once your area is prepped, it’s time to suit up. I can’t stress this enough: don’t skip the safety gear. Grab a pair of nitrile gloves and some eye protection. Even if you’re just making a small keychain, a single accidental splash can ruin your day (and your skin), so treat it like you’re working with something serious.
  • 3. Now, let’s talk mixing, which is where most people trip up. Check your resin bottle for the ratio—usually, it’s a 1:1 mix of resin and hardener—and grab some sturdy plastic cups. Pour them out slowly and, this is the big one, stir like your life depends on it. You want to scrape the sides and the bottom of the cup constantly for at least three minutes until the liquid looks perfectly clear and has no “streaks” in it.
  • 4. If you want to add some flair, this is the fun part. Grab your pigments, mica powders, or even some dried flowers you’ve found outside. Add them to your mixed resin in small amounts. I’ve learned the hard way that less is more when it comes to color, so start with a tiny bit and build up until it looks just right.
  • 5. Time to pour. Take your molds—silicone molds are the easiest way to start—and slowly pour your mixture into the cavities. If you see tiny bubbles rising to the surface, don’t panic. You can use a toothpick to pop them or just give the mold a gentle tap on the table to help those bubbles float to the top and escape.
  • 6. Now comes the hardest part for me: waiting. You need to find a level surface and leave your project completely alone. Depending on the brand you bought, this could take anywhere from 24 to 48 hours. If you try to touch it too early, you’ll end up with permanent fingerprints in your masterpiece, and that’s a bummer you can’t undo.
  • 7. Once everything feels hard and doesn’t feel tacky to the touch, pop your creations out of the molds. If the edges look a little sharp or uneven, you can use a fine-grit sandpaper to smooth them down. Give it a quick wipe with a microfiber cloth, and boom—you’ve just made something awesome from scratch.

Gathering Your Essential Resin Art Supplies Without Breaking the Bank

Gathering Your Essential Resin Art Supplies Without Breaking the Bank

Now, before you go running out to the craft store and emptying your wallet, let’s talk strategy. I’ve learned the hard way that you don’t need a professional studio to get started. When you’re hunting for your essential resin art supplies, start with the basics: a decent two-part epoxy, some silicone molds, and a few stir sticks. You don’t need the fancy, high-end pigments right away; even a little bit of mica powder or even some old acrylic paint from your junk drawer can work wonders. My best advice? Check local marketplaces or even thrift stores for unique items you can cast, rather than buying expensive pre-made kits.

One thing I can’t stress enough—and this is where I wish my dad had warned me sooner—is that you have to prioritize your health. Don’t skimp on the safety precautions for working with epoxy. A good pair of nitrile gloves and a well-ventilated workspace aren’t optional; they’re non-negotiable. It’s much better to spend an extra ten bucks on a respirator now than to deal with a headache or lung irritation later. Think of it like wearing safety goggles when you’re using a circular saw; it’s just part of the job.

Mastering Resin Mixing Ratios Explained So You Get It Right

Mastering Resin Mixing Ratios Explained So You Get It Right.

This is where most people hit a snag, so listen close: getting your measurements wrong is the fastest way to end up with a sticky, half-hardened mess that’s basically useless. Most epoxy kits use a specific ratio—usually 1:1 or 2:1—by volume. This means you aren’t just guessing; you’re following a chemical recipe. I always tell people to use graduated mixing cups rather than just eyeballing it with a standard measuring spoon. If the math is off even slightly, the resin might never fully harden, leaving you with a permanent headache instead of a cool piece of art.

Once you’ve got your measurements dialed in, the real trick is the stir. Don’t just swirl it around like you’re making coffee; you need to scrape the sides and the bottom of the cup thoroughly. If you rush this part, you’ll end up with “soft spots” in your project. A pro tip I learned the hard way: slow, steady strokes are your best friend if you want to how to prevent resin bubbles from ruining your work. Take your time, stay patient, and remember that precision is your superpower here.

Five things I wish I knew before my first pour

  • Give your workspace a serious makeover before you start. Resin is basically permanent liquid chaos if it spills, so lay down some cheap silicone mats or even just some heavy-duty plastic sheeting. It’s way easier to wipe up a spill on a mat than it is to scrape dried resin off your kitchen table.
  • Temperature is your best friend or your worst enemy. If your room is too cold, the resin gets thick and stubborn, making it a nightmare to mix. Try to work in a space that’s comfortably warm—around 75°F is the sweet spot—to keep everything flowing smoothly and help those bubbles pop.
  • Don’t rush the bubbles. After you mix your resin, give it a few minutes to sit. I used to think I had to start pouring immediately, but letting it rest for a bit allows most of those tiny air bubbles to rise to the surface and pop on their own. It saves you a ton of headache later.

  • Invest in a decent heat gun or a butane torch. You can try to blow bubbles out with your breath, but trust me, it doesn’t work well. A quick pass with a heat gun over the surface of your pour will melt those annoying bubbles away instantly, leaving you with a crystal-clear finish.
  • Safety isn’t optional, even if you’re just making a small coaster. Resin fumes can be sneaky, so always work in a well-ventilated area—crack a window or run a fan. And please, wear gloves. Getting resin stuck to your skin is a sticky, uncomfortable mess that you definitely don’t want to deal with.

Quick tips to keep your first project on track

Don’t wing it with the measurements—getting your mixing ratios spot on is the difference between a beautiful piece and a sticky, half-cured mess.

Protect your workspace and your lungs; resin isn’t something you want to breathe in or get on your favorite rug, so use drop cloths and a good mask.

Patience is your best tool here, so resist the urge to touch or move your piece until it’s actually set according to the instructions.

## My Golden Rule for Resin

“Look, resin can be a bit finicky if you treat it like a science experiment you’re rushing through, but if you treat it like a slow-cooked meal—respect the measurements and give it the time it needs to set—you’ll end up with something killer every single time.”

Nathan Cole

You've Got This: Final Thoughts on Your Resin Journey

You've Got This: Final Thoughts on Your Resin Journey

Look, I know it feels like a lot to juggle right now. Between getting your ratios exactly right so your piece doesn’t stay a sticky mess, picking out the right supplies that won’t drain your wallet, and setting up a safe workspace, there is a lot of mental heavy lifting involved. But remember: you’ve already done the hardest part by just deciding to start. Once you master those mixing steps and get a feel for how the liquid moves, everything else starts to click. It’s all about that steady hand and a little patience while you wait for those layers to cure.

My best advice? Don’t sweat the small stuff. Your first few projects might have a stray bubble or a slightly uneven edge, but that’s just part of the process. I’ve definitely ruined more than a few “easy” DIY projects in my time, and honestly, that’s usually where the best learning happens. Treat every mistake as a lesson in disguise rather than a failure. Grab your gear, clear off your workbench, and just dive in. I promise that once you see that first clear, glossy finish catch the light, you’re going to feel like a total pro. Now, go make something awesome!

Frequently Asked Questions

Is it safe to do resin projects inside my house, or do I absolutely need a garage or workshop?

Look, I get it—you don’t want to turn your living room into a toxic zone. You can do resin indoors, but please, don’t just set it on the coffee table and call it a day. You need a dedicated space with great airflow, like a spare room with a window cracked open. If you can swing it, the garage is king, but if you’re staying inside, invest in a good respirator. Safety first, always.

What should I do if I see those annoying little bubbles popping up in my piece while it's drying?

Don’t sweat it—bubbles are basically a rite of passage in resin crafting. If you see them popping up while things are setting, grab a handheld butane torch or even a long-neck lighter. Just quickly pass the flame over the surface; the heat pops those bubbles instantly. If they’re deep inside, your best bet is to wait for it to cure, sand it down, and pour a thin “flood coat” on top to smooth it out.

How can I tell if my resin is actually cured or if it's still going to stay sticky?

Nothing kills the excitement of a new project faster than touching your piece and realizing it’s still a tacky mess. To check if it’s truly cured, use the “fingernail test”—lightly press a nail into an inconspicuous area. If it leaves an indent or feels gummy, it’s not there yet. If it’s hard and smooth, you’re golden. If it stays sticky, you likely had a mixing error or the room was too cold.

Easy kids craft ideas for rainy days.

Easy Kids’ Craft Ideas for a Rainy Day

Look, I get it. You want to do something creative with the kids, but the moment you open that drawer of half-used glue sticks and random construction paper, you feel a wave of dread. You’re staring at a mountain of potential mess and wondering if these kids craft ideas are actually going to keep them occupied for more than five minutes, or if you’re just setting yourself up for a massive cleanup headache. We’ve all been there—standing in the middle of the living room, surrounded by glitter, wishing we had a plan that actually worked without turning the house into a disaster zone.

But here’s the good news: you don’t need a degree in fine arts or a dedicated craft room to make this happen. I’ve narrowed it down to five super simple, low-stress projects that focus on using what you already have lying around the house. I’m going to walk you through these step-by-step so you can skip the frustration and get straight to the fun part. By the end of this list, you’ll have a handful of foolproof wins that will keep the little ones busy and actually make you feel like a DIY pro.

Table of Contents

Cardboard Box Forts and Castles

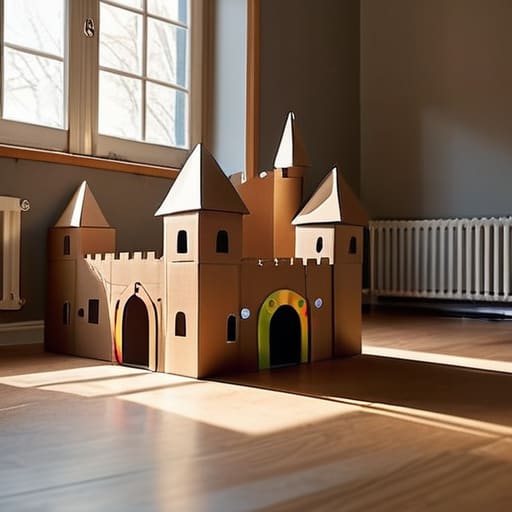
Building Cardboard Box Forts and Castles.

Look, I know what you’re thinking—it’s just a pile of recycling. But in my house, a sturdy cardboard box isn’t trash; it’s the foundation of a masterpiece. If you’ve got some delivery boxes lying around, you’re halfway to a weekend of entertainment. I usually grab a utility knife (keep that one away from the kids, obviously) and some heavy-duty duct tape to start shaping the walls and roof.

The Great Painted Rock Collection

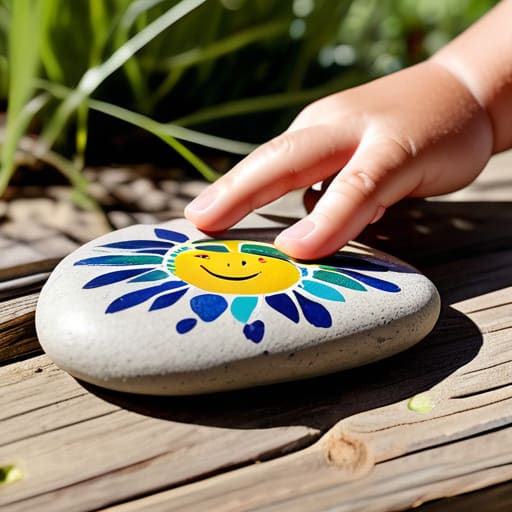
The Great Painted Rock Collection on stones.

This is my absolute favorite “low-effort, high-reward” project. Next time you’re out for a walk, grab a handful of smooth stones from the driveway or a nearby park. You don’t need a fancy art studio for this; just a small set of acrylic paints or even some permanent markers will do the trick. It’s a great way to get the kids outside and moving before they sit down to work.

Homemade Playdough Station

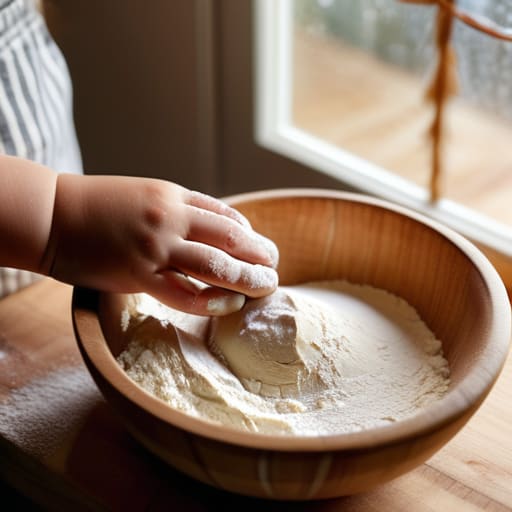
DIY Homemade Playdough Station for kids.

I’ve always preferred making things from scratch rather than buying the pre-packaged stuff. Not only is it cheaper, but it’s also a great way to teach kids a bit of “kitchen chemistry.” All you need are some basic pantry staples like flour, salt, cream of tartar, and oil. I usually whip up a batch while I’m waiting for my coffee to brew, and it takes about five minutes of stirring.

Paper Plate Masks and Characters

If you’ve got a stack of paper plates in the kitchen drawer, you’ve got a craft kit. This is one of those projects that is surprisingly durable if you use the right materials. I usually grab some popsicle sticks and some elastic string to turn a simple plate into something they can actually wear. It’s much more engaging than just drawing a face on a piece of paper.

Mason Jar Galaxy Jars

This one feels a bit more “grown-up,” but kids absolutely lose their minds when they see the result. You just need an old glass jar—I usually repurpose some empty jam or mason jars—some cotton balls, water, and glitter. It’s basically like capturing a tiny, swirling nebula inside a jar, and it looks stunning on a bedside table.

The Bottom Line on Keeping Kids Crafting

Don’t sweat the perfection; the goal is to get them building and creating, not to end up with a museum-quality masterpiece.

Keep your supplies simple and accessible so you aren’t hunting through a junk drawer every time inspiration strikes.

Focus on the process rather than the mess, because a little bit of glue on the table is a small price to pay for a kid feeling like they actually built something themselves.

The Real Goal of Crafting

“Look, it doesn’t matter if the glue is everywhere or the glitter ends up in the carpet; the point isn’t to make a masterpiece for a museum, it’s about showing your kids that they have the power to take a pile of random junk and turn it into something they’re proud of.”

Nathan Cole

Don't Sweat the Mess

Look, we’ve covered a lot of ground here, from turning old cardboard boxes into forts to getting those hands messy with homemade playdough. The main thing I want you to take away is that you don’t need a massive budget or a dedicated art studio to make this happen. Whether you’re working with recycled scraps or just a handful of basic supplies from the local dollar store, the goal isn’t to create a museum-quality masterpiece. It’s about keeping things simple and finding ways to use what you already have lying around the house. If a project gets a little chaotic or a glue gun gets a bit too much attention, just roll with it; that’s all part of the process.

At the end of the day, these crafts are less about the finished product sitting on a shelf and more about the time spent together. I’ve learned through plenty of my own DIY projects that the real magic happens in the middle of the struggle—the part where you’re figuring out how to make that paper plate mask actually stay on a kid’s face. So, clear off the kitchen table, grab a towel for the inevitable spills, and just dive in. You’ve totally got this, and I promise that once you see that look of pride on their faces, every bit of cleanup will feel completely worth it.

Frequently Asked Questions

How do I keep the mess from taking over my entire living room?

Look, I’ve been there—one minute you’re helping with a glue stick, and the next, your living room looks like a glitter bomb went off. My trick? The “Containment Zone.” Before you even open a single bin of scraps, clear off one specific table or a cheap plastic tray. If the mess moves past that boundary, the project is officially paused. It keeps the chaos localized so you can actually relax on your own couch later.
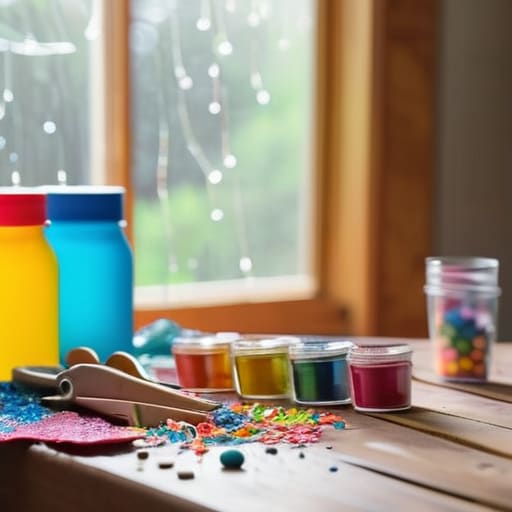
What are some cheap, everyday household items I can use instead of buying expensive craft kits?

Look, you don’t need to drop fifty bucks at a big-box craft store to keep the kids busy. I always say, check your recycling bin before your wallet. Empty toilet paper rolls make great binoculars, egg cartons are perfect for painting little caterpillars, and those old glass jars? They’re instant treasure chests. Even some leftover pasta shapes and a bit of food coloring can turn a boring Tuesday into an art session. Keep it simple.

My kids have a super short attention span; how do I pick projects that won't end in a meltdown?

Look, I get it. I’ve tried to fix a leaky sink only to end up staring at a pile of washers, feeling like throwing the whole wrench across the room. If your kids are hitting that wall, stop looking for “projects” and start looking for “wins.” Pick tasks with a five-minute turnaround. If they can see the finish line before they even start, they’ll stay engaged. Keep it fast, keep it tactile, and keep it moving.

Festive holiday craft ideas for your home.

Holiday Craft Ideas to Make Your Home Feel Festive

Look, I get it. Every time the holidays roll around, you see these insanely elaborate Pinterest boards filled with decorations that look like they required a degree in fine arts and a massive credit line to pull off. It’s easy to feel like you’re failing at the “festive spirit” just because you don’t have a professional studio in your garage. But honestly? Most of those over-the-top setups are just stress disguised as joy. I’ve spent way too many Decembers staring at a pile of craft supplies feeling overwhelmed, but I’ve learned that the best way to celebrate is to keep things simple and actually enjoy the process of making something with your own two hands.

That’s exactly why I put this list together. I’m skipping the expensive, complicated junk and focusing on holiday craft ideas that won’t leave you with a massive headache or a mountain of wasted materials. I’ve picked out five specific projects that are actually doable, even if your last DIY attempt ended in a trip to the hardware store for more supplies. We’re going to walk through these step-by-step so you can build something meaningful without the burnout. Let’s get to work.

Table of Contents

Upcycled Mason Jar Lanterns

Cozy upcycled mason jar lanterns for lighting.

If you’ve got a few empty jam or pickle jars sitting in your recycling bin, don’t toss them just yet. These make some of the coolest ambient lighting you can find for a holiday dinner or a cozy mantle display. I love these because they cost basically zero dollars to make, and they look way more expensive than they actually are once you get the lighting right.

Rustic Cinnamon Stick Wreaths

Handmade Rustic Cinnamon Stick Wreaths.

I’m a big fan of anything that smells good, and nothing beats the scent of cinnamon during the holidays. Instead of buying one of those plastic, overpriced wreaths from a big-box store, you can whip up a rustic version that actually smells like the season. It’s a great project to do while you’re listening to a podcast or just hanging out on a Sunday afternoon.

Personalized Wooden Ornament Tags

DIY Personalized Wooden Ornament Tags.

One of my favorite things about the holidays is the tradition, and nothing says tradition like personalized decor. If you have some scrap wood from a previous DIY project, or even just some pre-cut wooden shapes from the local hobby shop, you’ve got the perfect base for custom ornaments. These are awesome because they make for meaningful gifts that people will actually want to keep for years.

Easy Dried Citrus Garlands

This is one of those projects that looks like it belongs in a high-end lifestyle magazine, but it’s actually incredibly straightforward. Dried citrus slices add a pop of bright color and a natural, organic vibe to your home that plastic decor just can’t match. Plus, it’s a fun way to use up those lemons, limes, or oranges that are starting to get a little soft in the fridge.

Cozy Pinecone Centerpieces

Whenever I’m walking through the park or just looking around my yard, I’m always eyeing up fallen pinecones. They are nature’s version of free crafting supplies, and they work perfectly for creating a centerpiece that won’t break if a guest bumps the table. It’s all about how you arrange them to create a sense of texture and warmth in the middle of your dining setup.

The Bottom Line on Holiday Crafting

Don’t overthink it—the best decor is the stuff you actually enjoy making, not the stuff that looks like it came out of a high-end catalog.

Keep your supplies simple and your steps small so you don’t end up with a mountain of glitter and a massive headache.

Remember that a little bit of “perfectly imperfect” gives your home character and makes the season feel way more personal.

The Real Goal of Holiday Crafting

“At the end of the day, your holiday decor doesn’t need to look like it came straight out of a high-end catalog; it just needs to look like you made it. The best part isn’t the finished product on the mantle—it’s that feeling of looking at something in your own home and knowing you actually built it yourself.”

Nathan Cole

You’ve Got This

Looking back at everything we covered, it’s pretty wild how much you can actually pull off with just a few basic supplies. Whether you decided to tackle those custom wreaths, whip up some scented soy candles, or go the route of handmade gift tags, the goal wasn’t to create museum-quality art—it was to make something meaningful with your own two hands. We moved from simple paper crafts to more involved projects like personalized ornaments, and the common thread through all of them is that they don’t require a professional workshop or a massive budget. Just take it one step at a time, keep your workspace organized, and don’t sweat the small imperfections.

At the end of the day, the best part of these holiday projects isn’t the finished product sitting on your mantle; it’s the fact that you actually sat down and made it happen. There is a specific kind of satisfaction that comes from looking at a piece of decor and knowing you didn’t just pull a credit card out at a big-box store to buy it. So, grab your glue gun, clear off that kitchen table, and don’t be afraid to make a little bit of a mess. You’ve totally got this, and I promise that once you finish that first project, you’re going to be hooked on the DIY life.

Frequently Asked Questions

I'm on a super tight budget this year—can I still make these look good using stuff I already have in my junk drawer?

Look, I’ve been there. There was a time when my “craft budget” was basically whatever change I found in my couch cushions. The answer is a massive yes. That junk drawer is actually a goldmine if you look at things differently. Old twine, mismatched buttons, or even those leftover tea lights? That’s not trash; that’s decor. Don’t overthink it. If it adds texture or a bit of character, it works. Let’s get creative.

Do I need to invest in a bunch of expensive craft tools, or can I get most of this done with just basic household stuff?

Honestly? Put your credit card away. I’ve learned the hard way that you don’t need a professional studio to make something that looks great. Most of what we’re doing here can be tackled with stuff you probably already have in your junk drawer or kitchen pantry—think scissors, twine, or even old jars. If you do need to grab something specific, keep it simple. A basic glue gun and some heavy-duty tape will get you through 90% of these projects.

What's the best way to organize these projects so I'm not scrambling to finish everything the night before the holiday?

Look, I’ve been there—staring at a pile of unfinished crafts at 11 PM with a glue gun that won’t heat up. To avoid that meltdown, I use the “Batch and Buffer” method. Pick one afternoon to prep all your supplies—cut the twine, grab the jars, whatever. Then, aim to finish one project per week starting now. If you build in a one-week “buffer” before the holiday, you’ll actually have time to relax.