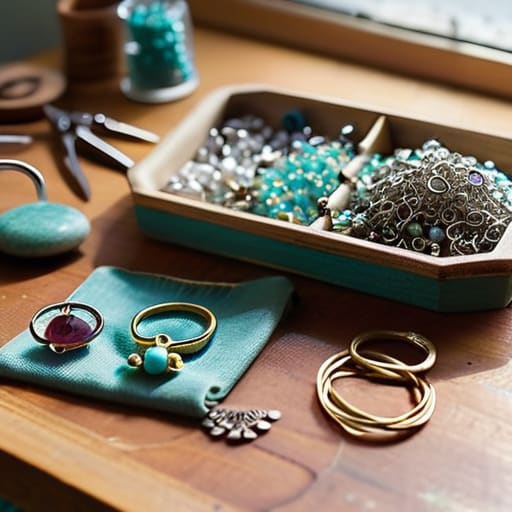
I remember sitting at my kitchen table three years ago, surrounded by a mountain of tangled wire, tiny beads that had rolled into the floor cracks, and a sense of pure frustration. I had bought a “beginner kit” online, but all I ended up with was a headache and a necklace that looked more like a bird’s nest than something I’d actually want to wear. Most people think diy jewelry making requires some sort of innate, artistic genius or a studio full of expensive, professional-grade tools, but honestly? That’s just not true. It’s not about being a master sculptor; it’s really just about learning the right mechanics and having a little bit of patience.
In this guide, I’m going to strip away all the fluff and the intimidating jargon you see on those fancy craft blogs. I’ll walk you through the basic tools you actually need—and more importantly, the ones you can skip—along with the simple techniques to get your first pieces looking clean and professional. We’re going to take it one bead at a time so you can stop feeling overwhelmed and start making things you’re actually proud to wear.
Table of Contents
- Step-by-Step Instructions
- The Jewelry Making Kit Essentials You Actually Need
- Simple Jewelry Design Ideas for Beginners to Try First
- Pro Tips to Keep You From Tossing Your Tools in Frustration
- Quick Wins to Keep You Moving
- ## The Real Secret to Getting Started
- You've Got This
- Frequently Asked Questions
Guide Overview
Tools & Supplies
- Needle-nose pliers for gripping and bending wire
- Wire cutters for trimming excess material
- Beading mat to prevent rolling
- Assorted beads (various colors and sizes)
- Jewelry wire or cord (1 roll)
- Lobster clasps and jump rings (1 pack)
Step-by-Step Instructions
- 1. First things first, you’ve got to clear off a workspace. I’m talking a flat table or even a large cutting board so your beads don’t go rolling under the fridge. Grab a small tray or even a shallow bowl to hold your components; this keeps everything organized and prevents that dreaded “lost bead” scavenger hunt halfway through the project.
- 2. Next, let’s talk tools. You don’t need a professional workshop, but you definitely need the “big three”: needle-nose pliers, wire cutters, and a crimping tool. Think of these like your basic screwdriver and hammer set—you can’t really get the job done without them. I always suggest getting a cheap starter kit from a local craft store rather than buying everything separately; it’ll save you a headache and a few bucks.
- 3. Now, pick your “spine.” This is the string, wire, or cord that holds your design together. If you’re making a necklace with heavier beads, go with a sturdier beading wire. If you’re just making a simple friendship bracelet, some waxed cotton cord works like a charm. Just make sure whatever you choose is strong enough to handle the weight of the beads you’ve picked out.
- 4. Start stringing your beads, but here is my pro tip: lay it all out first. Don’t just start threading. Lay your beads out on the table in the pattern you want so you can see the finished product before you commit. It’s a lot easier to swap a blue bead for a red one now than it is after you’ve already tied a knot in it.
- 5. Once your pattern looks killer, it’s time to secure the ends. This is where most people get nervous, but don’t sweat it. If you’re using wire, you’ll use a “crimp bead”—it’s a tiny metal tube that you squeeze shut with your pliers to lock the wire in place. It might feel a bit fiddly at first, but once you get the rhythm down, it’s as easy as tightening a screw.
- 6. For the final touch, add your clasps or jump rings. If you’re making a bracelet, a lobster claw clasp is usually the way to go because it’s sturdy and easy to use. Just use your pliers to gently open the loop of the jump ring, slide it onto the wire, and then squeeze it shut so there are no gaps.
- 7. Finally, give your piece a “stress test.” Grab the jewelry and give it a very gentle tug. You want to make sure those crimps are tight and nothing is loose. If it holds up, you’re officially in the jewelry-making game! If something feels wobbly, just undo that section and try it one more time—that’s how I learned, and it’s how you’ll learn too.
The Jewelry Making Kit Essentials You Actually Need
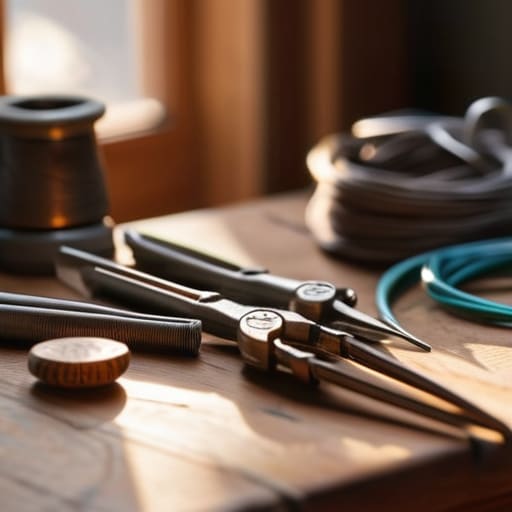
Look, I’ve been to plenty of craft stores where they try to sell you a massive, overpriced set that includes everything from professional-grade torches to specialized gemstone cutters. Trust me, you don’t need all that junk. When you’re starting out, the goal is to get the jewelry making tools for beginners that actually do the job without breaking the bank. Start with a decent pair of needle-nose pliers, some wire cutters, and a round-nose plier for making loops. If you have those three, you can tackle about 80% of the projects you’ll find online.
Once you’ve got your pliers, it’s time to talk about your essential bead supplies. Don’t feel like you have to buy a thousand-piece assortment of glass beads right away. I usually recommend grabbing a few decent variety packs—maybe some seed beads, some larger focal beads, and a spool of decent-quality nylon cord or jewelry wire. It’s much better to have a small stash of stuff you actually like looking at than a mountain of cheap plastic that makes your finished piece look like a middle school art project. Keep it simple, keep it quality, and you’ll be ready to go.
Simple Jewelry Design Ideas for Beginners to Try First
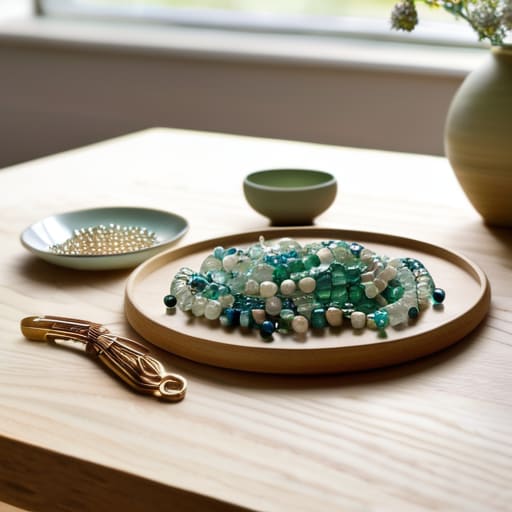
Look, I know it’s tempting to look at those high-end, intricate pieces in a boutique window and think, “Yeah, I’ll never do that.” But trust me, you don’t need to be a master goldsmith to make something that actually looks good. Start with something low-stakes, like a simple single-strand beaded necklace. It’s one of the best ways to practice how to make beaded necklaces without the stress of complex patterns. Just grab some high-quality cord, pick a color palette that doesn’t clash, and let the beads do the heavy lifting.
If you’re feeling a bit more adventurous, try playing around with some basic wire wrapping techniques. You don’t need a massive studio setup for this; just a few stones or even cool pebbles you found on a hike and some copper wire. It’s a bit like tinkering with a gadget—you’re just learning how the components fit together. Even if your first few attempts look a little wonky, don’t sweat it. The goal isn’t perfection; it’s just about getting your hands dirty and seeing what sticks.
Pro Tips to Keep You From Tossing Your Tools in Frustration
- Don’t go overboard on the fancy stuff right away. I’ve seen so many people drop a hundred bucks on a professional jeweler’s bench only to realize they just needed a decent pair of pliers and a steady hand. Stick to the basics until you know what you actually enjoy making.
- Lighting is your best friend. Seriously, don’t try to work on tiny jump rings under a dim living room lamp. You’ll end up squinting and getting a headache before you even finish your first bracelet. Grab a bright desk lamp or sit near a window so you can actually see what you’re doing.
- Get a little tray or a heavy ceramic plate to work on. If you’re working on a hardwood table, those tiny beads and wire clippings are going to vanish into the cracks like they never existed. A tray keeps everything contained so you aren’t hunting for a lost earring back under the sofa for an hour.
- Practice your “finishing” moves. A piece of jewelry can look amazing, but if the clasp is wonky or the wire ends are scratchy, nobody’s going to wear it. Take an extra minute to smooth out your edges and make sure everything feels solid. It’s the difference between something that looks homemade and something that looks professional.
- Embrace the “oops” moments. You’re going to snap a wire, or you’re going to mess up a bead pattern, and that is totally fine. I treat it like any other DIY project—if a piece of wood splits, you pivot; if a necklace fails, you untangle it and try again. It’s all part of the learning curve.
Quick Wins to Keep You Moving
Start small and don’t go overboard on gear; you really only need a handful of basic tools to make something awesome.
Don’t sweat the perfection—the goal is to get your hands moving and learn how the materials actually behave.
Keep experimenting with simple designs first so you build up that confidence before tackling the really complex stuff.
## The Real Secret to Getting Started
“Look, you don’t need a professional studio or a mountain of expensive gemstones to make something cool. You just need a little patience and the willingness to mess up a few links until you get it right. That’s where the real fun starts.”
Nathan Cole
You've Got This
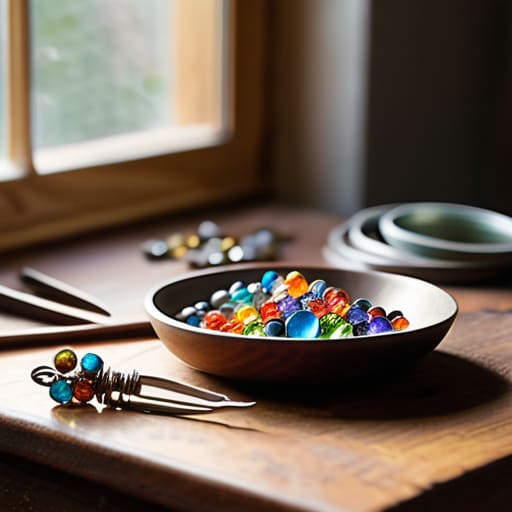
Look, I know it can feel a bit overwhelming when you’re staring at a pile of pliers, mismatched beads, and tangled wire, but you’ve already done the hard part by just getting started. We’ve walked through the essential gear you need to keep in your kit, tackled the basic assembly steps, and even brainstormed a few designs that won’t leave you feeling frustrated. Remember, you don’t need a professional studio or a massive budget to make something beautiful; you just need the right tools and a little bit of patience. Once you get the hang of those simple connections and patterns, you’ll realize that jewelry making isn’t about perfection—it’s about mastering the fundamentals one bead at a time.
At the end of the day, the best part of DIY isn’t just having a new necklace or a pair of earrings to wear; it’s that awesome feeling of looking at something and saying, “I actually made that myself.” Don’t get discouraged if your first few attempts look a little wonky or if the clasp gives you some grief. Even I have days where my projects don’t go quite according to plan. Just keep tinkering, keep experimenting, and don’t be afraid to mess up. Every mistake is just a lesson that makes you a better maker. Now, grab those pliers and go create something killer!
Frequently Asked Questions
How do I stop myself from getting frustrated when I can't get the tiny jump rings to close properly?
Look, I’ve been there. I once spent forty minutes wrestling with a single bracelet until I wanted to throw my pliers across the room. When those jump rings start winning, just step away. Seriously. Grab a coffee, walk around the block, and come back when your hands aren’t shaking. When you do dive back in, make sure you’re using two pairs of pliers—one to hold the ring and one to twist. It’s all about leverage, not force.
Do I really need to spend a fortune on high-quality metal, or can I start with cheaper stuff to practice?
Look, I’m going to give it to you straight: please do not drop a paycheck on precious metals right now. I’ve made that mistake before, and trust me, it’s a quick way to feel stressed about every little bend or cut. Start with some decent copper, brass, or even high-quality craft wire. It’s cheap enough that you won’t sweat a mistake, but good enough to help you learn the ropes. Get your hands dirty first!
What’s the best way to organize all these tiny beads and wires so they don't end up in a giant mess on my table?
Trust me, I’ve learned the hard way that if you don’t have a system, your workspace will turn into a bead-covered disaster zone in minutes. The best move is to grab some clear plastic organizer boxes—the kind with little dividers you see at the hardware store. They’re cheap and let you see exactly what you’ve got. For wires, use a pegboard or even just some old pill organizers to keep things from tangling.
