
I was sitting on my floor last Tuesday, trying to reach a charger behind my desk, when I realized I wasn’t just looking at wires—I was looking at a literal nest of black spaghetti that had somehow claimed my entire office corner. It’s one of those things we all ignore until we actually have to move a piece of equipment or clean under the desk, and then suddenly, it’s a total disaster. Most people think you need to spend a fortune on fancy, high-end organizers to fix it, but that’s a total myth. Real cable management diy isn’t about buying the most expensive plastic trays on the market; it’s about using some basic logic and a few cheap tools to get that chaos under control.
I’m not here to give you a lecture on professional interior design or suggest anything that costs more than a trip to the local hardware store. Instead, I’m going to show you how to tame the madness using simple, hands-on methods that actually stick. We’ll walk through grouping your cords, hiding the excess, and labeling things so you never have to play “guess the plug” ever again. Let’s get to work and turn that mess into something you can actually live with.
Table of Contents
- Step-by-Step Instructions
- Simple Diy Cable Organizer Hacks to Reclaim Your Space
- Smart Cord Management for Home Office Peace of Mind
- Five quick wins to keep your wires from turning into a disaster
- The bottom line on taming your wire jungle
- Why it actually matters
- Taming the Chaos for Good
- Frequently Asked Questions
Guide Overview
Tools & Supplies
- Scissors or wire cutters for trimming ties
- Label maker or masking tape for identification
- Velcro cable ties (1 pack)
- Cable management sleeves or raceways (2-3 units)
- Adhesive cable clips (1 pack)
- Power strip/surge protector (1 unit)
Step-by-Step Instructions
- 1. First things first, you’ve gotta unplug everything. I know, it sounds like a pain, but trying to organize a “live” nest of wires is a recipe for a headache (and maybe a static shock). Pull every single cord out of the power strip and lay them out on the floor or a large table. This gives you a clean slate to see exactly what you’re working with, from the chunky monitor cables to those tiny, annoying charger cords.
- 2. Next, grab a handful of velcro cable ties. I’m a huge fan of these over the plastic zip ties because they’re reusable. If you decide to move your desk six inches to the left next month, you aren’t stuck cutting through plastic and risking a snip to your finger. Group your cables together by how they travel—like all the wires heading from your desk down to the floor—and wrap them up loosely so they stay together but aren’t crushed.
- 3. Now, let’s tackle the “under-desk” chaos by installing a cable management tray. You can pick up a simple metal mesh tray at any hardware store for pretty cheap. Screw it into the underside of your desk or use heavy-duty mounting tape if you’re renting and don’t want to leave holes in the wood. This tray acts like a shelf for your power strip and all those bulky “bricks” that the power adapters use, keeping them off the floor and out of your feet.
- 4. Once the tray is in place, it’s time to start routing the wires. Feed your bundled cables into the tray, making sure you leave a little bit of “slack” or wiggle room. You don’t want the wires pulled tight like a guitar string; if you move your monitor or chair, you want enough length so nothing gets yanked out of the socket. Aim to have the cables follow the edges of your desk or the legs of your furniture to keep things looking clean and intentional.
- 5. For those pesky little cables that pop up on top of your desk—like your phone charger or mouse—I highly recommend using some adhesive cable clips. These little guys stick right to the edge of your desk and hold the cord in place so it doesn’t slide off onto the floor every time you unplug your phone. It’s a small tweak, but it makes a massive difference in how organized your workspace actually feels during the day.
- 6. Finally, do a quick labeling session. I know, it sounds a bit “Type A,” but trust me on this one. Use a piece of masking tape or a cheap label maker to mark both ends of your most important cords (like “Monitor,” “PC,” or “Printer”). There is nothing more frustrating than being under a desk in a dark corner, trying to guess which black cord belongs to which device. Once everything is labeled and tucked away, take a step back and enjoy the view.
Simple Diy Cable Organizer Hacks to Reclaim Your Space
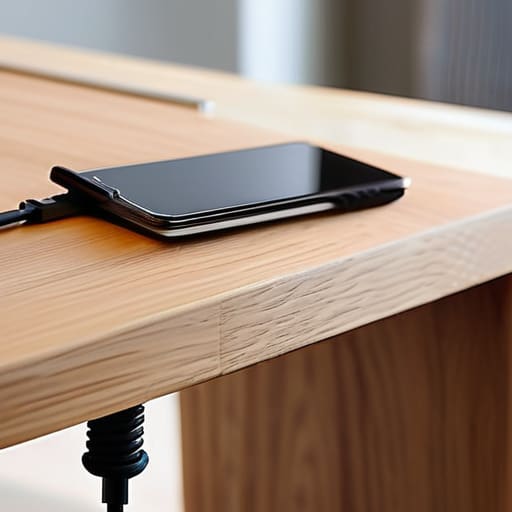
If you aren’t quite ready to commit to a full-blown overhaul, don’t sweat it. Sometimes the best way to tackle a mess is with some quick diy cable organizer hacks you can grab at any local hardware store. One of my favorite low-cost tricks is using binder clips. Just clip them to the edge of your desk and thread your charging cables through the metal loops; it keeps them from sliding onto the floor every time you unplug your phone. It’s a tiny change, but it makes a massive difference in how your workspace feels.
For those of you dealing with a real “spaghetti monster” situation under your table, I highly recommend looking into under desk cable management solutions like adhesive cable trays or even simple command hooks. If you’re tired of seeing a tangle of black cords peeking out from behind your monitor, try using velcro straps for cables instead of those annoying plastic zip ties. Zip ties are permanent and a pain to cut if you change your mind, but velcro lets you add or remove gear whenever you want without the headache.
Smart Cord Management for Home Office Peace of Mind
Once you’ve got the basics down, the real secret to long-term sanity is thinking about how you actually use your space. I’ve learned the hard way that if a setup is too difficult to change, you’ll eventually just give up and let the wires pile up again. That’s why I’m a huge advocate for using velcro straps for cables instead of those plastic zip ties. Zip ties are great for a permanent fix, but they’re a nightmare if you suddenly need to swap out a monitor or add a new desk lamp. Velcro allows you to bundle cords together loosely, making it easy to add or remove things as your tech evolves.
Another pro move is focusing on under desk cable management solutions to get the heavy lifting out of sight. If you can tuck your power strips and bulky adapters into a tray or a mounting bracket underneath the tabletop, you’ll instantly clear up your floor space and stop that “spaghetti mess” from collecting dust. It’s all about creating a system that works with your workflow rather than against it. Once those wires are tucked away, you’ll find it much easier to actually sit down and focus.
Five quick wins to keep your wires from turning into a disaster
- Label both ends of every cord with a piece of masking tape or a wrap-around tag; there’s nothing more frustrating than unplugging the wrong thing when you’re just trying to reset your router.
- Grab some heavy-duty Velcro strips instead of those cheap plastic zip ties, because if you ever need to add a new gadget to your setup, you won’t have to go hunting for scissors to cut yourself free.
- Use binder clips from your desk drawer to create makeshift cord holders on the edge of your table, which keeps your phone charger from sliding onto the floor every time you unplug it.
- Mount a power strip to the underside of your desk using command strips or mounting tape to get all those bulky plugs off the floor and out of your way for good.
- Group your cables together using spiral wrap or even just some old bread ties to turn a dozen individual wires into one neat, manageable bundle that’s easy to tuck behind a desk leg.
The bottom line on taming your wire jungle
You don’t need to spend a fortune on fancy gadgets; a few cheap clips, some velcro ties, or even a bit of DIY ingenuity can do the heavy lifting.
Tackle the mess in stages—start with the biggest “spaghetti nests” first so you don’t get overwhelmed and give up halfway through.
Remember that cable management isn’t just about looks; it’s about making your gear easier to reach and keeping your workspace safe and dust-free.
Why it actually matters
“A tangled nest of wires isn’t just an eyesore; it’s mental clutter that makes you want to avoid your desk entirely. Once you take twenty minutes to tuck those cords away, you aren’t just cleaning up a mess—you’re reclaiming your focus and making your space feel like it’s actually under your control.”
Nathan Cole
Taming the Chaos for Good
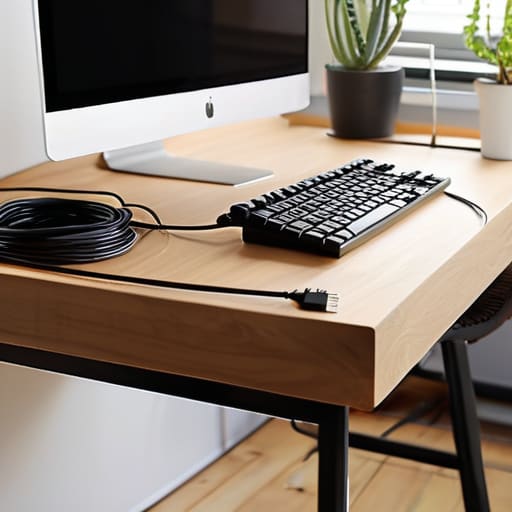
At the end of the day, getting your cables under control isn’t about achieving some perfect, museum-quality setup; it’s about making your space actually work for you. We’ve gone through everything from using simple binder clips as makeshift cord holders to implementing those smart, long-term office organization strategies. Whether you decided to go the route of heavy-duty cable trays or just spent twenty minutes untangling a “spaghetti nest” under your desk, you’ve already done the hard part. The goal was to move from a workspace that feels cluttered and stressful to one that feels organized and intentional, and by following these steps, you’ve officially reclaimed your desk from the wires.
I know that looking at a pile of tangled black cords can feel a bit overwhelming at first, but I promise you, it’s one of those things that is much more figure-out-able than it looks. Once you clear that visual noise away, you’ll notice you can actually focus better on the work in front of you instead of the mess at your feet. So, grab those zip ties, find some velcro strips, and take it one cord at a time. You’ve got this, and honestly, the feeling of satisfaction you get when you finally plug everything in and see a clean surface is totally worth the effort.
Frequently Asked Questions
Are there any specific types of cables I should avoid bundling together to prevent overheating or interference?
Yeah, this is a great question. You definitely don’t want to bundle high-voltage power cables right next to your sensitive data lines, like Ethernet or audio cables. Mixing them can cause “noise” or interference, making your internet laggy or your speakers buzz. Also, keep an eye on those heavy-duty power bricks; don’t bury them under a mountain of other cords. They need a little breathing room so they don’t cook your other gear.
What’s the best way to handle cable management if I’m renting and can't drill holes into the walls?
I get it—landlords can be pretty strict about those little drill holes. The good news? You don’t need a power drill to fix a wire mess. I usually lean on heavy-duty command hooks or adhesive cable clips; they grip tight but peel off clean when you move. You can also grab a cheap cable management tray that clamps right onto the edge of your desk. No holes, no damage, and your security deposit stays safe.
How often should I actually go back and tidy these up to make sure dust isn't building up in the mess?
Honestly, I try to give my setup a quick “dusting check” about once a month. It doesn’t have to be a deep clean, just a quick pass with a microfiber cloth or a can of compressed air to make sure nothing is nesting in those cable bundles. If you’ve got pets or a dusty house, maybe bump that up to every two weeks. A little maintenance now saves you from a massive, sticky headache later.
