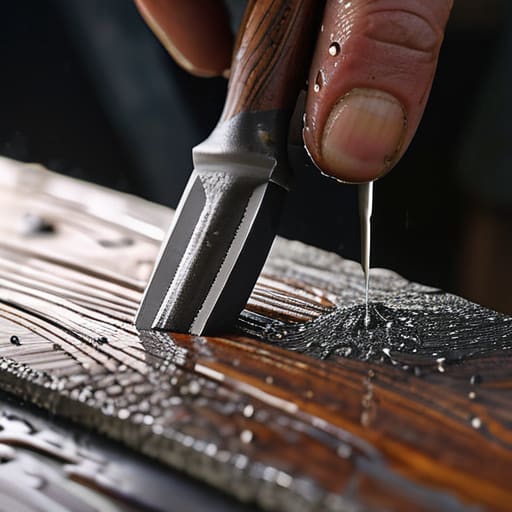
I was halfway through trying to trim some cedar siding last summer when my chisel finally gave up the ghost, leaving me with nothing but a jagged, splintered mess and a whole lot of frustration. It’s one of those moments where you realize your gear isn’t actually working for you, it’s working against you. Most people think you need a fancy, expensive motorized grinder or a degree in metallurgy to fix the problem, but that’s just not true. Learning how to sharpen tools doesn’t require a massive investment or a workshop full of high-tech gadgets; it really just comes down to understanding a few basic principles and having a little bit of patience.
I’ve spent years tinkering with everything from old hand planes to kitchen knives, and I’ve learned that the best results usually come from the simplest methods. In this guide, I’m going to strip away all the technical jargon and show you the straightforward way to get your edges back. We’ll walk through the essential gear you actually need, the steady hand techniques that make a difference, and a few common mistakes I made when I was first starting out. By the time we’re done, you’ll be able to take those dull, frustrating blades and make them cut like new again.
Table of Contents
- Step-by-Step Instructions
- Picking the Best Sharpening Tools for Beginners
- Mastering Whetstone Sharpening Techniques for a Pro Edge
- A Few Pro Tips to Keep You from Making a Mess of It
- Quick Reminders Before You Get to Work
- ## A Little Wisdom for the Workbench
- Don't Stop at the First Edge
- Frequently Asked Questions
Guide Overview
Tools & Supplies
- Chisel (flat edge metal tool)
- Utility Knife (retractable or fixed blade)
- Combination Whetstone (1 dual-grit stone)
- Honing Oil or Water (1 small bottle)
- Leather Strop (1 piece)
- Micro-abrasive Compound (1 small jar)
Step-by-Step Instructions
- 1. First things first, you’ve gotta gather your gear. You don’t need a fancy professional setup, but you can’t exactly sharpen a chisel with a piece of sidewalk. Grab a whetstone (a dual-grit one is your best friend here), a small container of water or honing oil depending on what your stone calls for, and a soft cloth to wipe everything down. I always keep a cheap microfiber towel nearby because things tend to get messy fast.
- 2. Next, you need to prep your stone. If you’re using a water stone, soak it in a shallow bowl of water for about ten to fifteen minutes. You’ll know it’s ready when the air bubbles stop rising to the surface. If you’re using an oil stone, just apply a thin, even layer of honing oil across the surface. You want to make sure there’s a consistent film so the metal doesn’t drag or skip on the grit.
- 3. Now, let’s talk about finding that angle. This is where most people get nervous, but I promise it’s not as scary as it looks. Hold your tool—let’s say it’s a kitchen knife or a garden spade—at about a 20-degree angle relative to the stone. A good trick I learned from my old man is to use the width of a couple of stacked quarters as a visual guide. Once you find that sweet spot, hold it steady with both hands to avoid wobbling.
- 4. Time to get to work with some steady strokes. Start with the coarser side of the stone and push the edge across the surface in a smooth, sweeping motion. Think of it like you’re trying to shave a tiny layer off the top of the stone. Don’t rush this part; it’s all about consistent pressure and rhythm. You’ll eventually feel a tiny “burr” forming on the opposite side of the edge—that’s actually a great sign that you’re doing it right.
- 5. Once you’ve felt that burr, it’s time to switch to the finer grit stone to refine the edge. This step is what takes a tool from “functional” to “razor-sharp.” Use lighter pressure here and repeat those same sweeping motions. This is the part where you polish out the scratches left by the heavy lifting you did in the previous step, smoothing everything out until the metal looks clean and bright.
- 6. Finally, you’ve got to remove that burr and clean up. Take your cloth and gently wipe the edge of the tool from the spine toward the cutting side. If there’s still a little bit of metal snagging, do a few very light, single strokes on the fine grit stone to knock it off. Once you’re done, give the whole tool a good wipe-down to remove any leftover grit or oil. Now, go ahead and test it out on a piece of paper—if it slices through like butter, you’ve nailed it.
Picking the Best Sharpening Tools for Beginners
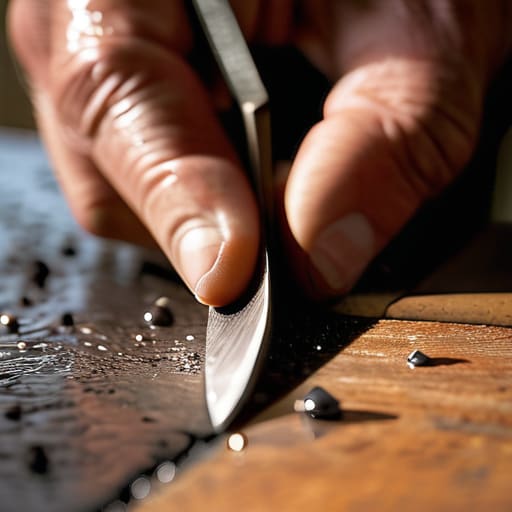
Look, I’ve made the mistake of walking into a hardware store and buying the first shiny gadget I saw, thinking it would do all the work for me. Trust me, you don’t need a massive, expensive kit to get started. If you’re just dipping your toes in, the best sharpening tools for beginners are usually something simple like a diamond plate or a basic dual-grit whetstone. A whetstone gives you way more control over the angle of blade for optimal sharpness, which is the secret sauce to a clean cut. It might take a little more practice than a motorized gadget, but you’ll actually learn how the metal responds.
Now, don’t get confused between different tools you’ll see on the shelf. A common question I get is about honing steel vs sharpening stone. Think of it this way: a honing steel is great for realigning an edge while you’re cooking, but if your knife is actually dull, you need a stone to remove metal and create a new edge. Once you master that, you can even move on to sharpening garden shears and loppers to keep your yard looking sharp. Just take it one tool at a time.
Mastering Whetstone Sharpening Techniques for a Pro Edge
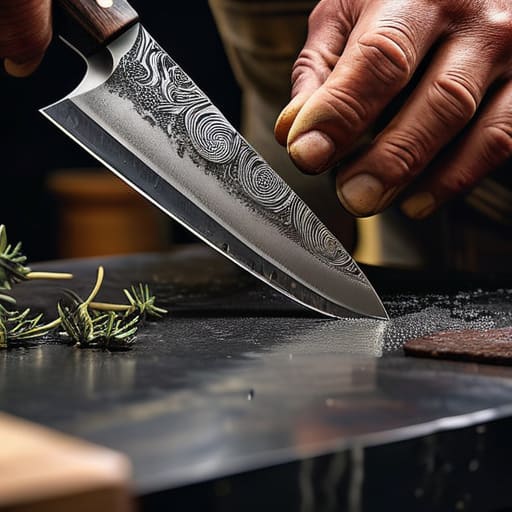
Once you’ve got your stones laid out, the real magic happens in how you actually move the metal. I used to struggle with this, thinking I needed a machine, but mastering a few basic whetstone sharpening techniques is what really changes the game. The biggest secret is consistency. You aren’t just scrubbing the metal; you’re looking for that perfect angle of blade for optimal sharpness. I usually aim for about 15 to 20 degrees, which is roughly the height of a matchbook held against the stone. If you wobble, you lose that edge immediately, so take it slow and focus on steady, even strokes.
Don’t forget that a sharp tool isn’t just about the initial grind; it’s about how you treat it afterward. A lot of guys ask me about honing steel vs sharpening stone, and here’s the deal: the stone actually removes metal to fix a dull edge, while a honing rod just realigns it. If you want to focus on maintaining blade edge longevity, make sure you finish with a very fine grit stone to polish away those tiny burrs. It takes a little more patience, but it makes a massive difference in how long that edge stays biting.
A Few Pro Tips to Keep You from Making a Mess of It
- Don’t rush the process. I know it’s tempting to just scrub away at that blade to get it done, but sharpening is all about patience. If you force it, you’re going to end up with an uneven edge that’s more frustrating than a dull one.
- Keep things wet. If you’re using a whetstone, make sure you’ve got a good layer of water or honing oil going. A dry stone is a recipe for a ruined tool and a messy workspace, and it won’t give you that smooth, polished finish you’re after.
- Listen to the metal. There’s actually a specific sound a blade makes when it’s hitting the right angle against the stone. It’s a consistent, rhythmic “shing” sound. If it sounds scratchy or uneven, you probably need to adjust your angle.
- Test the edge safely. Instead of grabbing a piece of paper and praying, try the “thumb test”—but be careful! Gently run your thumb across the edge (not along it!) to feel for any nicks or smoothness. It’s the quickest way to tell if you’re actually getting somewhere.
- Clean your tools immediately after. Once you’ve got that edge looking sharp, wipe down the metal to get rid of any grit or oil residue. I’ve learned the hard way that leaving metal dirty after sharpening is just asking for rust to move in.
Quick Reminders Before You Get to Work
Don’t rush the process; sharpening is more about patience and finding that consistent angle than it is about raw strength.
Always keep your tools clean and your stones lubricated—it’s much easier to fix a dull blade than it is to fix a scratched one.
Invest in a few decent basics rather than a fancy professional kit, and you’ll find that most jobs are totally manageable.
## A Little Wisdom for the Workbench
“A sharp tool isn’t just about making the job easier; it’s about having the confidence to actually start it. There’s nothing more frustrating than fighting a dull blade, but once you get that edge right, you stop working against your gear and start working with it.”
Nathan Cole
Don't Stop at the First Edge
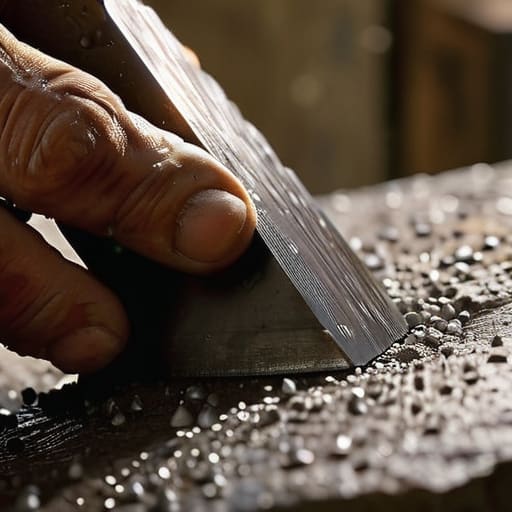
At the end of the day, sharpening isn’t just about making a blade look pretty; it’s about having gear you can actually rely on when a project gets tough. We’ve covered a lot, from picking out the right beginner kits to really getting the hang of those whetstone techniques that make all the difference. Remember, you don’t need a massive industrial setup to get professional results. Whether you’re using a simple file or a multi-grit stone, the secret is all in the consistency of your angle and a little bit of patience. If you take the time to do it right now, you’ll save yourself a massive headache—and a lot of wasted material—down the road.
I know it can feel a bit intimidating the first few times you try this, especially when you’re worried about ruining a good tool. But trust me, even I had a few botched attempts when I was first starting out in my dad’s garage. The more you do it, the more you’ll develop that “feel” for the metal. Don’t be afraid to make mistakes; they’re just part of the learning process. Just grab your tools, clear off a steady workspace, and give it a shot. Once you feel that first clean, effortless cut, I promise you’ll feel like a total pro. You’ve got this!
Frequently Asked Questions
How often should I actually be sharpening my tools to keep them in good shape?
Honestly, there isn’t a magic number on a calendar, but I’ve learned to listen to the tool instead. If you’re working through a project and notice you’re having to push harder, or if the material is tearing instead of slicing, that’s your signal. For tools I use every weekend, I usually give them a quick touch-up every few months. Just don’t wait until they’re blunt—it’s much easier to maintain an edge than to fix a dull one.
Is it okay to use a cheap electric sharpener, or am I going to ruin my good blades?
Look, I get the temptation. When you’re staring at a dull chisel, those cheap electric sharpeners look like a lifesaver. But honestly? I’d be careful. Most of those budget models use aggressive grinding wheels that can eat away your metal way too fast, stripping away the temper and leaving you with a blade that won’t hold an edge. If it’s just a cheap kitchen knife, go for it. But for your good stuff? Stick to manual.
What should I do if I accidentally slip and nick the metal while I'm sharpening?
Look, don’t panic—it happens to the best of us. I’ve definitely felt that heart-sink moment when a slip leaves a visible scratch or a tiny notch in the metal. If it’s just a minor nick, don’t toss the tool. You can usually “work around” it by slightly adjusting your angle or using a finer grit stone to smooth out the burr. If it’s deep, you might need to grind a bit more metal away to even it out.
