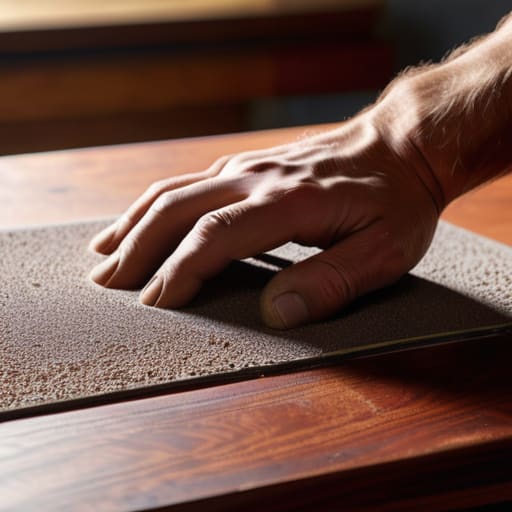
I was mid-way through making a sandwich last Tuesday when I saw it—that deep, ugly gouge right across my favorite oak dining table, courtesy of a misplaced kitchen knife. My first instinct was to panic and think I’d need to call in a professional or, even worse, sand the whole thing down to nothing. But here’s the thing: most people think you need a full workshop of expensive tools to handle surface damage, but that’s a total myth. Learning how to fix scratched wood doesn’t require a degree in carpentry or a massive budget; usually, it just takes a little patience and the right approach to match the finish.
I’ve spent years tinkering with old furniture and fixing up my own place, and I promise you, most of these marks are way more figure-out-able than they look. In this guide, I’m going to skip the technical jargon and show you exactly how to tackle everything from light scuffs to those annoying deep scratches. I’ll walk you through the simple, no-nonsense methods I use in my own shop so you can restore that smooth finish and feel that win of a job well done.
Table of Contents
Guide Overview
Tools & Supplies
- Sandpaper (various grits for smoothing)
- Microfiber cloth (for cleaning dust)
- Wood filler or wax sticks (small container)
- Wood stain or touch-up marker (1 pen/bottle)
- Furniture polish (1 small bottle)
Step-by-Step Instructions
- 1. First things first, you need to grab a clean rag and some mild soap to give the area a good wipe-down. I know it sounds basic, but if there’s any lingering furniture polish, wax, or even just kitchen grease sitting in those scratches, your fix isn’t going to stick. Just make sure it’s completely dry before you move on to the next step.
- 2. Once it’s clean, take a close look at the damage to see what we’re actually dealing with. If it’s just a light surface scuff, you might be able to get away with a little bit of elbow grease and a walnut or a specialized wood marker. If the scratch is deep enough that you can feel it with your fingernail, we’re going to need to get a bit more hands-on with some sandpaper.
- 3. If the scratch is deeper, grab some fine-grit sandpaper—I usually reach for 220-grit or even 320-grit for this. You want to sand very gently in the direction of the wood grain. Whatever you do, don’t go in circles or sand like you’re trying to level a floor, or you’ll end up with a divot that’s way harder to fix than the original scratch.
- 4. After you’ve smoothed out the edges of the scratch, it’s time to fill the gap. You can pick up a small tub of wood filler at any hardware store (and trust me, you’ll find yourself there more often than you think). Use a small putty knife to press the filler into the scratch, making sure it’s packed in tight so there are no air pockets left behind.
- 5. Let that filler dry completely—check the label on the tub, but I usually give it at least an hour to set. Once it’s firm, take that same fine-grit sandpaper from earlier and lightly sand the filler until it sits perfectly flush with the rest of the wood surface. You shouldn’t be able to feel where the filler starts and the wood ends.
- 6. Now comes the part that makes everything look professional: matching the color. If you used a filler, it might look a little pale, so grab some stain markers or a tiny bit of wood stain to blend it in. Start with a light touch; you can always add more color, but it’s a total pain to strip it back if you go too dark.
- 7. Finally, you’ve gotta protect your hard work. Wipe away any excess stain and then apply a thin coat of furniture wax or polish over the spot. This doesn’t just give it a nice sheen, it also helps seal the repair so it stays looking great while you’re actually using the piece.
Matching Wood Stain Colors Without the Guesswork
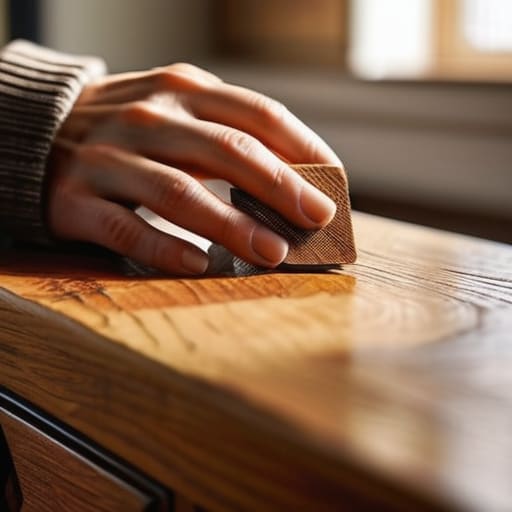
Now, here’s where most people get a little nervous: picking the right color. I’ve definitely been there, standing in the middle of a hardware aisle staring at fifty different shades of “Oak” and feeling completely lost. When you’re matching wood stain colors, the biggest mistake you can make is trying to pick a shade based on the bottle alone. Lighting in a store is totally different from the light in your living room, and wood is a living thing—it absorbs color differently depending on the grain.
My best piece of advice? Always grab a few small tester cans if you can. Find an inconspicuous spot on the underside of the furniture or even inside a cabinet door to test your match. Once you apply it, let it dry completely before you decide if it’s a winner. If you’re restoring wood finish on an older piece, remember that the original stain has likely faded or darkened over the years. You aren’t just matching the wood; you’re matching the history of that piece. Take your time with this part—it’s much easier to add more color than it is to scrub it off!
Removing Surface Scratches From Timber With Ease
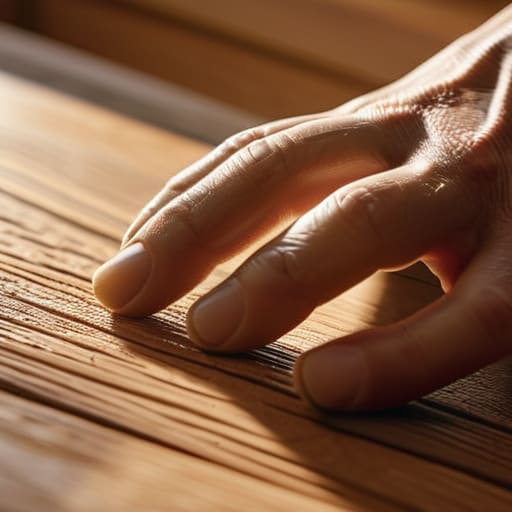
Before you jump straight into the heavy-duty stuff, I always tell people to check just how deep that scratch actually goes. If it’s just a light scuff on the surface, you might not even need to reach for the sandpaper. Sometimes, removing surface scratches from timber is as simple as using a bit of fine-grit sandpaper or even a specialized polishing cloth to smooth things over. I’ve found that if you catch these early, you can save yourself a massive headache later on.
If the scratch is a bit more stubborn, you’ll want to focus on buffing out wood imperfections to level the playing field. Grab a high-grit sanding sponge—something around 320 or 400—and work in the direction of the grain. Whatever you do, don’t go against the grain, or you’ll end up with swirl marks that are even harder to hide than the original scratch. It’s all about patience here; take your time to smooth out the area until it feels even under your fingertips. Once that’s done, you’re in a much better spot to tackle the color work.
A Few Pro-Tips to Keep in Your Back Pocket
- Test everything on a hidden spot first. I know it’s tempting to dive right in, but grab a scrap piece of wood or a tiny, out-of-sight corner of the furniture to make sure your stain or filler actually looks the way you want it to.
- Don’t go too heavy on the sandpaper. It’s easy to get overzealous, but if you sand too much, you’ll end up stripping away the finish entirely, and then you’re looking at a much bigger project than just a few scratches.
- Work with the grain, always. Whether you’re scrubbing with a bit of wood filler or sanding down a rough patch, always move your tool in the same direction as the natural lines in the wood. Going against the grain is a quick way to leave permanent marks.
- Patience is your best tool. If you’re using a liquid stain or a wood filler, let it dry completely before you try to sand it or add another layer. If you rush it, you’ll just end up with a gummy mess that’s a headache to clean up.
- Clean the area before you start. I’ve learned the hard way that if you try to fix a scratch while there’s still dust or furniture polish sitting in the groove, your repair won’t bond right. Give it a good wipe with a tack cloth or a slightly damp rag first.
Quick Lessons for Your Next Project
Start small—always test your stain or repair method on a hidden spot first to make sure the color actually matches.
Don’t overthink the damage; most surface scratches can be buffed out with a little patience and the right grit of sandpaper.
The goal isn’t perfection, it’s progress. Even a “good enough” fix beats letting a scratch drive you crazy every time you walk past it.
## A Quick Bit of Advice
“Don’t let a few surface scuffs make you think your furniture is headed for the curb; most of the time, a little patience and the right touch are all it takes to bring that wood back to life.”
Nathan Cole
Wrapping It All Up
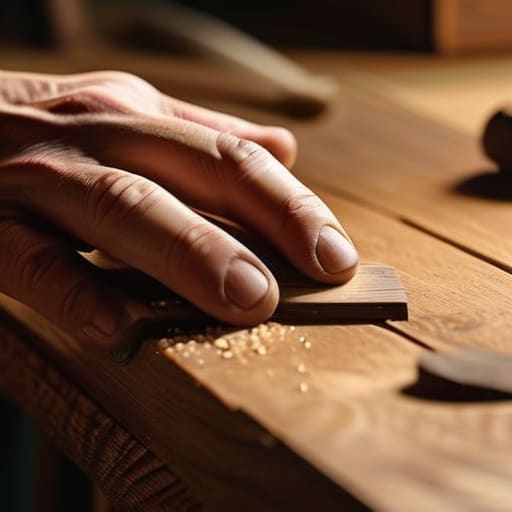
At the end of the day, fixing those scratches isn’t about achieving some impossible, factory-perfect finish; it’s about making your furniture look like it’s actually lived a life with you. We’ve covered a lot of ground here, from the gentle touch needed for light surface scuffs to the more involved process of matching stains and carefully sanding down deeper gouges. Remember, whether you’re using a simple furniture marker or diving into a full refinishing project, the secret is always in the prep work and patience. Take your time, don’t rush the drying process, and always test your color on a hidden spot first. If you follow these steps, those eyesores will be nothing more than a distant memory.
I know it can feel a little intimidating when you’re staring at a damaged heirloom or a favorite coffee table, but I promise you—you’ve got this. There is a specific kind of satisfaction that comes from taking something that looked broken and making it whole again with your own two hands. Don’t let a few marks on a tabletop make you feel like you need to call in a professional or, worse, throw the piece away. Most things in this life are just a few simple steps away from being fixed. So, grab your supplies, clear off the workbench, and go give that wood the second chance it deserves.
Frequently Asked Questions
What if I accidentally make the scratch look worse while I'm trying to fix it?
Look, we’ve all been there. You’re halfway through a project, you slip up, and suddenly you’re staring at a mess that looks way worse than the original scratch. Take a breath—it happens to the best of us. Usually, you just need to pivot. If you over-sanded, you might need a bit more stain; if you over-stained, grab a cloth with some mineral spirits to lighten it up. Don’t panic; it’s still fixable.
Can I use these same tricks on my expensive hardwood floors, or is that too risky?
Look, I get the hesitation. When you’re looking at expensive hardwood, the “measure twice, cut once” rule applies big time. For light surface scuffs, these tricks usually work great. But if you’re dealing with deep gouges or a high-end finish, I’d suggest testing a tiny, hidden spot first—like inside a closet. If it looks funky, stop. If it looks good, go for it. When in doubt, call a pro.
How long do I actually need to wait before I can start using the furniture again?
I know the feeling—you’ve put in the work, and you just want to get back to using your favorite table or chair. If you used a quick wax or a filler, you might be okay in an hour or two. But if you applied a real stain or a fresh coat of polyurethane, patience is your best friend. I usually wait at least 24 hours before light use, but for heavy stuff, give it a full 48 to 72 hours. Let it cure!
