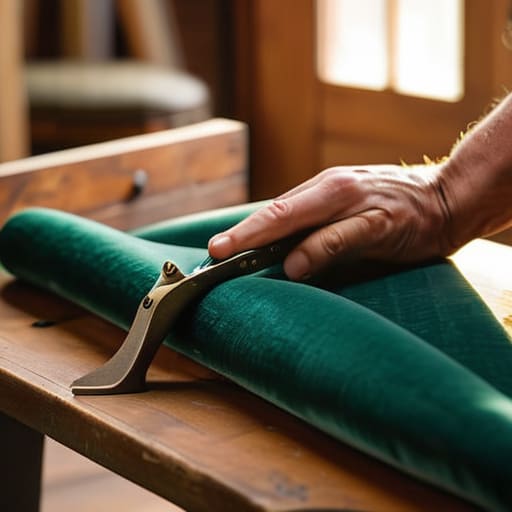
I was staring at this mid-century armchair in the corner of my living room last weekend, thinking there was absolutely no way I could save it. The fabric was worn thin in all the wrong places, and honestly, it looked like something you’d find in a dumpster. But here’s the thing most people won’t tell you: you don’t need a fancy upholstery studio or a degree in design to fix it. Learning how to reupholster a chair isn’t some mystical art reserved for the pros; it’s really just a series of small, manageable tasks that anyone with a staple gun and a bit of patience can tackle.
I’m not going to give you any of that high-end, “professional-grade” fluff that requires a thousand-dollar toolkit. Instead, I’m going to show you how to strip it down, prep the frame, and pull that new fabric tight enough to look factory-fresh. We’re going to walk through this step-by-step, from picking the right material to making those final, clean tucks. By the time we’re done, you’ll have a piece of furniture that looks like a million bucks without you having to break the bank.
Table of Contents
- Step-by-Step Instructions
- Gathering Your Upholstery Tools and Supplies Without Breaking the Bank
- Removing Old Chair Fabric to See What Youre Working With
- Five Pro Tips to Keep Your Project from Turning into a Disaster
- Quick Tips Before You Start Stapling
- ## The Secret to a Good Finish
- You Did It!
- Frequently Asked Questions
Guide Overview
Tools & Supplies
- Staple gun and staples for securing fabric
- Needle-nose pliers for pulling old staples
- Fabric shears for precision cutting
- Upholstery tack lifter for removing old materials
- Measuring tape for fabric dimensions
- Upholstery fabric (2-3 yards depending on chair size)
- High-density foam padding (1-2 inch thickness)
- Batting/Dacron wrap to smooth edges
- Replacement staples or upholstery tacks
Step-by-Step Instructions
- 1. Before you even touch a pair of scissors, you need to strip the chair down to its bare bones. Grab a staple remover or a flathead screwdriver and start pulling out all the old fabric, the foam, and those crusty old staples. Don’t worry about being delicate here; you’re basically performing surgery to see what you’re working with. Once the frame is naked, take a second to check for any loose wood or wobbly joints. If it feels a bit shaky, now is the time to hit it with some wood glue and a clamp before we move on to the pretty stuff.
- 2. Now, let’s talk about the “pattern.” Instead of just guessing where the fabric goes, use the old fabric you just pulled off as your DIY template. Lay your old pieces out on your new fabric and trace around them with a piece of chalk or a marker. I always recommend leaving an extra inch or two of “wiggle room” around your lines. Trust me, it is much easier to trim excess fabric later than it is to realize you’re two inches short when you’re halfway through a staple.
- 3. Get your new foam or batting ready. If the old cushion feels like a pancake, this is your chance to make it feel like a cloud again. Lay your batting down over the seat first, then place your new foam on top. You want to smooth out any lumps or air pockets before you even think about the fabric. If you skip this part, you’ll end up with weird bumps in your finished chair that’ll drive you crazy every time you sit down.
- 4. This is where the real work happens: the stapling. Start by pulling your fabric tight over the center of the seat and placing one staple on each of the four sides. This creates your anchor points. Once those are set, work your way from the center out toward the corners, pulling the fabric taut as you go. Think of it like tightening a drum skin—you want it firm but not distorted. If you see the fabric bunching up, stop, pull it tighter, and try again.
- 5. Tackling the corners is the part that usually makes people want to throw in the towel, but it’s actually just a bit of geometry. You’ll need to fold the fabric neatly, almost like you’re wrapping a gift, to tuck the excess into the corners. Try to keep the folds flat and crisp so they don’t create a bulky mess under the seat. Once you’ve got those corners looking tidy, go ahead and finish off the edges with a steady stream of staples.
- 6. The final step is all about the clean-up. Take a pair of sharp fabric scissors and trim away any loose threads or jagged edges that are hanging off the bottom. If you’re using a dust cover (that thin black fabric on the bottom), staple that on last to hide all your hard work and any messy staple lines. Take a look at what you’ve done and give yourself a pat on the back—you just saved a piece of furniture from the landfill!
Gathering Your Upholstery Tools and Supplies Without Breaking the Bank
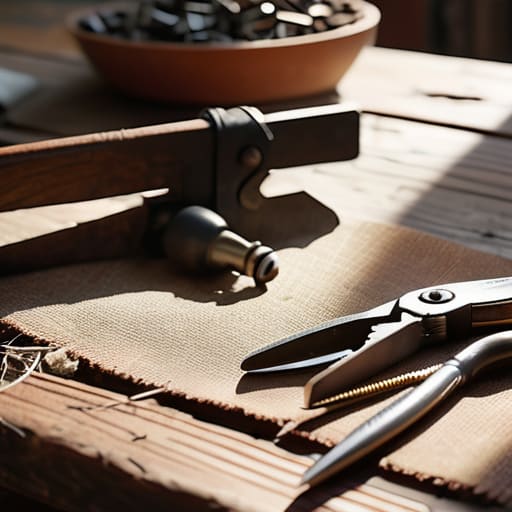
Before you go running to the big-box home improvement store and dropping a paycheck on specialized equipment, let’s take a breath. You don’t need a professional workshop to get this done. For most of us, a decent manual staple gun and a sturdy pair of heavy-duty scissors will get you through 90% of the job. If you’re working on a chair that’s seen better days, you’ll also need a flat-head screwdriver or a pair of pliers for removing old chair fabric and pulling out those crusty, ancient staples. I usually scavenge through my junk drawer first to see what I can repurpose before buying anything new.
When it comes to the actual materials, this is where you can really save some cash. Instead of getting overwhelmed by choosing upholstery fabric types at a high-end boutique, check out local fabric remnants or even heavy-duty canvas from a discount bin. If the seat feels a bit flat, don’t feel like you have to buy a massive roll of expensive foam; a small piece of high-density foam from a craft store works wonders for adding foam padding to seats. Just keep it simple, buy only what you need, and keep your eyes peeled for sales.
Removing Old Chair Fabric to See What Youre Working With
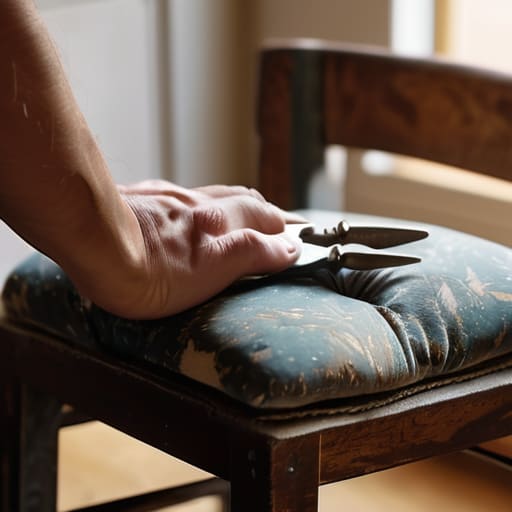
Before you start pulling, take a breath. I know it looks like a mess of fabric and staples, but think of this stage as an autopsy—you’re looking to see how the chair was originally built. As you start removing old chair fabric, don’t just rip it off like you’re tearing a poster off a wall. Use a pair of pliers or a small flathead screwdriver to carefully pry up those old staples. I always recommend saving a small scrap of the original material if you can; it helps you understand how the tension was set and where the fabric was tucked.
While the fabric is coming off, keep a sharp eye on the skeleton of the chair. This is your chance to inspect the upholstery webbing and springs to make sure everything is still tight and functional. If the webbing is sagging or the springs feel loose, now is the time to fix them before you even think about the new look. You don’t want to go through the whole process only to realize the seat feels like a pancake once you sit down. Check the frame for any wobbles or loose screws while you’re in there; it’s much easier to reinforce the structure now than it is later.
Five Pro Tips to Keep Your Project from Turning into a Disaster
- Save your old fabric like it’s gold. Before you rip anything off, lay the old material flat and use a marker to trace the outlines of the cushions and the frame. It’s basically a free template that’ll save you a massive headache when you’re trying to figure out where the seams go later.
- Don’t skimp on the staples. I’ve learned the hard way that using those cheap, flimsy staples from a craft kit is a recipe for frustration. Grab a decent heavy-duty staple gun from the hardware store; your hands (and your sanity) will thank you when you aren’t fighting the trigger every five seconds.
- Work from the center outward. When you’re pulling that new fabric tight, start by stapling the middle of each side first. Then, work your way toward the corners. If you start at the edges, you’re going to end up with a bunch of awkward wrinkles that no amount of tugging can fix.
- Master the corner tuck. This is where most beginners get stuck, but it’s all about the fold. Think of it like wrapping a present: pull the fabric tight, fold the excess neatly into the corner, and staple it down flat. It takes a little practice, but once you nail it, your chair will look professional.
- Always leave yourself some “wiggle room.” It’s tempting to cut your fabric close to the size of the cushion, but trust me, you want an extra couple of inches on every side. You can always trim off the excess once it’s secured, but you can’t magically add fabric back once you’ve cut it too short.
Quick Tips Before You Start Stapling
Don’t rush the prep work—taking the time to strip the chair down to the frame and save your old fabric as a template will save you a massive headache later.
You don’t need a professional workshop to get this done; a decent staple gun and some patience are way more important than expensive industrial tools.
Always remember that mistakes are just part of the process, so if a corner looks wonky, just pull it up and try again until it sits right.
## The Secret to a Good Finish
“Look, you don’t need a professional workshop to get this right; you just need a little patience and the willingness to pull that fabric tight until it feels solid. It’s not about being perfect on the first staple, it’s about seeing that old piece of furniture come back to life under your own hands.”
Nathan Cole
You Did It!
Once you’ve got that new fabric pulled tight and those staples driven home, take a second to step back and look at what you’ve actually accomplished. We went from a stripped-down frame and a pile of old, dusty foam to a piece of furniture that actually looks like it belongs in your living room. It wasn’t just about picking out a cool pattern or finding the right staple gun; it was about the process of stripping it down to the basics and rebuilding it with your own two hands. By taking the time to prep the padding and carefully align your seams, you’ve turned a piece of junk into a functional piece of art that’s built to last another decade.
I know there were probably a few moments where you stared at that chair and wondered if you’d just made a massive mess of things, but that’s part of the fun. Every DIY project comes with a bit of a learning curve, and honestly, the “perfect” chair is usually the one that has a little character built into it. Don’t let a crooked staple or a slightly uneven corner stop you from trying the next project. The more you do this, the more you’ll realize that nothing is truly broken beyond repair. So, grab a drink, sit in your new masterpiece, and enjoy that well-earned feeling of total DIY victory.
Frequently Asked Questions
Do I really need a professional staple gun, or can I just use the one I have in my junk drawer?
Look, I get it—we all have that one staple gun in the junk drawer that’s seen better days. If it’s a heavy-duty manual one that actually fires straight, give it a shot. But if it’s one of those tiny, flimsy ones meant for thin craft paper, save yourself the headache and skip it. For upholstery, you need something that can drive staples deep into the frame without jamming every three seconds.
What should I do if the foam underneath looks crumbly or old when I pull the fabric off?
If you pull that fabric back and the foam looks like it’s turning into orange dust, don’t panic—it happens more often than you’d think. That’s just old foam breaking down. You can’t really “fix” crumbly foam, so the best move is to replace it. Grab a sheet of high-density upholstery foam from the hardware store, trim it to fit your seat, and lay it right over the old stuff. It’ll make the chair feel brand new again.
How much extra fabric should I actually buy so I don't run out halfway through the job?
Look, I’ve definitely learned the hard way that “just enough” is a recipe for a headache. Always aim for about 20% more than you think you need. If you’re working with a pattern—especially one that has a direction or a repeat—grab an extra yard. It’s much better to have a little scrap left over for a matching throw pillow than to be staring at a half-finished chair because you ran out of fabric.
