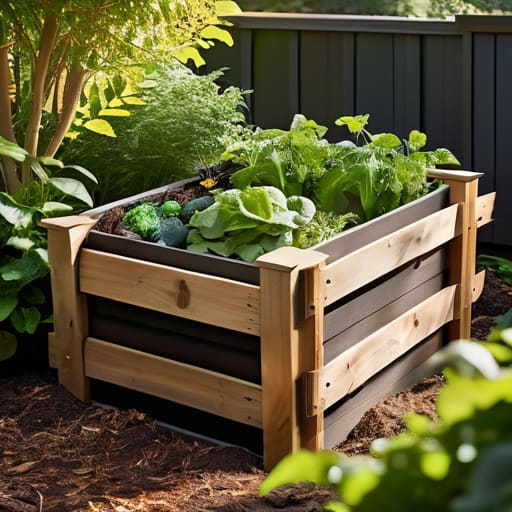
I used to think that if I wanted to start composting, I’d need to drop two hundred bucks on some fancy, high-tech rotating drum from a garden center. I spent weeks staring at my kitchen scraps, feeling guilty about every coffee ground and banana peel hitting the trash, thinking I just didn’t have the right equipment to do it properly. But after a weekend of tinkering in my backyard with some leftover cedar scraps and a few old wire mesh rolls, I realized that learning how to make a compost bin is actually way easier than the experts make it sound. You don’t need a degree in biology or a massive budget; you just need a little bit of grit and some basic materials.
In this guide, I’m going to skip the scientific jargon and show you exactly how to make a compost bin that actually works without turning your yard into a smelly mess. I’ll walk you through the best ways to build one using stuff you probably already have in your garage or can grab for a few bucks at the hardware store. My goal is to get you from a pile of kitchen waste to a heap of garden gold using simple, no-stress steps that anyone can follow.
Table of Contents
- Step-by-Step Instructions
- Your Essential Compost Bin Materials List
- Small Space Designs for Easy Garden Waste Management
- Five Pro-Tips to Keep Your Compost from Turning Into a Mess
- Quick Wins for Your New Compost Setup
- ## A Little Dirt Goes a Long Way
- You’re Ready to Get Digging
- Frequently Asked Questions
Guide Overview
Tools & Supplies
- Drill with spade bit for aeration holes
- Handsaw or utility knife for cutting materials
- Measuring tape for precision
- Plastic storage bin (18-30 gallon) 1 unit
- Drill bits (1/2 inch) 1 set
- Hardware cloth or wire mesh 1 small roll
- Potting soil or finished compost 1 handful
Step-by-Step Instructions
- 1. First things first, you need to pick your spot. I always say, don’t just throw this in a random corner of the yard. You want somewhere that’s partially shaded but also has good drainage so your bin doesn’t turn into a swampy mess after a heavy rain. Find a flat patch of ground that’s easy to get to, because trust me, you’re going to be walking back and forth to this bin all summer long.
- 2. Next, let’s talk about the build. For a simple, budget-friendly version, I like using old wooden pallets—you can usually find them for free behind hardware stores or warehouses. Grab four pallets of roughly the same size and stand them up to form a square. Use some heavy-duty zip ties or a few long screws to secure the corners together. This creates a sturdy frame without needing a whole workshop full of power tools.
- 3. Now, we need to make sure your compost can actually breathe. Compost needs oxygen to break down, otherwise, it starts smelling like a dumpster. I like to leave small gaps between the slats of the pallets, or if you’re using a plastic bin, drill a few ventilation holes around the sides. If air can’t get in, the whole process will stall out, and nobody wants that.
- 4. Time to start layering. Think of this like making a lasagna. You don’t want to just throw a pile of food scraps in there and call it a day. Start with a thick layer of “browns”—things like dried leaves, shredded cardboard, or straw—at the very bottom. This helps with airflow and moisture control. Once you have that base, you can start adding your “greens,” which are your nitrogen-rich kitchen scraps like fruit peels and coffee grounds.
- 5. Keep the balance right. This is the part where most people get tripped up, but it’s actually pretty simple. You want a ratio that’s roughly three parts brown to one part green. If your pile starts smelling a bit funky, you probably have too many greens; just toss in some more dried leaves or extra cardboard to balance it out. If it looks too dry and isn’t doing anything, give it a little splash of water.
- 6. Every couple of weeks, grab a pitchfork or even just a sturdy stick and give the pile a good turn. You’re basically mixing things up to get oxygen into the center of the heap. This speeds up the decomposition process significantly. It might look like a messy pile of junk right now, but with a little regular turning, it’ll start transforming into that rich, dark soil you’re looking for.
Your Essential Compost Bin Materials List
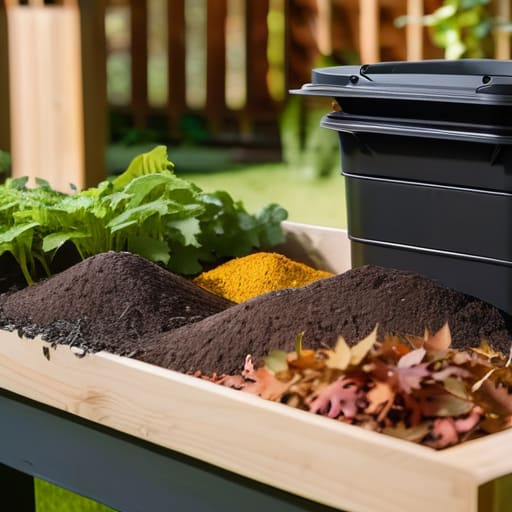
Before you head out to the hardware store or start digging through your garage, you need a solid game plan. I’ve learned the hard way that grabbing random scraps without a plan can lead to a smelly, soggy mess in your backyard. When you’re putting together your compost bin materials list, don’t just think about the container itself. You need to consider things like a sturdy base to keep it off the bare dirt and a way to manage moisture. If you’re working with a tiny patio, look specifically for a compost bin design for small spaces, like a slim plastic tumbler or a tiered bin system, so you aren’t tripping over it every morning.
One thing most people overlook is the importance of airflow. If you don’t build in some way to allow for proper aeration for compost bins, your pile will basically turn into a swampy, stinky heap. I always recommend adding some perforated PVC pipes or even just drilling a few extra holes in the sides of your bin. It makes the whole process much smoother and ensures you’re actually helping the natural breakdown of organic matter rather than fighting against it.
Small Space Designs for Easy Garden Waste Management
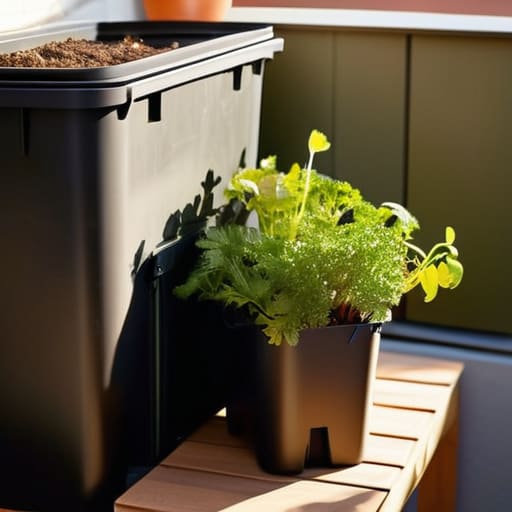
If you’re living in an apartment or have a tiny patio, don’t let the lack of a massive backyard stop you. You don’t need a huge wooden crate to start practicing good garden waste management. One of my favorite hacks for tight spots is a simple DIY worm bin. This vermicomposting setup uses red wiggler worms to break down your scraps right under the kitchen sink or in a corner of the balcony. It’s compact, smells way less than a traditional pile, and produces some of the richest fertilizer you’ll ever use.
Another great option for small footprints is the “tumble” method. You can repurpose a heavy-duty plastic storage bin with a few drilled holes to create a rolling drum. Because it’s elevated or contained, it keeps things tidy and makes aeration for compost bins a total breeze—just give it a quick roll every few days. Whether you go with worms or a small tumbler, the goal is the same: keep it contained, keep it moving, and keep that waste out of the landfill.
Five Pro-Tips to Keep Your Compost from Turning Into a Mess
- Don’t forget the “Browns” and “Greens” balance. Think of it like a recipe: you need plenty of carbon-rich stuff like dried leaves or shredded cardboard (the browns) mixed with your nitrogen-heavy food scraps (the greens). If it gets too slimy or smelly, you’ve probably got too many greens. Just toss in some more dry leaves and you’ll be back on track.
- Give it some air. Compost needs oxygen to break down properly, just like we do. If you build a solid bin, make sure you drill some ventilation holes in the sides or use hardware cloth to let the breeze through. If the pile gets packed too tight, it’ll start to smell like a swamp, and nobody wants that in their backyard.
- Keep it moist, but not soaked. You’re aiming for the consistency of a wrung-out sponge. If it looks bone dry, the microbes can’t do their job; if it’s dripping wet, it’ll get stinky. A quick spray with the garden hose every once in a while is usually all you need.
- Chop it up a little. I know, it’s an extra step, but if you take thirty seconds to chop up larger vegetable scraps or crush those eggshells, they’ll break down way faster. The more surface area you give those tiny decomposers to work with, the quicker you’ll get that “black gold” for your garden.
- Avoid the “No-Go” foods. This is a big one for beginners. Keep meat, dairy, and oily foods out of your bin. They don’t break down the way your veggie scraps do, and they’re a magnet for pests like rats or raccoons. Stick to the plant stuff, coffee grounds, and paper, and you’ll stay in the clear.
Quick Wins for Your New Compost Setup
Don’t overthink the build—whether you’re using a fancy cedar crate or just a repurposed plastic bin, the goal is airflow and accessibility, not perfection.
Keep your “recipe” balanced by mixing greens (like kitchen scraps) with browns (like dried leaves) to prevent smells and keep the decomposition moving.
Start small and stay consistent; it’s much easier to manage a tiny bin you actually use than a massive pile that becomes a weekend chore you avoid.
## A Little Dirt Goes a Long Way
“At the end of the day, a compost bin isn’t some high-tech science experiment; it’s just a way to stop throwing away potential and start building something useful. Don’t get hung up on making it look pretty—just get it built, get it working, and let nature do the heavy lifting.”
Nathan Cole
You’re Ready to Get Digging
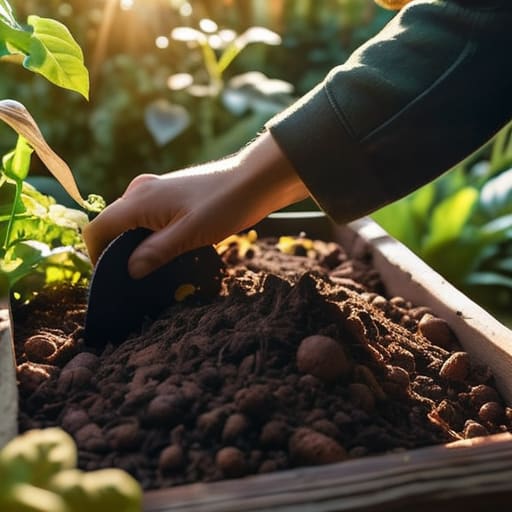
At the end of the day, building your own compost bin doesn’t require a master’s degree in biology or a massive backyard. Whether you went with a heavy-duty wooden bin for the garden or a compact, tumbler-style setup for a small balcony, you’ve already done the hardest part by just getting started. Just remember to keep an eye on your balance of greens and browns, give it a little air every now and then, and don’t sweat the small stuff if it looks a bit messy at first. Once you get that rhythm down, you’ll realize that managing your waste is actually a simple, rewarding cycle that keeps your garden thriving without costing you a dime in fertilizer.
I know that looking at a pile of scraps and a pile of lumber can feel a little overwhelming when you first stand there in the driveway. But trust me, there is a special kind of satisfaction that comes from seeing something you built with your own two hands turn kitchen leftovers into black gold for your plants. It’s one of those small wins that makes you realize you really can handle whatever project life throws at you. So, grab your gloves, head out to the yard, and start building something great—you’ve totally got this.
Frequently Asked Questions
How do I know if my compost pile is actually working or if it's just sitting there rotting?
That’s the million-dollar question. If it just smells like a trash can and looks like a pile of wet sludge, something’s gone wrong. But if it’s working, you’ll notice a bit of heat when you turn it, and it’ll start smelling like fresh, earthy woods—not rot. The real giveaway? The texture. Once those scraps start breaking down into dark, crumbly “black gold,” you know you’ve nailed it. Keep turning it to keep the oxygen flowing!
Is there a way to keep the smell down so my neighbors (or my spouse) don't complain?
Look, I get it. Nobody wants their backyard—or their kitchen—to smell like a landfill. If things are getting stinky, it’s usually just a sign that your compost is out of balance. The golden rule is to keep a healthy mix of “greens” (food scraps) and “browns” (dried leaves or cardboard). If it smells bad, add more browns and give it a good stir to get some air in there.
What exactly should I be throwing in there, and what's going to ruin the whole batch?
Think of your compost bin like a recipe: you need the right balance to keep it from getting gross. Aim for a mix of “greens” (nitrogen-rich stuff like veggie scraps and coffee grounds) and “browns” (carbon-rich stuff like dried leaves or shredded cardboard). Whatever you do, steer clear of meat, dairy, or oily foods. They’ll just attract pests and make your bin smell like a dumpster. Keep it simple, and you’ll be fine!
