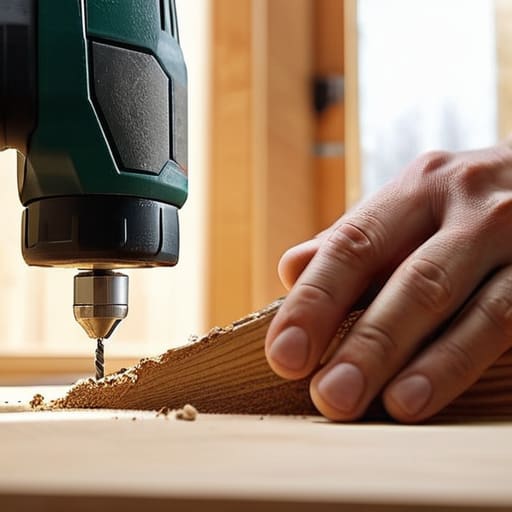
I still remember the first time I tried to hang a heavy floating shelf in my first apartment; I was so intimidated by that heavy, black plastic tool sitting on the floor that I actually ended up just using command strips and hoping for the best. Looking back, I was terrified of the noise and the idea of accidentally drilling straight through my drywall and into the neighbor’s living room. But here’s the truth: most people think you need a degree in engineering to master power tools, when really, learning how to use a drill is just about understanding a few basic mechanics and having the right bit in your hand.
I’m not here to give you a technical manual that reads like a textbook. Instead, I’m going to walk you through the actual, hands-on stuff—the kind of lessons I learned the hard way while fixing up old houses and tinkering in my garage. We’ll cover everything from holding it steady so you don’t slip, to picking the right speed for the job. By the time we’re done, you’ll stop eyeing that tool with suspicion and start feeling like you can actually tackle your next weekend project with confidence.
Table of Contents
Guide Overview
Tools & Supplies
- Power Drill (Cordless or corded drill)
- Drill Bits (Set of various sizes for drilling and driving)
- Workpiece (Wood, metal, or plastic)
- Safety Gear (Safety glasses and gloves)
Step-by-Step Instructions
- 1. First things first, you’ve got to pick your bit. Don’t just grab the first thing you see in the plastic organizer; if you’re drilling into wood, you want a wood bit, and if you’re hitting metal, you need something sturdier. I always tell myself to double-check the tip before I even touch the drill, because using the wrong bit is the fastest way to ruin a project (and your mood).
- 2. Once you have your bit, it’s time to load it into the chuck. That’s the part at the very front that looks like a little claw. You’ll twist it to open the jaws, slide your bit in there, and then tighten it back up. Most modern drills are “keyless,” so you can just tighten it by hand, but make sure it’s snug so the bit doesn’t wobble around when you start working.
- 3. Now, let’s talk about setting your speed and torque. On the top of the drill, you’ll usually see a dial or a switch. For most DIY stuff, you’ll want to keep it on the lower setting for more control, especially if you’re driving a screw. I like to think of it like shifting gears in a car; you don’t want to go full throttle right out of the gate if you’re just trying to do some delicate work.
- 4. Before you pull the trigger, mark your spot. I never, ever just start drilling blindly. Take a pencil or a nail and make a tiny little dent where you want the hole to go. This is a total lifesaver because it gives the bit a place to sit so it doesn’t skitter across your wood or wall the second you start spinning.
- 5. Get into position and apply steady pressure. Hold the drill firmly with both hands if you can—one on the handle and one on the back to keep it steady. When you start the motor, don’t push like you’re trying to break through a floor; just lean into it gently. Let the tool do the heavy lifting, and if it starts to feel like it’s struggling, back off a little and try again.
- 6. Finally, once you’ve reached the depth you want, slowly release the trigger. Don’t just yank the drill out of the hole while it’s still spinning at max speed, or you’ll end up with a messy, jagged hole. Bring the speed down, pull the bit out clean, and take a second to admire your handiwork. You did it!
Mastering the Basics Proper Drill Grip Technique and Safety
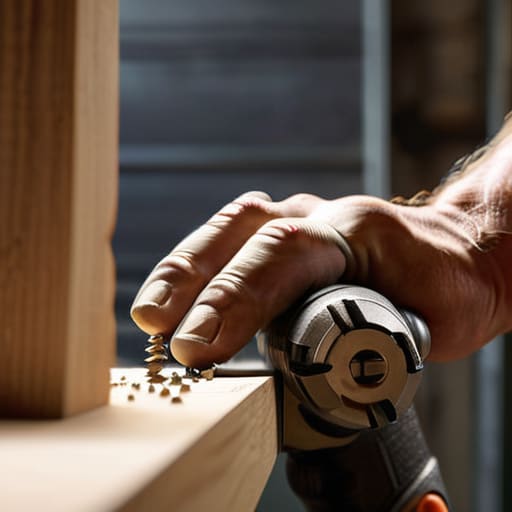
Before you even pull the trigger, let’s talk about how you actually hold the thing. I learned the hard way that if you’re holding a drill like a delicate tea cup, you’re going to lose control the second the bit catches. You want to use a proper drill grip technique where your dominant hand holds the handle firmly, while your other hand wraps around the back of the tool to provide counter-pressure. This keeps the bit from “walking” across your workpiece and helps you stay steady. Think of it as being part of the machine rather than just holding it.
Safety isn’t just about wearing goggles—though you definitely should—it’s about staying in command of the tool. One of the most important cordless drill safety precautions is making sure your workpiece is clamped down tight; if the bit snags and your wood starts spinning, you’re going to have a bad time. Also, don’t forget to keep your fingers clear of the chuck and always double-check that you aren’t drilling into a wire or a pipe hidden behind the wall. Stay focused, stay steady, and you’ll do just fine.
The Right Tool for the Job Drill Bit Types and Uses
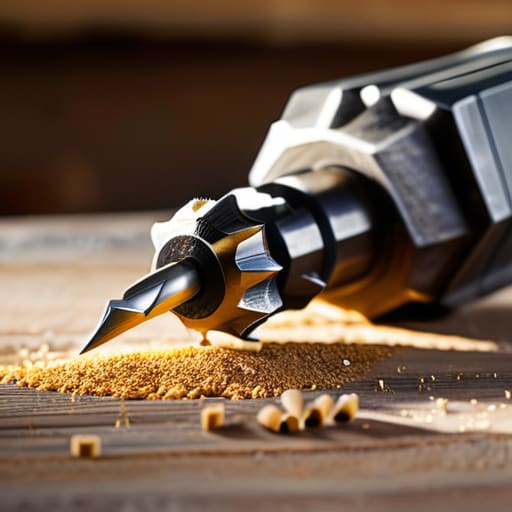
Look, I’ve been there—standing in the middle of an aisle at the hardware store, staring at a wall of shiny metal bits, wondering which one won’t snap the second it touches my project. It’s easy to get overwhelmed, but once you understand the basic drill bit types and uses, everything gets a lot easier. For most of your standard wood projects, a twist bit is your best friend. If you’re working with metal, you’ll want something a bit tougher, like a HSS (high-speed steel) bit. But if you’re trying to figure out how to drill into masonry—like a brick patio or a concrete foundation—standard bits will just die on you. You’ll need a masonry bit, which has that distinct, blunt carbide tip designed to hammer through stone.
One pro tip I learned the hard way: always start by drilling pilot holes. If you try to drive a large screw into a piece of hardwood without a tiny starter hole, you’re either going to split the wood or burn out your motor. It’s a small extra step that saves a massive amount of headache.
Pro Moves to Keep Your Project from Going Sideways
- Mark your spot with a tiny pilot hole first. If you just start driving a big bit into wood, it’s liable to wander off and ruin your alignment, leaving you with a crooked hole and a headache.
- Don’t go full throttle right away. Start slow with a light squeeze on the trigger to get the bit seated, then ramp up the speed once you know you’re on track. It keeps things steady and prevents slipping.
- Watch your pressure, but don’t lean your whole body weight into it. Let the tool do the heavy lifting. If you’re pushing too hard, you’re more likely to snap a bit or strip out the screw head.
- Keep an eye on the “walking.” If you feel the drill starting to tilt or skid, stop immediately, reset your stance, and try again. It’s much easier to fix a small slip than a massive gouge in your material.
- Listen to what the motor is telling you. If it starts sounding strained or high-pitched, you’re probably pushing too hard or using a bit that’s too dull. Back off a second, let it breathe, and adjust your approach.
Quick Wins to Keep You Moving
Don’t rush the process; take a second to double-check your bit and your grip before you pull the trigger so you aren’t fighting the tool halfway through.
Match your bit to your material every single time—using a wood bit on metal is a fast way to ruin a good tool and a frustrating afternoon.
Keep your eyes on the work and your body steady, and remember that if it feels like you’re losing control, just let go and reset.
## My Golden Rule for the Workshop
“A drill isn’t a weapon and it isn’t a magic wand; it’s just a tool. If you stop trying to muscle it into submission and start listening to how it feels in your hands, you’ll realize you’re in control, not the other way around.”
Nathan Cole
You've Got This
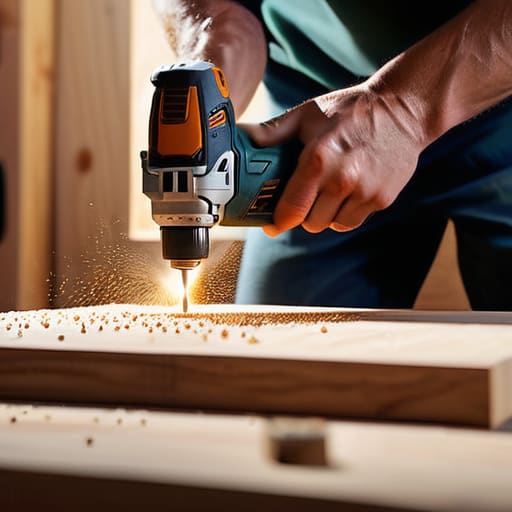
Look, I know that first time you pull the trigger and that motor whirs to life, it can feel a little overwhelming. But just remember what we talked about: keep your grip firm, pick the right bit for the material you’re working with, and always, always prioritize your safety gear. Once you stop overthinking the mechanics and start focusing on the steady pressure and the right speed, you’ll realize that using a drill isn’t some mysterious black art. It’s just about matching the right tool to the task and staying patient while you work. If you get a crooked hole or a stripped screw, don’t sweat it—even I mess up more often than I’d like to admit.
At the end of the day, a drill is more than just a piece of plastic and metal sitting in your toolbox; it’s your ticket to actually getting things done around the house. There is a specific kind of satisfaction that comes from looking at a shelf you hung or a project you finished and knowing you didn’t have to call a professional to do it for you. So, grab your safety glasses, head out to the garage, and start building something. You might be surprised at just how much you can accomplish once you stop being afraid of the noise.
Frequently Asked Questions
Is it okay to use a regular drill bit on metal, or am I going to ruin the bit?
Short answer? Don’t do it. If you try to use a standard wood or multipurpose bit on metal, you’re going to have a bad time. You’ll likely overheat the bit, dull the tip instantly, and end up frustrated with a piece of scrap metal that won’t budge. Grab yourself a dedicated HSS (High-Speed Steel) bit instead. They’re designed to handle that heat, and they’ll make the job feel smooth rather than a struggle.
How do I stop the drill from slipping when I'm trying to start a hole in something smooth?
I’ve been there—nothing’s more frustrating than watching your drill bit skate across a surface like it’s on ice. To stop that slip, start with a center punch or even a sharp nail. Give the spot a quick, firm tap with a hammer to create a tiny divot. That little notch gives your bit a place to sit so it stays put once you pull the trigger. It makes a world of difference.
What’s the deal with the torque settings—do I really need to mess with those, or can I just leave it on the highest setting?
Look, I get it—the temptation to just crank it to the max is real. But honestly? Leaving it on the highest setting is a quick way to strip a screw head or crack your workpiece. Think of torque like seasoning: too much of a good thing ruins the dish. If you’re driving small screws into soft wood, dial it down. Use the higher settings for heavy-duty drilling. It’s all about control, not just raw power.
