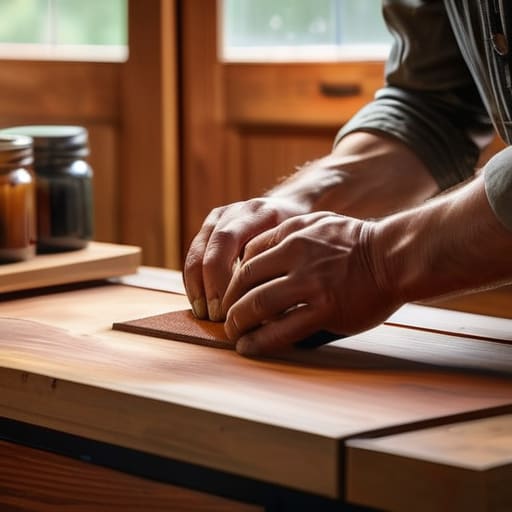
I was standing in the middle of a thrift store last Saturday, staring at this gorgeous, solid oak nightstand that looked like it had been through a war zone. The finish was peeling, the color was a muddy, outdated orange, and most people were walking right past it like it was junk. But I saw something else. I knew that if I sat down and figured out how to refinish furniture properly, that piece could be the centerpiece of a room instead of something hiding in a garage. Most people think you need a professional workshop or a massive budget to save a piece like that, but honestly? That is a total myth.
I’m not here to sell you on some complicated, high-end industrial process that requires a degree in woodworking. Instead, I’m going to show you the real-world, grit-under-your-fingernails way to do it. We’re going to break this down into a few manageable stages—from stripping that old, crusty gunk to applying a finish that actually lasts. My goal is to give you a no-nonsense roadmap so you can stop overpaying for “distressed” boutique pieces and start making your own.
Table of Contents
Guide Overview
Tools & Supplies
- Sandpaper (various grits for smoothing)
- Screwdriver (for removing hardware)
- Paintbrush or Foam roller (for applying finish)
- Tack cloth (for removing dust)
- Wood stripper or Sandpaper (1 pack)
- Primer (1 quart)
- Furniture paint or stain (1 quart)
- Clear topcoat/sealant (1 can)
Step-by-Step Instructions
- 1. First things first, you’ve gotta clear some space. You don’t need a professional workshop, but you do need a flat surface—like a sturdy table or a clean spot on your garage floor—where you won’t be interrupted. Grab some old newspapers or a drop cloth to protect your flooring, because trust me, sanding dust gets everywhere. Once you’ve got your workspace set up, strip off any hardware like handles, knobs, or hinges. It’s much easier to work on a “naked” piece of furniture than trying to navigate around hardware you’re just going to have to clean later anyway.
- 2. Now we get to the dirty part: stripping and sanding. If the piece has a thick, old varnish or paint, you might want to use a chemical stripper first to take the bulk of it off. If it’s just a bit worn, you can jump straight to sanding. Start with a coarser grit sandpaper—I usually go with something around 80 or 100 grit—to get rid of the old finish and any deep scratches. The goal here isn’t to sand it down to nothing, but to create a smooth, even surface that’s ready to take on something new.
- 3. Once you’ve knocked down the heavy stuff, it’s time to smooth things out. Switch to a finer grit, like 150 or 220. You want to sand in the direction of the wood grain, not across it, otherwise you’ll end up with these annoying little scratches that show up once you apply the stain. I like to take my time here because patience pays off when you’re looking for that professional feel. If you rush this part, the final product will look a little wonky.
- 4. This is the step most people skip, but it’s the most important: cleaning. After all that sanding, your furniture is going to be covered in a fine layer of dust. Take a vacuum with a brush attachment or a tack cloth (those sticky little cloths you find in the hardware aisle) and get every single speck off the surface. If there’s any dust left behind, your new finish will feel gritty and uneven instead of smooth as silk.
- 5. Now comes the fun part—choosing and applying your color. If you’re using a stain, apply it with a lint-free rag or a foam brush following the grain of the wood. If you want a solid color, a good quality furniture paint is the way to go. Don’t try to do it all in one thick, heavy coat; instead, apply thin, even layers. It’s much better to do two or three light coats than to try and hide your mistakes with one giant, gloopy layer that takes forever to dry.
- 6. While you’re waiting for the paint or stain to dry, resist the urge to touch it! I know it’s tempting, but even a tiny fingerprint can ruin the finish. Once it’s completely dry to the touch, you’ll want to add a protective topcoat like a polyurethane or a wax. This is what gives the piece its durability and protects it from spills or scratches during everyday use. Just like with the stain, keep your brush strokes light and follow the grain to avoid any streaks.
- 7. Finally, once the topcoat has cured (and give it at least 24 hours, if not longer), you can screw those handles and knobs back on. Take a second to wipe down the hardware so it’s shiny and clean, and then place your freshly revived piece exactly where you want it. You just took something destined for the landfill and turned it into a functional piece of decor, and honestly, that’s a pretty great feeling.
Gathering Your Essential Furniture Refinishing Tools
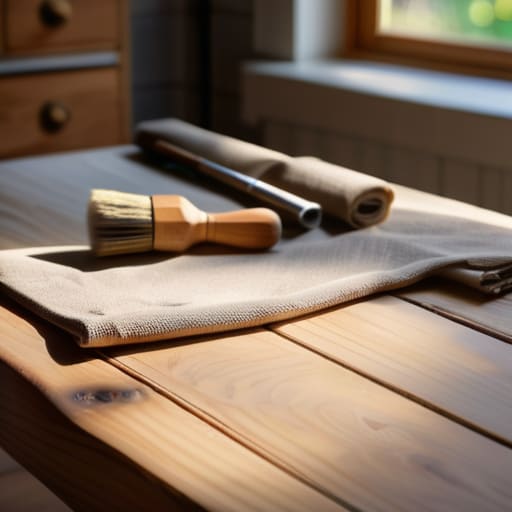
Before you dive in, you’ve got to get your workspace ready. I’ve learned the hard way that nothing kills the momentum of a project like having to stop halfway through because you realized you’re missing a crucial piece of gear. When I’m prepping for a weekend project, I start by rounding up my essential furniture refinishing tools: a good set of sandpaper, some tack cloths, a sturdy brush, and a couple of drop cloths to protect your floors. Trust me, you don’t want to spend your Saturday afternoon running back and forth to the hardware store.
If you’re working on something more complex, like restoring antique wood furniture, you might need to step up your game. You’ll want to grab a high-quality chemical stripper if the old finish is stubborn, or perhaps a random orbital sander to save your arms some grief. I always tell people to keep a small container of mineral spirits handy for cleaning surfaces between steps. It’s all about having the right stuff on hand so you can focus on the fun part—actually seeing that beautiful wood grain come back to life.
Choosing the Right Wood Stripping Techniques
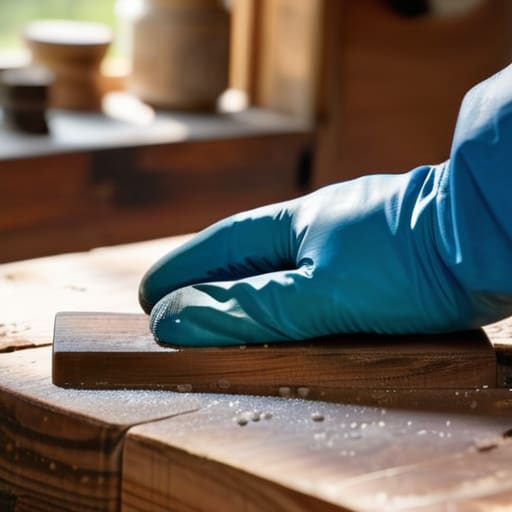
Once you’ve got your tools laid out, you need to decide how you’re actually going to get that old finish off. When it comes to wood stripping techniques, you really have two main paths: chemical strippers or heavy-duty sanding. If you’re working on something delicate, like restoring antique wood furniture, I usually recommend a chemical stripper. It’s a bit messy and you’ll need to wear gloves, but it eats through old varnish without gouging the wood grain. It’s much gentler on those intricate carvings that a power sander would just obliterate.
On the other hand, if the piece is a sturdy dining table or a simple bookshelf, you might just want to dive straight into sanding. This is faster, but you have to be careful. You’ll want to follow a proper furniture sanding grits guide, starting with something coarse to level things out and moving to a finer grit to smooth it down. If you skip steps or go too fast, you’ll end up with swirl marks that show up like a sore thumb once you start applying your finish. Take your time—it’s better to do it right once than to redo it twice.
Five Pro Tips to Keep Your Project from Turning Into a Headache
- Don’t skip the prep work. I know it’s tempting to jump straight to the fun part—the staining—but if you don’t spend enough time cleaning and sanding, your finish is going to look blotchy and uneven.
- Test your stain on a hidden spot first. Every piece of wood reacts differently to pigment, so grab a scrap piece or use the back of a drawer to see how the color actually looks before you commit to the whole thing.
- Work in small, manageable sections. If you try to tackle a massive dining table all at once, the stain might dry unevenly. I like to work one tabletop or one drawer at a time to keep things consistent.
- Watch your lighting. It sounds simple, but if you’re working in a dark corner, you’re going to miss drips, bubbles, or missed spots. Grab a good work lamp so you can actually see what you’re doing.
- Be patient with the drying times. It’s so easy to think, “Oh, it looks dry, I’ll add another coat,” but if you rush it, you’ll end up with a sticky, gummy mess that takes weeks to fix. Just let it sit.
Three Things to Remember Before You Start
Don’t rush the stripping process; if you try to force the old finish off too fast, you’ll end up gouging the wood and creating more work for yourself.
Invest in decent sandpaper and quality tools—it might cost a few extra bucks at the hardware store now, but it’ll save you a massive headache (and a lot of elbow grease) later.
Remember that refinishing is a marathon, not a sprint, so take your time with each layer to make sure the final result actually looks professional.
## The Big Picture
“Look, you don’t need a professional workshop or a degree in fine arts to do this right. You just need a little patience, the right basic tools, and the willingness to get your hands a bit dirty. Most of the time, that old piece of furniture isn’t ‘trash’—it’s just waiting for you to uncover the good stuff underneath.”
Nathan Cole
The Finish Line
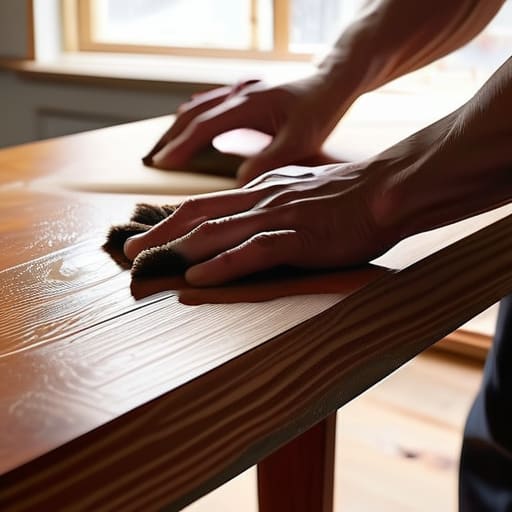
Now that you’ve navigated the messy parts—from picking out the right sandpaper grit to carefully stripping away that old, peeling varnish—you’re finally at the home stretch. Remember, the secret to a professional-looking piece isn’t some expensive industrial machine; it’s really just about patience and preparation. If you took the time to sand smooth and applied your stain or paint in even layers, you’ve already done the hard work. Don’t rush that final topcoat, either. Giving it enough time to truly cure is what separates a project that looks okay today from one that stays beautiful for the next decade.
I know there were probably moments halfway through when you were covered in dust, staring at a piece of wood that looked more ruined than rescued, but look at what you did. You didn’t just fix a piece of furniture; you proved to yourself that you can take something old and forgotten and turn it into something meaningful. That’s the real magic of DIY. Every scratch and dent tells a story, and now, you’re the one writing the next chapter. So, take a step back, grab a coffee, and really admire your handiwork. You earned it, and I bet it looks absolutely incredible.
Frequently Asked Questions
How do I know if a piece of furniture is actually worth the effort of refinishing?
Look, I’ve definitely spent a Saturday sweating over a thrift store find only to realize halfway through that it was just cheap particle board. Not every piece is a winner. Before you grab the sandpaper, check the weight and the joinery. If it’s solid wood and has real dovetail joints, it’s usually worth the sweat. If it feels light as a feather or the “wood” looks like a sticker, save your energy for something better.
Is it safe to use chemical strippers indoors, or should I take this project out to the garage?
Honestly, if you can get it out to the garage, do it. Most chemical strippers have a pretty intense smell and can kick up some nasty fumes that you definitely don’t want hanging around your living room. If you’re stuck working indoors, just make sure you crack every window open, keep a fan running, and wear a decent respirator. Better safe than sorry—I’ve learned that the hard way more than once.
What should I do if I hit a patch of wood that looks damaged or has deep scratches after I strip the old finish?
Don’t sweat it—this happens to the best of us. Once that old finish is gone, the “scars” always seem more obvious. If you’re looking at deep scratches or gouges, grab some wood filler that matches your wood type. For smaller stuff, you can just sand it smooth with high-grit sandpaper. If it’s a real battle wound, fill it, let it dry, and sand it flush. It’s just another little hurdle to clear!
