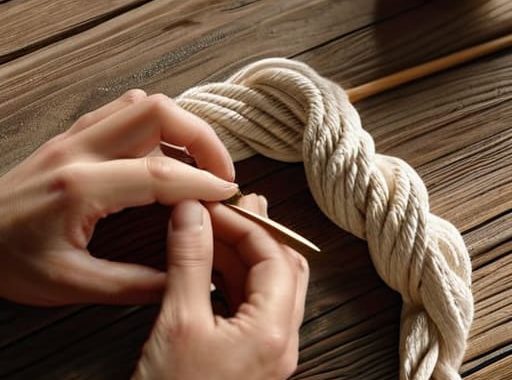
I was sitting on my living room floor last Tuesday, surrounded by a chaotic bird’s nest of tangled cotton cord and feeling completely defeated. I had watched three different “easy” tutorials, but my hands felt like they were working against me, and nothing looked like the polished photos on Pinterest. It’s a common misconception that you need some kind of natural artistry or “knack” to get started, but honestly, that’s a load of junk. Learning macrame for beginners isn’t about being a born artist; it’s just about muscle memory and getting the tension right.
I’ve spent the last few days stripping away all the fluff and the complicated jargon to figure out what actually works when you’re starting from zero. In this guide, I’m going to walk you through the only three knots you actually need to know to make something beautiful. No expensive looms, no high-end studio setups—just you, some string, and a few straightforward steps that anyone can follow. We’re going to turn that frustration into something you can actually hang on your wall by the end of the weekend.
Table of Contents
- Step-by-Step Instructions
- Picking Your First Cord With a Simple Cotton Cord Weight Guide
- The Only Essential Macrame Tools List You Actually Need
- Five Pro-Tips to Keep Your First Project from Turning Into a Tangle
- Quick Tips to Keep You Moving
- My Best Advice Before You Start
- You’ve Got This
- Frequently Asked Questions
Guide Overview
Tools & Supplies
- Scissors for clean cord cuts
- Measuring tape for length accuracy
- S-hooks or clothespins to hold work
- Cotton macrame cord (3mm or 4mm, 1 roll)
- Wooden dowel or ring (1 piece)
- Clipboard or stand to secure project
Step-by-Step Instructions
- 1. First things first, you’ve gotta grab your supplies, and don’t go overboard. You really only need some cotton cord (3mm or 4mm is the sweet spot for beginners), a sturdy pair of scissors, a wooden dowel or even a pretty fallen branch from your backyard, and some masking tape. I like to use a piece of tape to secure my dowel to the edge of a table so it doesn’t slide around while I’m working.
- 2. Once you’re set up, it’s time to load your “workspace.” Cut your cords to about eight times the length of the finished project you’re aiming for—I usually go long because you can always trim it later, but you can’t add more cord once it’s knotted. Fold your cords in half, loop them over your dowel, and pull the loose ends through the loop to create a “Lark’s Head Knot.” This is basically the anchor that holds everything in place.
- 3. Now we get into the actual knotting, and we’re starting with the absolute king of macrame: the Square Knot. Take four strands of cord; the two in the middle are your “filler” cords that stay still, and the two on the outside are your “working” cords. Cross the left cord over the middle ones to make a shape like a “P,” then tuck the right cord under the middle cords and up through the loop on the left. Pull it tight, and you’ve got your first real knot.
- 4. To keep your pattern looking clean, you’ll want to repeat that Square Knot a few times in a row to create a horizontal line. This is called a “Square Knot Row.” If you feel like you’re getting a bit tangled, don’t sweat it; just take a breath and untie it. Even I mess up a knot every now and then, and it’s no big deal.
- 5. If you want to add some texture and break up those straight lines, try a Spiral Stitch. All you do is perform half of the Square Knot over and over again—just the left side, then the left side again. Instead of alternating sides, you keep going in the same direction, and the cord will naturally start to twist into a beautiful spiral. It looks way more complicated than it actually is, I promise.
- 6. As you work your way down, keep an eye on your tension. You want your knots to be firm, but don’t go pulling them so hard that you’re struggling to get the next one in. If you find your hands getting tired, that’s a good sign you’re doing it right, but make sure you’re staying consistent so the piece doesn’t look lopsided.
- 7. Finally, once you’ve reached the length you want, it’s time for the satisfying part: the trim. Lay your piece flat on the floor or a table to see how the fringe looks. Use your sharpest scissors to cut the bottom into a clean straight line, or if you’re feeling fancy, trim them into a V-shape. Once you’re happy with it, hang it up and take a second to realize you just made something with your own two hands.
Picking Your First Cord With a Simple Cotton Cord Weight Guide
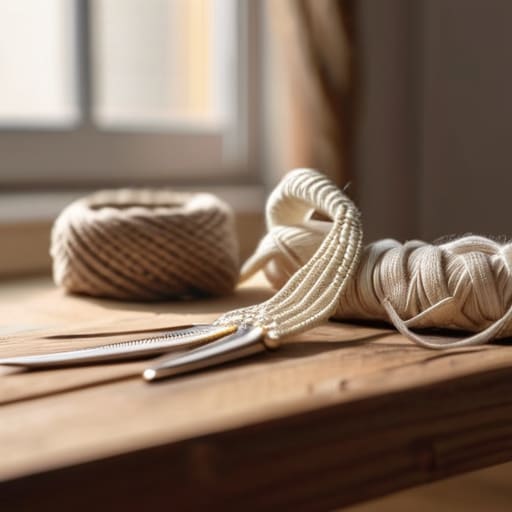
I’ll be the first to admit that walking into a craft store and seeing a mountain of different strings can feel a bit overwhelming. You might be wondering if you need that expensive, specialty fiber or if the cheap stuff will do. Honestly? For your first few tries, you want to keep it simple. I always recommend sticking to a 3mm or 4mm single-strand cotton cord. It’s forgiving, it’s easy on your hands, and it holds those basic macrame knot patterns beautifully without fraying like crazy while you’re still learning the ropes.
If you decide to go with a twisted cord instead of single-strand, just be prepared for a little more “fuzz” as you work. A single-strand cord is much smoother, which makes it my top pick for any macrame wall hanging tutorial you might be following online. Think of it like choosing the right screwdriver for a job—you don’t need the heavy-duty industrial version for a simple shelf, you just need something that fits the task. Grab a small spool of 3mm cotton, and I promise you’ll be making progress before your coffee gets cold.
The Only Essential Macrame Tools List You Actually Need
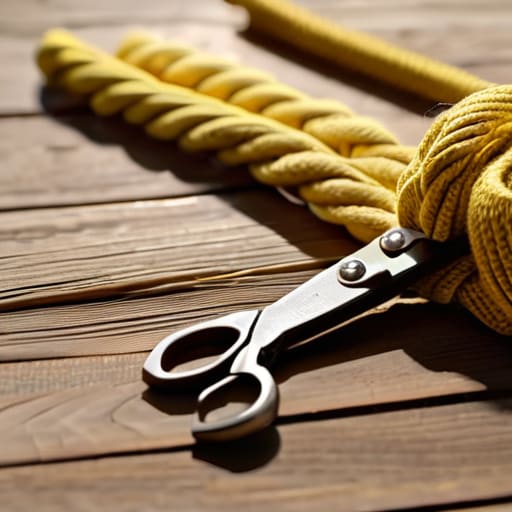
Look, I’ve walked into plenty of craft stores and felt that immediate urge to buy every shiny thing on the shelf, but let me save you some money right now. You don’t need a professional studio setup to get started. For my essential macrame tools list, I keep it strictly to the basics: a sharp pair of fabric scissors, a measuring tape, and something to hold your work while your hands are busy. A simple wooden dowel or even a sturdy branch from your backyard works perfectly as a base.
If you want to get a little more organized, grab a piece of masking tape and a clipboard. I use the tape to secure my cords to a table so they don’t slide around while I’m practicing basic macrame knot patterns. It might feel a little “DIY” in the unpolished sense, but it works every single time. The goal here isn’t to have a pristine workspace; it’s to have the right gear to actually start building. Don’t let a lack of fancy equipment stop you from diving into your first project.
Five Pro-Tips to Keep Your First Project from Turning Into a Tangle
- Don’t overthink your knots. When you’re starting out, it’s tempting to try and make every single loop look perfect, but honestly? Just focus on getting the pattern right. Your first few pieces are going to have some quirks, and that’s okay—it’s part of the charm.
- Watch your tension like a hawk. This is the one thing that trips me up even after years of DIYing. If you pull one knot super tight and the next one a bit loose, your whole piece is going to look wonky and lopsided. Try to keep a steady, relaxed hand throughout the whole process.
- Work on a flat, stable surface. I know it’s tempting to hang your cord from a doorway or a shower rod right away, but for your first few knots, I highly recommend taping your cords down to a table or a clipboard. It stops the constant swaying and lets you actually see what your hands are doing.
- Keep a “scrap pile” handy. You’re going to trim a lot of cord as you go, and you’ll likely make a few mistakes that require you to start a section over. Instead of tossing those bits, throw them in a little bin. They’re great for practicing new knots without wasting your good, expensive cord.
- Take breaks before you get frustrated. If you feel yourself starting to fight with the cord or if your fingers are getting cramped, just walk away. Go grab a coffee or tinker with something else for twenty minutes. Most “mistakes” are just caused by tired eyes, and you’ll fix them much faster with a fresh perspective.
Quick Tips to Keep You Moving
Don’t sweat the small stuff; if your first few knots look a little wonky, that’s totally normal—just keep going and you’ll find your rhythm.
Stick to the basics at first by using a decent cotton cord and the essential tools we talked about so you don’t get overwhelmed by gear you don’t need.
Remember that macrame is all about the process, so focus on getting one knot right at a time instead of worrying about the finished product right away.
My Best Advice Before You Start
“Look, your first few knots are probably going to look a little wonky, and that’s totally fine. Don’t get hung up on making it look like a professional showroom piece right out of the gate; just focus on getting the rhythm down and enjoying the process of making something with your own two hands.”
Nathan Cole
You’ve Got This
Look, I know it can feel a bit overwhelming when you’re staring at a pile of tangled cord and a bunch of new knots, but you’ve already done the hard part. You’ve picked out your tools, found the right cotton cord weight so your hands don’t cramp up, and you’ve got the basic steps down. Just remember that macrame isn’t about being perfect; it’s about getting your hands dirty and learning through trial and error. If a knot looks a little wonky or your tension is uneven on the first try, don’t sweat it. Just untie it, take a breath, and start again. That’s how I learned to fix everything from leaky sinks to wonky shelves, and it’s exactly how you’re going to master this craft.
At the end of the day, the best part of DIY isn’t having a perfectly curated home—it’s that feeling of pride when you look at something and say, “I made that myself.” Whether you end up making a tiny plant hanger or a massive wall tapestry, you’re building a skill that belongs entirely to you. Don’t get caught up in the fancy stuff you see on social media; just keep knotting and enjoy the process. I promise, once you finish that first piece, you’re going to feel like you can tackle just about anything. Now, get out there and start creating!
Frequently Asked Questions
How do I keep my cords from fraying or getting all fuzzy while I'm working?
There’s nothing more frustrating than getting halfway through a knot only to realize your cord looks like it went through a blender. To keep things clean, try to avoid pulling your cord too aggressively or snagging it on any rough edges on your workspace. If you’re working with a particularly fuzzy cotton, I usually keep a small pair of sharp embroidery scissors handy to snip off those stray fibers as I go. It keeps your project looking sharp!
Do I really need a wooden dowel to start, or can I just tie my project to a door handle or a branch?
Honestly? You definitely don’t need a fancy wooden dowel to get moving. I’ve used everything from a sturdy tree branch in my backyard to a heavy-duty door handle when I was first starting out. The goal is just to have something solid that won’t budge while you’re pulling those knots tight. As long as it’s steady and won’t snap or slide around, go for it. Don’t let a lack of supplies stop your momentum!
How much cord should I actually cut before I start so I don't run out halfway through a knot?
Here’s the golden rule I live by: always cut more than you think you need. I usually follow the “four-to-one” rule for beginners. If you want your finished piece to be 12 inches long, start with cords that are at least 48 inches. It feels like a waste of string at first, but trust me, nothing kills my momentum faster than running out of cord mid-knot and having to re-thread everything.
