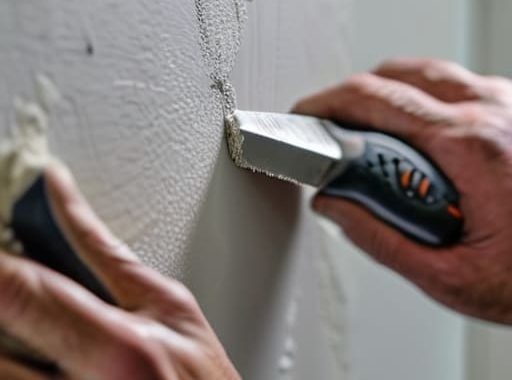
I was halfway through moving a heavy bookshelf last weekend when I heard that dreaded, hollow thud—the sound of a corner punching straight through my living room drywall. My first instinct was to stare at the gaping hole and wonder if I should just call a professional and pay a ridiculous service fee to make the problem go away. But here’s the truth: most people think you need a massive renovation crew for a little drywall damage, but learning how to patch a hole in the wall is actually one of those “easy wins” you can knock out in an afternoon.
I’m not going to bore you with a lecture on structural engineering or suggest you buy every expensive tool in the hardware store. Instead, I’m going to show you how to do this right using just a few basic supplies and a little bit of patience. We’ll go through the whole process—from picking the right patch to getting that final sanding so smooth you won’t even see the seam. My goal is to help you get it done right the first time so you can stop staring at that eyesore and get back to enjoying your home.
Table of Contents
Guide Overview
Tools & Supplies
- Putty knife for spreading compound
- Sandpaper for smoothing surfaces
- Spackle knife for small repairs
- Spackle or joint compound (1 small tub)
- Wall patch or mesh tape (1 roll)
- Sanding sponge (1 piece)
- Interior paint (1 small sample pot)
Step-by-Step Instructions
- 1. First things first, you’ve got to clean up the mess. If the edges of the hole are jagged or sticking out, grab a utility knife and carefully trim away any loose bits of drywall or torn paper. You want a clean, relatively flat perimeter so your patch doesn’t end up looking like a mountain on your wall.
- 2. Grab a piece of mesh adhesive patch—you can find these in a little roll at any hardware store—and center it over the hole. Press it down firmly so it’s stuck tight to the wall. This mesh acts like a skeleton for your repair, giving the compound something to grab onto so your fix doesn’t just crack and fall out later.
- 3. Now, grab your putty knife and a tub of lightweight joint compound. Scoop out a decent amount and spread it over the mesh in thin, even layers. The trick here is to not overwork it; you aren’t trying to build a thick cake, you’re just trying to fill the gaps and smooth the surface.
- 4. Let that first layer dry completely—and I mean really dry. Depending on how humid it is in your house, this could take anywhere from an hour to a few hours. Once it’s hard, take a fine-grit sanding sponge and lightly buff away any ridges or bumps until the patch feels mostly level with the rest of the wall.
- 5. If the hole was a bit deep, you might see a slight dip after that first sanding. Don’t sweat it; just apply a second, even thinner coat of compound over the top. This “skim coat” is what makes the repair truly seamless. Let this one dry, then sand it down one last time until it’s smooth as silk.
- 6. Before you even think about touching a paintbrush, you need to wipe away all that white dust. Use a damp microfiber cloth or a tack cloth to get the area spotless. If you leave the dust there, your new paint won’t stick, and you’ll end up with a patchy, peeling mess that’ll drive you crazy.
- 7. Finally, it’s time for the victory lap: painting. If you have the original paint, great. If not, take a small flake of the old paint to the store so they can color-match it for you. Use a small roller rather than a brush if you can, as it helps the texture of the patch blend in perfectly with the rest of the wall.
Picking the Right Drywall Patch Kit for Small Holes
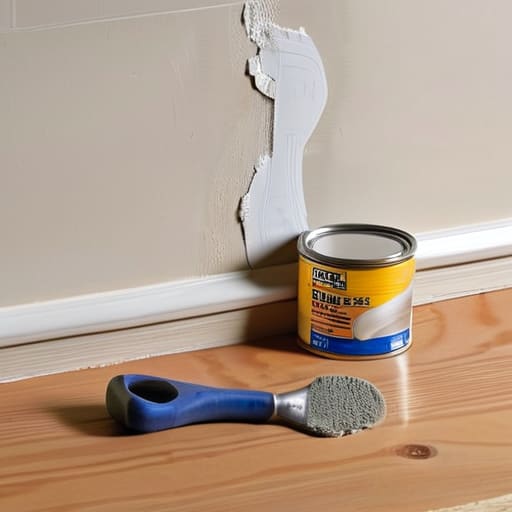
Now, before you head down to the local hardware store, you’ve got to decide if you want to go the DIY route with loose supplies or just grab a pre-packaged drywall patch kit for small holes. Honestly, if you’re just dealing with a tiny nick from a door handle or a stray nail hole, those little kits are a lifesaver. They usually come with a small tub of compound and a mesh patch already attached, which saves you the headache of trying to measure out the perfect amount of mud yourself. It’s all about making the job as painless as possible so you can get back to your weekend.
If the damage is a bit more substantial—think more like a dent or a hole from a doorknob—you might want to skip the tiny kits and grab some wall repair mesh tape instead. It gives you a much sturdier foundation to work with. I always tell people: don’t overcomplicate it. You don’t need a professional-grade setup for a minor fix; you just need the right tools to ensure that once you sand everything down, the patch is totally invisible to the naked eye.
Mastering How to Use Joint Compound Like a Pro
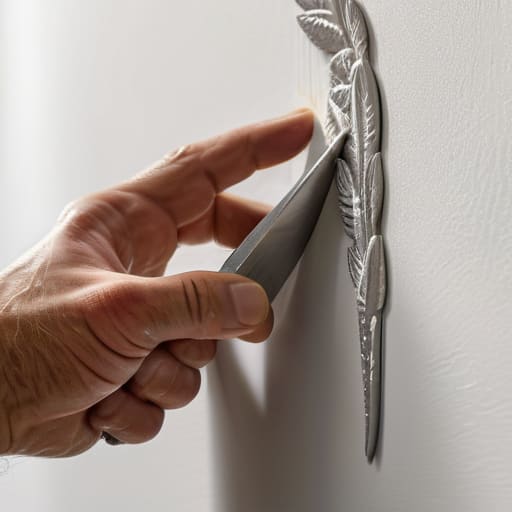
Now, here’s where most people get a little nervous: actually applying the mud. If you’re wondering how to use joint compound without ending up with a mountain of mess, the secret is all in the wrist. You don’t want to just glob it on there like you’re frosting a giant cupcake. Instead, aim for thin, even layers. I always tell myself to “feather” the edges—that means spreading the compound slightly wider than the actual hole so it blends into the surrounding wall. If you go too thick right out of the gate, you’re going to spend way too much time later trying to fix a massive hump in your drywall.
Once that first layer is dry, you’ll probably notice it looks a little rough. Don’t sweat it; that’s totally normal. This is where you’ll want to use some basic drywall sanding techniques to get things level. Grab a fine-grit sanding sponge and use light, circular motions. The goal is to sand drywall smooth until you can run your hand over the patch and barely notice where the hole used to be. If you see any tiny pits or scratches, just apply one more paper-thin layer of compound, let it dry, and sand it again. Patience is your best tool here!
A Few Pro Tricks to Save You Some Headaches
- Don’t go overboard with the compound. I’ve seen plenty of guys try to fix a hole by slapping on a massive glob of mud, but all that does is create a mountain you’ll have to sand for hours. Think thin layers—apply a little, let it dry, and then do another. It’s much easier to build up the surface slowly than to try and shave down a huge hump later.
- Sanding is where the real magic happens, but it’s also where the mess lives. If you aren’t using a vacuum attachment, grab some cheap painter’s plastic to cover your furniture. Use a fine-grit sanding sponge rather than heavy-duty sandpaper; you want to smooth out the edges so they blend into the wall, not grind a crater into your drywall.
- Watch your lighting. When you’re checking to see if the patch is actually level, don’t just look at it head-on. Take a flashlight or your phone light and shine it sideways across the patch (we call this “raking light”). It’ll reveal every tiny bump or dip that your eyes might miss in normal light.
- Give it time to dry completely between coats. It’s tempting to keep layering because you want to get the job done and move on to dinner, but if you apply wet compound over wet compound, you’re going to end up with a soft, mushy mess that cracks as it shrinks. If it looks even slightly damp, wait another hour.
- Don’t forget the final touch: texture and paint. A patch might be perfectly smooth, but if the rest of your wall has a slight “orange peel” texture, your repair is going to scream “I fixed this!” Grab a can of spray texture or use a roller to match the surrounding area before you hit it with the paint.
The Quick Version: 3 Things to Remember
Don’t try to do it all in one go; it’s way better to apply a thin layer, let it dry, and repeat than to try and slap on one thick, messy glob that’ll never dry right.
Your sanding skills are just as important as your patching skills—take your time with the fine-grit sandpaper so you don’t end up with a bump that shows up as soon as you turn the lights on.
Match your patch to the damage; a tiny little kit is perfect for a nail hole, but if you’re looking at a fist-sized crater, you’re going to want a mesh patch to give that compound something solid to grab onto.
My Philosophy on Home Repairs
“A hole in the wall isn’t a disaster; it’s just a small project waiting to happen. Once you stop looking at the damage and start looking at the solution, you’ll realize that fixing things isn’t about being a pro—it’s just about having the right patience and a little bit of spackle.”
Nathan Cole
You’ve Got This
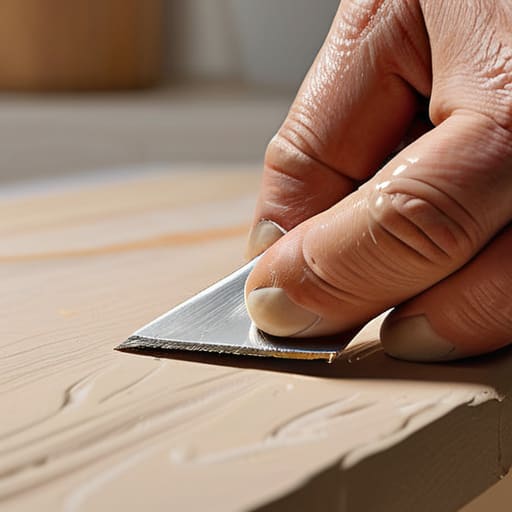
At the end of the day, patching a hole isn’t about achieving architectural perfection on your first try; it’s about the process. We’ve walked through picking the right kit, applying that joint compound with a steady hand, and making sure your sanding is smooth enough to disappear once the paint goes on. Remember, the secret is really in the prep work and the patience to let things dry properly between coats. If you find yourself staring at a slightly uneven patch, don’t sweat it—just a little more compound and another light sanding will usually do the trick. It’s all about taking it one layer at a time until that wall looks solid again.
I know that staring at a damaged wall can feel a little overwhelming, especially if you aren’t used to getting your hands dirty with construction materials. But honestly, look at what you just did. You didn’t call a professional or spend a fortune on a repair crew; you grabbed some tools, rolled up your sleeves, and fixed it yourself. That feeling of looking at a repaired room and knowing you were the one who made it happen is better than any store-bought fix. So, take a second to appreciate the win, grab a cold drink, and realize that there isn’t much in your house that you can’t handle.
Frequently Asked Questions
Do I really need to sand it between every single layer of compound, or can I just do it all at once?
Look, I get the temptation to just glob it all on and get it over with, but trust me: don’t do that. If you try to build up a thick layer all at once, it’s going to crack, shrink, or leave you with a massive hump that’s a nightmare to sand down later. Do it in thin, manageable layers. Let each one dry, sand it smooth, and then move to the next. It takes a bit more patience, but it’s the only way to get a finish that actually looks professional.
How do I stop the patch from being super obvious once I finally put a coat of paint on it?
The secret is all in the blending. Once you’ve sanded your patch smooth, don’t just slap paint on the hole itself. You need to “feather” the edges by painting a wider area around the patch so the new color transitions naturally into the old. Also, pro tip: if your wall has a texture, try to mimic it slightly with a sponge or brush. If you just paint a flat circle, it’ll still stand out like a sore thumb.
What’s the best way to handle a hole that’s actually kind of huge, like if a door handle just punched right through the drywall?
Man, we’ve all been there. A door handle or a rogue moving box turns a small dent into a gaping wound. For a hole that size, forget the little mesh patches; you’re going to need a “California Patch” or a piece of scrap drywall. You’ll want to cut a square around the damage, screw a small piece of new drywall into the studs, and then tape and mud the seams. It’s more work, but it’s solid.