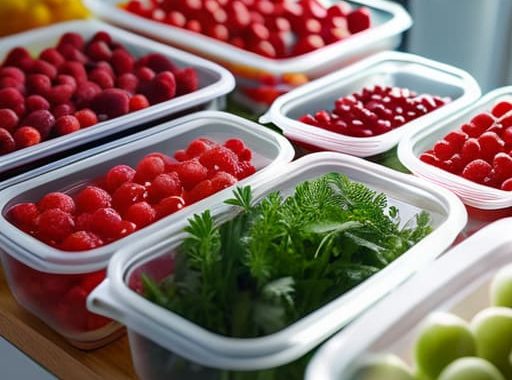
I still remember standing in my tiny first apartment kitchen, staring at a massive bag of spinach that had turned into a literal puddle of green slime in my crisper drawer. It was a total waste of money, and honestly, it felt like a personal failure. I used to think that mastering how to freeze food required some high-tech vacuum sealer or a professional-grade chest freezer that cost more than my car. But after years of trial, error, and a fair share of freezer burn, I’ve realized that most of that fancy gear is just unnecessary hype designed to empty your wallet.
Look, I’m not here to give you a lecture on food science or sell you on expensive gadgets you’ll never use. My goal is to show you that anyone can master this with just a few basic containers and a bit of common sense. I’m going to break down the most effective, no-nonsense ways to prep your meals, protect your budget, and make sure that when you finally open that bag of frozen peas six months from now, they actually taste like food. Let’s get to work.
Table of Contents
Choosing Proper Food Storage Containers for Success
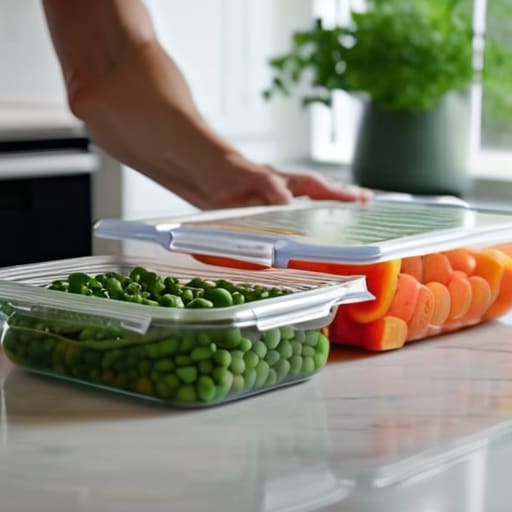
Before you start packing everything away, you need to talk about the gear. I’ve learned the hard way that not all containers are created equal, and using the wrong one is the fastest way to end up with a bag of ice crystals instead of a delicious meal. If you’re serious about preventing freezer burn, you really need to focus on how much air is touching your food. Air is the enemy here. I usually lean toward heavy-duty freezer bags that I can squeeze every last bit of oxygen out of, or glass containers with snap-on lids that create a tight seal.
If you’re planning on doing some serious bulk prepping, you might want to look into vacuum sealing for long term storage. It’s a bit of an investment upfront, but it’s a total game-changer for keeping things fresh for months. For everyday stuff, like freezing vegetables and fruits, simple silicone bags or even reusable containers work just fine. Just make sure they’re actually rated for sub-zero temperatures so they don’t crack on you. Picking the right proper food storage containers now saves you from a massive headache—and a lot of wasted money—later.
Best Practices for Food Preservation Made Easy
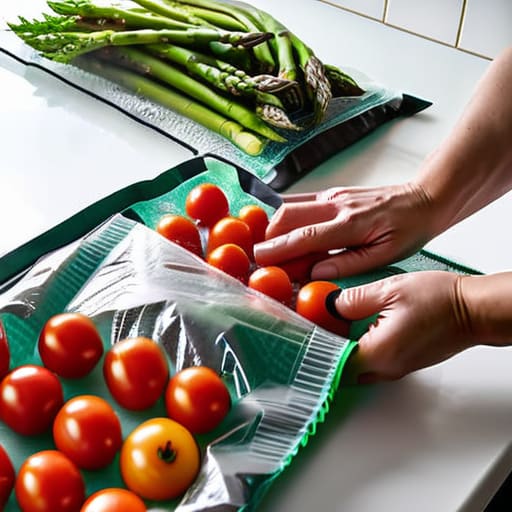
Once you’ve got your containers sorted, it’s time to talk about the actual process. If you want to avoid that weird, icy texture that ruins a good meal, you really need to focus on preventing freezer burn. The enemy here is air; if air can touch your food, it’s going to dehydrate it. I’ve learned the hard way that squeezing every bit of oxygen out of a bag before zipping it shut makes a massive difference. If you’re planning on stocking up for the long haul, I highly recommend looking into vacuum sealing for long term storage. It’s a bit of an upfront investment, but it keeps everything tasting fresh for months instead of weeks.
Another thing I always tell my friends is to don’t just toss everything in at once. When you’re freezing vegetables and fruits, try to flash-freeze them on a baking sheet first. This keeps them from turning into one giant, unusable frozen brick. Also, keep a little cheat sheet on your freezer door so you remember how long can frozen food last—because we’ve all found a mystery package from last summer that definitely needs to go.
My Top 5 Pro-Tips for a Freezer That Actually Works for You
- Give your food a head start by cooling it down first. I’ve learned the hard way that tossing a steaming hot pot of chili straight into the freezer is a recipe for disaster—it creates frost buildup and can actually raise the temp of everything else around it. Let it hit room temp on the counter first.
- Get the air out of the equation. Air is the enemy of frozen food; it’s what causes that weird “freezer burn” that makes meat taste like cardboard. Whether you’re using a vacuum sealer or just squeezing every bit of air out of a Ziploc bag, the tighter the seal, the better the food stays.
- Think small to eat big. Don’t freeze a giant, solid block of lasagna that you’ll have to thaw for six hours just to eat one slice. I always portion my meals into single servings or small family-sized portions before they go in. It saves so much time and energy later.
- Label everything like your life depends on it. I know, I know—you think you’ll remember what’s in that unmarked bag, but three months from now, that frozen lump is going to look exactly like every other frozen lump. Use a Sharpie to write the food type and the date right on the bag.
- Flatten it out for easy stacking. If you’re freezing soups, sauces, or even chopped veggies, try to spread them out flat in bags before freezing. Once they’re frozen solid, you can stack them like books on a shelf. It keeps your freezer organized and makes thawing a breeze.
Quick Tips to Keep Your Freezer Working for You
Don’t just toss things in loose; use airtight containers or heavy-duty freezer bags to keep that nasty freezer burn away.
Label everything with a Sharpie—trust me, you don’t want to be playing “guess the mystery meat” three months from now.
Leave a little breathing room in your containers so things have space to expand without cracking your good glass bowls.
## My Golden Rule for the Freezer
“Look, I’ve learned the hard way that freezing food isn’t just about shoving stuff in the cold; it’s about prepping it right so that when you finally pull that container out on a Tuesday night, it actually tastes like a real meal and not a block of freezer burn.”
Nathan Cole
Wrapping It All Up
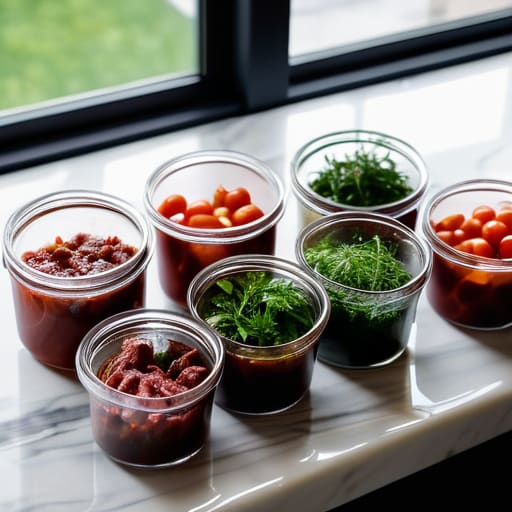
Look, I know that staring at a pile of leftovers or a mountain of bulk groceries can feel a bit overwhelming at first. But once you’ve got your airtight containers picked out and you’re following those basic preservation steps—like portioning things out and getting the air out—you’re already halfway there. Just remember to label everything with a date so you aren’t playing a guessing game with your dinner three months from now. It’s all about setting yourself up for success before that food even hits the ice. If you take these small, intentional steps now, you’ll save yourself a massive headache (and a lot of wasted cash) down the road.
At the end of the day, mastering your freezer is about more than just saving a few bucks or keeping a bag of peas from turning into a block of ice. It’s about taking control of your kitchen and your schedule. There is a certain kind of quiet satisfaction that comes from opening your freezer on a Tuesday night, knowing you’ve already done the hard work, and having a delicious, home-cooked meal ready to go in minutes. So, don’t sweat the perfection; just start small, keep it simple, and enjoy the peace of mind that comes with being prepared. You’ve totally got this!
Frequently Asked Questions
How long can I actually keep things in the freezer before they start tasting like freezer burn?
Here’s the honest truth: there’s a difference between “safe” and “good.” Technically, most stuff stays safe to eat indefinitely if it’s frozen solid, but nobody wants a steak that tastes like a bag of old peas. For the best flavor, aim for 3 to 6 months for most meats and veggies. If you push it past that, you’re playing freezer burn roulette. Keep things tightly sealed, and you’ll get way more mileage out of your stash.
Do I really need to blanch my veggies first, or can I just toss them straight in?
Look, if you’re in a rush, you can just toss them in, but you’ll probably regret it later. If you skip blanching, those veggies tend to turn mushy, lose their bright color, and—worst of all—lose that fresh flavor. Think of blanching as a quick “reset button” that stops the enzymes from breaking everything down. It takes an extra five minutes, but it’s the difference between a good meal and a sad, gray one.
Is it safe to freeze leftovers that have already been sitting in the fridge for a day or two?
Short answer: Yeah, you’re good to go. As long as those leftovers haven’t been sitting in the fridge for more than two or three days, they’re perfectly safe to toss in the freezer. Just make sure they’re still smelling fresh and haven’t reached that “off” stage. I usually try to freeze them as soon as possible to keep the texture from getting too weird when I reheat them later.
