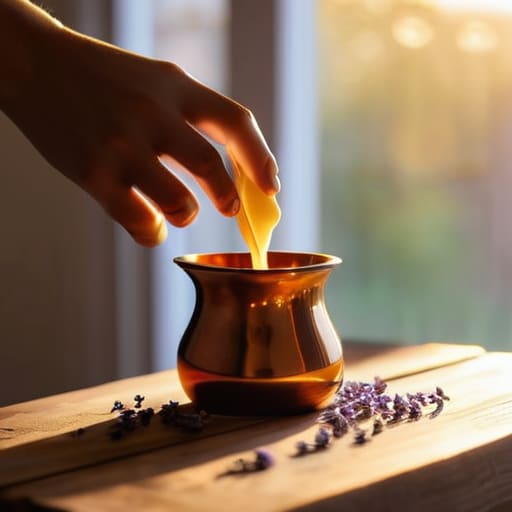
I used to think that if I wanted a candle that actually smelled like something—and didn’t just smoke like a chimney—I’d have to drop twenty bucks at a boutique shop. I’d see those fancy DIY kits online with a million specialized tools and think, there’s no way I can do that in my cramped kitchen. But here’s the truth: learning how to make candles isn’t about having a professional laboratory or a massive budget. It’s really just about understanding a few basic principles of heat and scent, and honestly, most of the “expert” gear you see online is just unnecessary fluff that gets in the way of the actual work.
In this guide, I’m stripping away all the complicated jargon and expensive gadgets to show you the real way to get it done. I’ll walk you through exactly what supplies you actually need, how to avoid those common “tunneling” mistakes, and how to get a scent throw that actually fills a room. My goal is to give you a straightforward, no-nonsense roadmap so you can stop overthinking it and start pouring. By the time we’re done, you’ll be making custom scents that look and smell better than the store-bought stuff.
Table of Contents
- Step-by-Step Instructions
- Finding the Right Soy Wax Candle Making Supplies
- Mastering Your Candle Pouring Temperature Guide
- Five Pro-Tips to Save You from a Wax-Filled Mess
- Quick Tips to Keep Your Candle Making on Track
- ## The Real Secret to Great Candles
- You’ve Got This: Final Thoughts on Your First Batch
- Frequently Asked Questions
Guide Overview
Tools & Supplies
- Double boiler or heat-proof bowl and pot for melting wax
- Thermometer to monitor wax temperature
- Pouring pitcher for controlled pouring
- Wick centering tool or clothespin to hold wicks straight
- Soy or paraffin wax (1 lb)
- Candle wicks (5-10 count)
- Fragrance oils (1 oz)
- Glass jars or tins (2-4 count)
Step-by-Step Instructions
- 1. First things first, you need to gather your gear. You don’t need a professional laboratory, but you do need the right basics: some soy wax flakes (they’re easier for beginners than beeswax), cotton wicks, some scent oils, and a few glass jars or tins. I always grab a double boiler setup—if you don’t have one, just put a glass bowl over a pot of simmering water. It’s much safer than trying to melt wax directly on a burner, which is a one-way ticket to a messy kitchen disaster.
- 2. Once your setup is ready, it’s time to melt that wax. Pour your wax flakes into the top of your double boiler and turn the heat to medium-low. You want to be patient here; don’t try to rush the process by cranking up the heat. Just keep an eye on it until everything is completely liquid and clear. If you see any bits of solid wax floating around, give it a little stir with a wooden spoon to help it along.
- 3. While the wax is melting, let’s prep your containers. This is the part people usually skip, but it’s the secret to a candle that actually stays upright. Take your wicks and use a tiny bit of melted wax or a glue dot to secure them right in the center of your jar. I like to use a clothespin or even a popsicle stick with a hole in it to hold the wick steady across the top of the jar so it doesn’t lean while the wax cools.
- 4. Now comes the fun part: adding the scent. Once your wax is fully melted, take it off the heat and let it cool down for just a minute or two. If you add the fragrance oil while the wax is boiling hot, you’ll actually burn off the scent before the candle even sets. Pour in your fragrance oils—start with about an ounce per pound of wax—and stir it slowly and thoroughly for at least two minutes to make sure it’s fully incorporated.
- 5. It’s time for the big pour. Slowly trickle the scented wax into your prepared jars. You want to go easy so you don’t create any air bubbles, which can make the surface look bumpy and weird later. Leave about a half-inch of space at the top of the jar. If you see any bubbles forming on the surface, you can gently tap the side of the jar to help them rise to the top and pop.
- 6. Now, the hardest part for me: waiting. You need to let your candles sit undisturbed at room temperature. Don’t stick them in the fridge to speed things up; that’ll cause the wax to crack. Just let them hang out for at least 24 hours. Once they look solid and feel firm, trim the wick to about a quarter-inch above the wax. This ensures you get a clean, even burn the first time you light it.
Finding the Right Soy Wax Candle Making Supplies
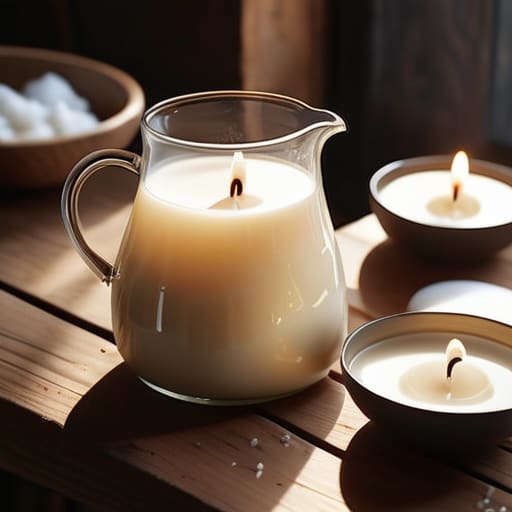
Now, before you go running out to the nearest craft store, let’s talk about what you actually need to grab. If you’re just starting out with candle making for beginners, my best advice is to keep it simple but don’t skimp on the basics. You’ll want to hunt down a decent kit or source your soy wax candle making supplies from a dedicated supplier rather than a general hobby shop if you can. The quality of your wax makes a huge difference in how clean that candle burns, and honestly, it’s much more rewarding when you aren’t fighting with clumps or uneven surfaces.
When it comes to the little details, pay close attention to your wicks. Choosing the best wick types for candles is actually a bit of a science; if the wick is too small, you get a tunnel, and if it’s too big, you get a smoky mess. I also highly recommend picking up a few high-quality essential oils for scented candles rather than cheap synthetic fragrances. They smell a lot more natural and won’t give you that headache I used to get from those drugstore varieties. Just grab the essentials first, and you can always expand your stash later.
Mastering Your Candle Pouring Temperature Guide
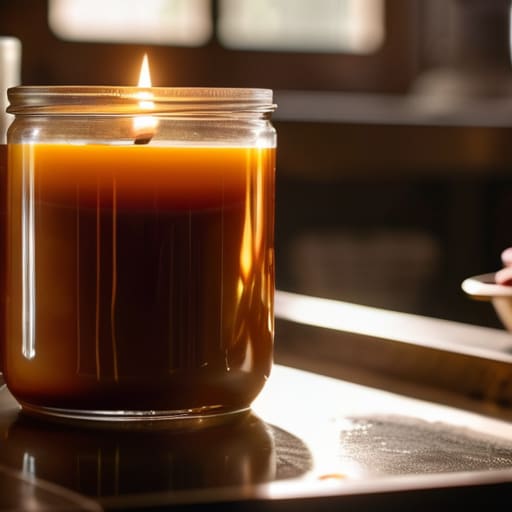
This is where a lot of folks get tripped up, but honestly, once you get the hang of it, it becomes second nature. Think of temperature like cooking a steak; if you pull it off the heat too early or too late, the whole thing changes. When you’re following a candle pouring temperature guide, you aren’t just being picky—you’re ensuring your candle looks professional rather than lumpy. If you pour the wax while it’s too hot, you might end up with sinkholes or a surface that looks like a dried-up lakebed. On the flip side, if you wait until it’s too cool, it can get “slushy” and won’t settle smoothly against the sides of your jar.
I’ve learned the hard way that patience is your best tool here. I always keep a digital thermometer handy because eyeballing it just doesn’t work. If you’re using essential oils for scented candles, the temperature is even more critical. If the wax is scorching hot when you stir them in, you might actually burn off that lovely scent you paid good money for. Aim for that sweet spot where the wax is clear but starting to look a tiny bit cloudy—that’s usually your golden window for a perfect, smooth finish.
Five Pro-Tips to Save You from a Wax-Filled Mess
- Don’t skimp on the thermometer. I know it’s tempting to just “eyeball it” like I do when I’m cooking a steak, but wax is picky. If you add your fragrance oil when the wax is too hot, you’ll actually burn off the scent, and your candle will end up smelling like nothing once it’s lit.
- Centering your wick is everything. There is nothing more frustrating than finishing a beautiful candle only to have the wick drift to the side and melt the glass unevenly. I like to use a simple clothespin or even a popsicle stick across the top of the jar to keep that wick standing perfectly straight while the wax sets.
- Give your candles plenty of “cure time.” This was a big lesson for me early on. Even if the candle looks solid and smells great, the fragrance needs time to actually bond with the wax. Let your soy candles sit for at least a week (two is even better) before you light them for the first time.
- Watch out for “frosting.” If you’re using soy wax, you might see some white, crystalline patterns on the surface. Don’t panic—it doesn’t mean you failed. It’s just a natural characteristic of soy. To minimize it, try to keep your workspace at a consistent, warm temperature while the candles are cooling.
- Clean your gear immediately. Once that wax hardens, it’s a pain to deal with. My trick is to keep a little bit of leftover warm wax in a paper towel to wipe out my melting pot while it’s still warm. It saves you a massive headache when you’re cleaning up at the end of the night.
Quick Tips to Keep Your Candle Making on Track
Don’t rush the process—patience is your best tool, especially when it comes to hitting that perfect pouring temperature so your candles don’t end up with weird cracks or holes.
Get your supplies right from the jump; investing in decent soy wax and quality wicks makes the difference between a candle that smells great and one that’s a total headache to light.
Remember that it’s okay to mess up a batch here and there—even I’ve had a few failed pours—so just treat every mistake as a chance to learn how your wax behaves.
## The Real Secret to Great Candles
“Look, you’re probably going to mess up your first batch—maybe the wick is wonky or the scent is a little weak—but don’t sweat it. Candle making isn’t about being perfect; it’s just about getting your hands dirty, learning how the wax reacts, and realizing that you’ve got this.”
Nathan Cole
You’ve Got This: Final Thoughts on Your First Batch
Now that we’ve walked through the whole process, I hope you see that making your own candles isn’t some mysterious science reserved for experts. From picking out the right soy wax to hitting that perfect pouring temperature, it really just comes down to being patient and paying attention to the details. Remember, it’s totally normal if your first few attempts aren’t absolute masterpieces. Maybe the wick is a little crooked or the scent isn’t quite as strong as you hoped, but that’s just part of the learning curve. The most important thing is that you did it yourself rather than just buying something off a shelf.
At the end of the day, I want you to step back and enjoy the sense of accomplishment that comes with creating something from scratch. There is a specific kind of satisfaction in lighting a candle in your living room and knowing you were the one who measured the wax and blended the oils. Don’t be afraid to experiment with new scents or different containers as you get more comfortable. Most things in life are just a series of small, manageable steps, and you just proved that to yourself today. Now, go grab a drink, light that first candle, and enjoy the glow of a job well done.
Frequently Asked Questions
Why are my candles getting those weird little sinkholes or cracks on top once they cool?
Man, I’ve been there. You finish a perfect pour, wait for it to set, and then—bam—you’ve got a crater or a crack staring back at you. It’s frustrating, but don’t sweat it; it happens to the best of us. Usually, it’s just a temperature issue. If your wax cools too fast or you pour it while it’s too hot, it shrinks unevenly. Try pouring in a warmer room or using a heat gun to smooth things over.
Can I use any kind of essential oil, or do I need specific fragrance oils for this to work?
That’s a great question, and honestly, one I wish someone had told me when I first started tinkering with this. You can use essential oils, but it’s not always a straight swap. Essential oils are natural and great, but they can be finicky with heat and might not throw much scent when the candle is lit. Fragrance oils are engineered specifically to play nice with wax. If you want a heavy scent, go fragrance; if you want natural, go essential—just keep an eye on those temperatures!
How long do I actually need to let the candles sit before I can light them for the first time?
I know the feeling—you’ve finished pouring, the house smells amazing, and you just want to light that first candle. But hold your horses! If you’re using soy wax, you really need to let them cure for at least one to two weeks. I know, it feels like an eternity, but that extra time lets the wax and fragrance oil fully bond. Trust me, it makes a massive difference in how much scent you actually get.
