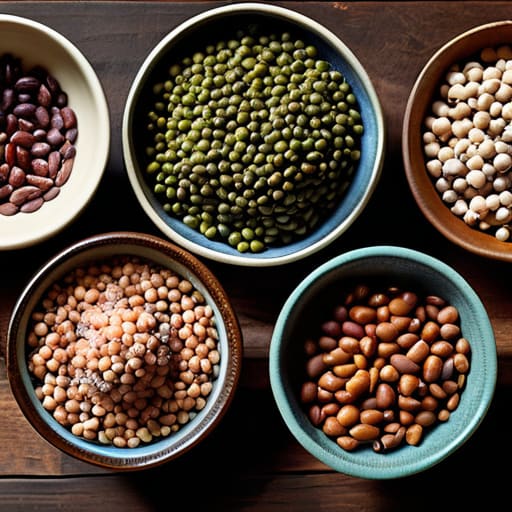
I still remember standing in my tiny first apartment kitchen, staring at a bag of dried chickpeas like they were some kind of high-tech puzzle I wasn’t smart enough to solve. I’d tried the “fancy” way once—following some overly complicated recipe that required three different types of aromatics and a specialized pot—and all I ended up with was a pot of mushy, tasteless disappointment. It’s a total myth that you need a culinary degree or a massive budget to master the basics; honestly, most people make things way harder than they need to be when learning how to cook beans and lentils.
Look, I’m not here to give you a lecture or a list of expensive gadgets you don’t need. I’m just going to show you how I do it in my own kitchen: simple, reliable, and foolproof. I’ll break down the actual mechanics of soaking, simmering, and seasoning so you can stop relying on those expensive, salty cans and start making stuff that actually tastes good. My goal is to make sure you walk away feeling like you’ve finally cracked the code on these pantry staples.
Table of Contents
Deciding on Soaking Dried Beans vs No Soak
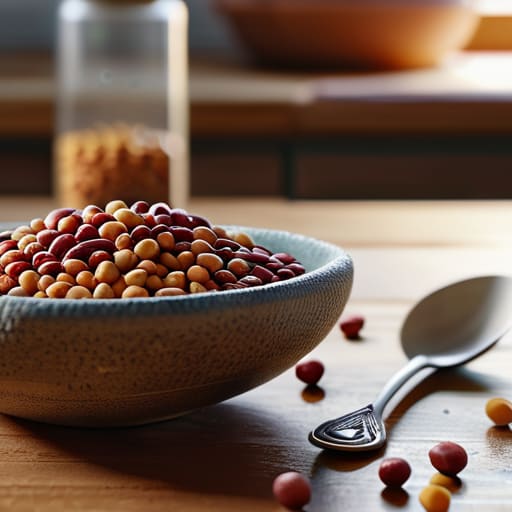
This is where most people get stuck before they even turn on the stove. You’ll see two schools of thought online: the old-school way where you prep everything the night before, and the “just throw it in” method. When you’re weighing soaking dried beans vs no soak, it really comes down to how much time you have and what kind of texture you’re after.
If you’ve got the patience, soaking is your best friend. It helps soften the skins and, more importantly, it’s a great trick for how to prevent gas from beans by breaking down those complex sugars that cause the bloat. Plus, it makes the actual cooking time a lot more predictable.
On the flip side, if you’re a busy person who forgets to plan ahead, you can absolutely skip the soak. You’ll just need to adjust your stovetop bean cooking method by adding more water and a bit more time to the clock. I personally love the soak for big batches, but if I’m craving a quick chili on a Tuesday, I don’t let a lack of prep stop me.
Mastering the Stovetop Bean Cooking Method
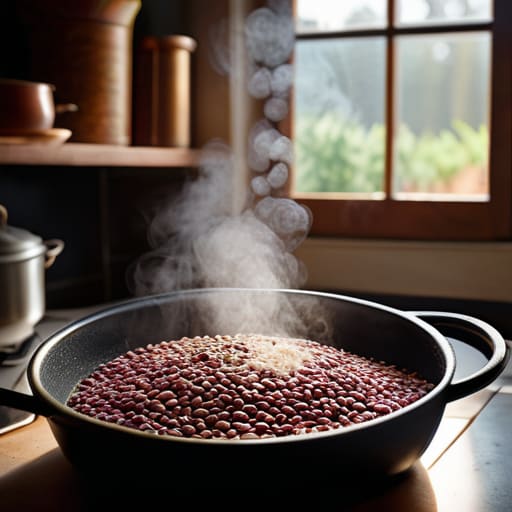
Once you’ve decided whether you’re going the soak or no-soak route, it’s time to actually get the heat going. The stovetop bean cooking method is my personal favorite because it gives you the most control. Start by placing your beans in a heavy-bottomed pot—I always reach for my old Dutch oven—and cover them with at least two inches of fresh water. Bring that to a rolling boil, then immediately drop the heat down to a low, steady simmer. You’re looking for those lazy, small bubbles, not a violent boil that’ll mash your beans into mush.
The trick to getting this right is patience and keeping an eye on the clock, since cooking times for different bean varieties can vary wildly. A can of chickpeas is going to take a lot longer than a handful of red lentils. While they simmer, don’t be afraid to get creative with flavor; adding a bay leaf or a clove of smashed garlic to the pot early on makes a huge difference. Just remember to check the texture every twenty minutes or so to make sure you haven’t gone past the sweet spot.
5 Pro-tips to keep your beans from turning into mush
- Don’t go overboard with the salt right at the start. I used to do this all the time, but adding salt too early can actually toughen up the skins. Wait until they’re mostly tender before you start seasoning heavily.
- Keep an eye on your aromatics. If you want a deeper flavor without extra work, toss a smashed garlic clove, a bay leaf, or even a halved onion into the pot while they simmer. It’s a total game-changer for the broth.
- Watch the acid levels. If you’re planning on adding tomatoes, lemon juice, or vinegar, wait until the beans are actually soft. Acid is a flavor powerhouse, but if you add it too soon, it can keep those beans hard no matter how long you boil them.
- Use the “taste test” method instead of just relying on the timer. Every batch of dried beans is a little different—some are older and drier than others. Poke one with a fork; if it gives way easily, you’re golden.
- Don’t toss that leftover cooking liquid! That bean liquor is packed with starch and flavor. If you’re making a soup or a stew later in the week, use that liquid instead of plain water to give your dish some serious body.
Quick wins for your next batch
Don’t overthink the soak; if you’re short on time, just rinse them well and go, but if you’ve got the night to spare, an overnight soak makes for a much creamier texture.
Watch your salt—don’t add it too early in the process or you might end up with tough skins, so wait until the beans are actually getting tender.
Keep an eye on the liquid levels throughout the simmer; you want them submerged, so keep a kettle of hot water nearby to top things off if they start looking thirsty.
## The secret to great beans
“Look, you don’t need a fancy pressure cooker or a culinary degree to get a great bowl of beans; you just need a little patience and the willingness to let them simmer until they’re exactly where you want them.”
Nathan Cole
Putting It All Together
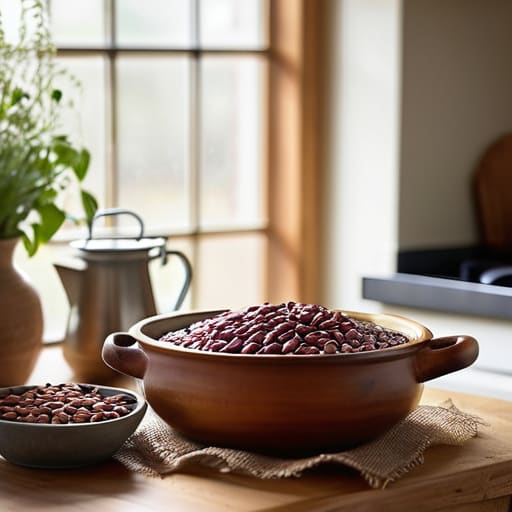
Look, I know it feels like a lot when you first stare at a bag of dried beans and a recipe that asks for a twelve-hour soak, but once you get the hang of it, it’s totally manageable. Just remember the basics: decide if you have the time to soak them overnight for that extra creamy texture, or if you’re in a rush and need to go the no-soak route with a bit more simmering time. Keep an eye on your heat levels on the stovetop, don’t go overboard with the salt until they’re actually tender, and always keep a little extra water or broth nearby just in case. If you follow these simple steps, you’re going to end up with something much better—and way cheaper—than anything you’ll find in a tin can.
At the end of the day, cooking from scratch isn’t about being a gourmet chef; it’s about taking control of your kitchen and your budget. There is a certain kind of quiet satisfaction that comes from sitting down to a bowl of lentils you prepped yourself from a handful of dry seeds. Don’t sweat the small stuff if the first batch comes out a little too soft or a little too firm. Cooking is a skill, and just like fixing a leaky sink or troubleshooting a slow computer, you get better every single time you try. So, grab a pot, get some beans on the stove, and just start cooking. You’ve got this.
Frequently Asked Questions
Do I really need to add salt to the water at the beginning, or will that make the skins tough?
That’s a classic question, and I get it—you don’t want to end up with beans that feel like pebbles. But honestly? Go ahead and salt that water. Adding salt early actually helps season the bean all the way to the center, rather than just coating the outside. It won’t toughen the skins; in fact, it helps them stay intact while they soften. Just don’t overdo it—you can always add more at the end.
How can I tell if my beans are actually done without constantly poking them with a spoon?
Look, I’ve spent way too many evenings hovering over a pot, poking beans like I’m testing a ripe melon. Here’s the trick: stop using the spoon and start using your teeth. Take one bean out, let it cool for a second, and bite it. You’re looking for a creamy center with no grainy, chalky texture left. If it’s smooth all the way through, you’re golden. If it still feels a bit sandy, give them ten more minutes.
Can I use a slow cooker or an Instant Pot instead of the stovetop, and will the results be different?
You absolutely can. If you’re short on time or don’t want to hover over a stove, an Instant Pot is a total game-changer—it’s faster and much more “set it and forget it.” A slow cooker is great for a lazy Sunday, though you’ll want to watch the texture so they don’t turn to mush. The main difference? Pressure cooking keeps things tight and snappy, while slow cooking gives them that creamy, soulful vibe.
