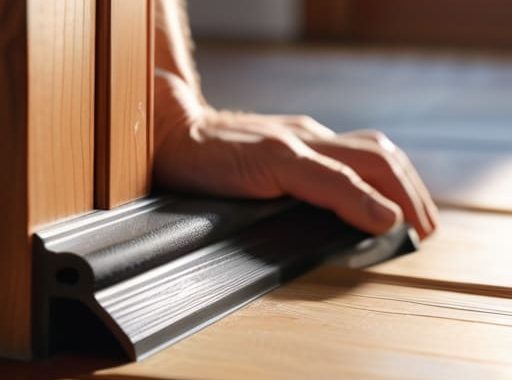
I was sitting on my living room rug last Tuesday, shivering in my own house, when I realized I wasn’t actually cold—I was just being robbed by a draft. It’s one of those things you just learn to live with, right? You crank up the heat, the furnace kicks on, and five minutes later, that icy breeze is whistling right through the cracks of your front entrance. Most people think that weatherstripping a door is some massive, expensive renovation project that requires a contractor and a heavy-duty tool belt, but honestly, that’s just not true. It’s a minor nuisance that’s actually way easier to fix than you think.
I’m not going to give you a lecture on thermal dynamics or sell you on some high-tech, overpriced kit you don’t need. Instead, I’m going to walk you through the exact, no-nonsense way I tackle this every time I see a gap. I’ll show you how to pick the right materials, how to clean those surfaces so the adhesive actually stays put, and the trick to getting a tight seal without making the door a pain to open. Let’s get this done so you can finally stop paying to heat the outdoors.
Table of Contents
Guide Overview
Tools & Supplies
- Tape measure for measuring gaps and door dimensions
- Scissors or utility knife for trimming materials
- Screwdriver if installing screw-on sweeps
- Weatherstripping roll (adhesive or tension-based)
- Door sweep (if replacing the bottom seal)
- Cleaning alcohol or soap to prep the surface
Step-by-Step Instructions
- 1. Before you even head to the hardware store, you need to figure out exactly what kind of seal you’re looking for. Grab a flashlight and a piece of paper, and inspect the entire perimeter of your door. Check the sides, the top, and especially the bottom where the gap usually lives. I like to use a thin piece of paper; if I can slide it easily through the door frame when it’s closed, that’s a gap that needs some attention.
- 2. Once you know where the leaks are, it’s time to clean the area. This is the step most people skip, but if you don’t do it, your new weatherstripping won’t stick for more than a week. Grab some rubbing alcohol or a mild degreaser and a rag, and wipe down the door frame thoroughly. You want to get rid of every bit of dust, old adhesive, or grime so the new seal has a perfectly clean surface to grab onto.
- 3. Now, head to the store and grab your materials. If you have huge gaps, look for foam tape or rubber weatherstripping. If the gap is only at the very bottom, you’ll want a “door sweep.” Personally, I prefer the self-adhesive rubber strips because they’re incredibly easy to work with and they tend to hold up better against the wind than the cheap foam stuff.
- 4. Start applying your stripping, beginning at the top corner of the door frame. If you’re using the adhesive kind, peel back just a few inches of the backing at a time. This prevents the strip from getting tangled or stuck in the wrong place. Press it firmly against the frame, and as you go, make sure you’re keeping it straight. There’s nothing more annoying than a crooked seal that looks like a DIY disaster.
- 5. When you get to the corners, don’t try to bend one long piece around the bend. It’ll bunch up and create a gap instead of closing it. Instead, cut the strip so that one piece ends and the next one begins right at the corner. This “butt joint” method ensures that the seal stays tight and doesn’t leave any openings for that cold air to sneak through.
- 6. If you’re installing a door sweep at the bottom, you’ll likely need a screwdriver. Hold the sweep up to the bottom of the door to find the right height—you want it to touch the floor or threshold without dragging so hard that it’s a pain to open the door. Once you’ve marked your holes, drill them out and screw the sweep into place securely.
- 7. The final step is the “test run.” Close the door and feel around the edges with your hand to see if you can feel any moving air. If you still feel a breeze, you might need to add another layer or adjust the position of your strip. Give the door a few firm slams (not too hard, though!) to make sure everything is seated properly and stays in place.
Choosing Your Weapon Foam vs Rubber Weatherstripping
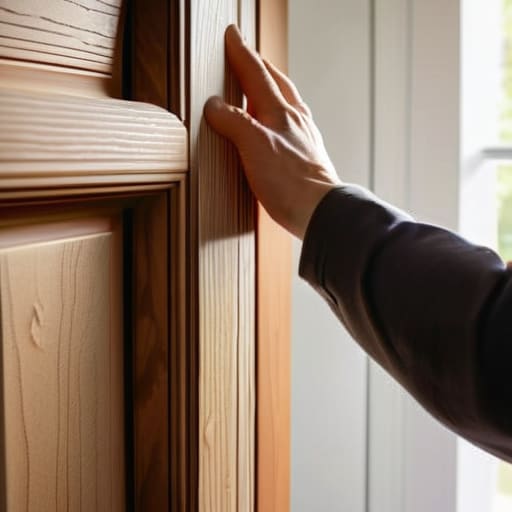
Before you head to the hardware store, you’ve got to decide which material is going to do the heavy lifting. Most of the time, you’ll be choosing between foam vs rubber weatherstripping, and honestly, they aren’t created equal. Foam is usually the budget-friendly winner; it’s easy to peel and stick, making it perfect for small gaps where you just need a little extra cushion. However, it can degrade a bit faster if it’s getting baked by the sun or beaten up by the wind.
If you’re looking for something that’s going to last through a few harsh winters, I usually lean toward rubber. It’s much more resilient and does a superior job at preventing air leaks around doors that are high-traffic or exposed to the elements. It’s a bit tougher to work with, but the payoff in reducing heating costs is well worth the extra effort. Just remember: pick the material that matches the “abuse” your door is going to take. If it’s a front door facing a storm, go rubber. If it’s a bedroom door, foam will do just fine.
The Fast Track to Reducing Heating Costs With Door Seals
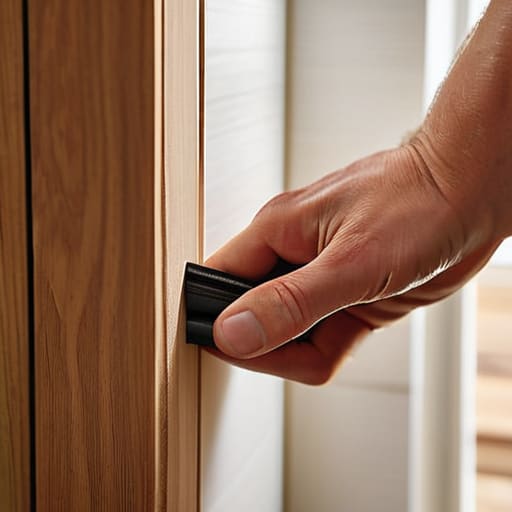
Look, I know it’s easy to think of this as just another weekend chore, but sealing up those gaps is one of those small wins that pays off big time. When you’re reducing heating costs with door seals, you aren’t just stopping a draft; you’re essentially plugging a hole in your wallet. I remember my first apartment where the front door felt like a sieve; I was cranking the thermostat every hour just to stay comfortable, and my utility bills were absolutely brutal. Once I finally got around to fixing it, the difference was night and day.
If you want to really level up your game, don’t stop at the sides of the frame. A lot of people forget about the gap at the very bottom where the door meets the floor. If you’re looking for a more permanent fix, a proper door bottom seal installation can make a massive difference in how much warmth stays inside your living room. Think of it as the final piece of the puzzle for your home’s insulation. It’s all about stopping the escape of that expensive heated air so your furnace doesn’t have to work overtime.
Pro Tips to Keep the Drafts Out for Good
- Don’t skip the cleaning phase. I know it’s a pain, but if you don’t wipe down that door frame with some soapy water and let it dry completely, your new weatherstripping isn’t going to stick—and you’ll be redoing the whole job in two weeks.
- Test your seal with a flashlight. If you’re working at night, have a buddy stand outside with a bright flashlight while you shine yours from the inside. Anywhere you see light leaking through is a spot that needs more coverage.
- Mind the gap at the bottom. The door sweep is usually where the most heat escapes, so make sure it’s making solid contact with the threshold without being so tight that you can’t actually swing the door shut.
- Buy more than you think you need. There is nothing worse than getting halfway through a project, getting into a rhythm, and realizing you’re three inches short of a finished door. Grab an extra roll while you’re at the hardware store.
- Avoid the “over-stuffing” trap. It’s tempting to use thick, chunky foam to fill a huge gap, but if you compress the material too much, it’ll lose its springiness and won’t actually block the air. Aim for a snug fit, not a forced one.
The Bottom Line: Don't Overthink It
Pick the right material for the job—use foam if you’re on a tight budget, but grab rubber if you want something that’ll actually stand up to the weather long-term.
Prep is everything; if you don’t clean that door frame properly before sticking anything on, you’re just going to be redoing this whole project in a month.
You don’t need a professional crew to save money on your heating bill; just a little bit of time and a few bucks at the hardware store can make a massive difference in how comfortable your house feels.
## The Big Picture
“At the end of the day, weatherstripping isn’t just about stopping a draft; it’s about taking control of your own space so you can actually stay comfortable without feeling like you’re fighting your own house every time the temperature drops.”
Nathan Cole
You’re All Set to Seal the Deal
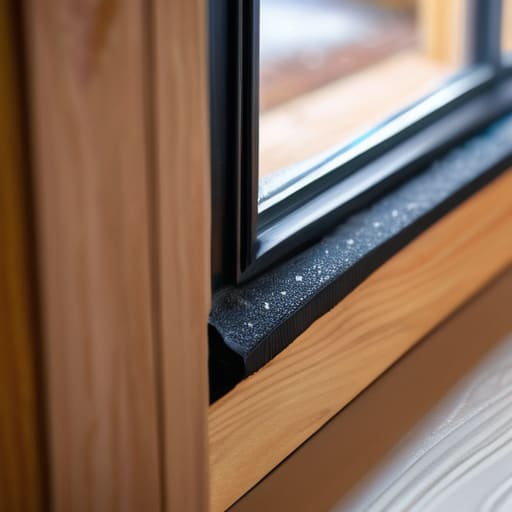
At the end of the day, weatherstripping isn’t about being a master carpenter; it’s just about taking a little time to plug the gaps. We covered everything from picking the right material—whether you go with the budget-friendly foam or the heavy-duty rubber—to the most important part: making sure that surface is bone-dry and clean before you stick anything down. If you take those extra few minutes to prep the door frame properly, you won’t find yourself peeling up loose strips in the middle of a January blizzard. It’s a small job, but once those seals are tight, you’ll notice the difference in your energy bills and how much quieter your house feels almost immediately.
I know that looking at a pile of tools or a trip to the hardware store can feel a bit daunting when you’re just starting out, but I promise you, you’ve got this. There is a specific kind of satisfaction that comes from fixing something with your own two hands and realizing you didn’t need to call a professional to get the job done. So, grab your adhesive, get to work, and take pride in the fix. Once you knock this out, you’ll realize that most of the little annoyances in your home are much more figure-out-able than they look. Now, go get those doors sealed!
Frequently Asked Questions
How do I know if I actually need to replace the weatherstripping or if I just need to adjust the door itself?
Here’s the trick: grab a flashlight and a piece of paper. On a windy day, shut the door on the paper. If you can pull the paper out with zero resistance, your seal is shot and you need new weatherstripping. But, if the paper stays put and you still feel a draft, your door might just be sagging or misaligned. Check the hinges first—sometimes a quick adjustment saves you a trip to the hardware store.
Can I use this same stuff on my windows, or is door weatherstripping a different beast entirely?
That’s a great question, and honestly, it’s one I asked my dad a dozen times when I was a kid. The short answer? Yeah, you can definitely use the same stuff! Most of the foam or rubber rolls you grab for a door will work just fine on your window frames too. Just keep an eye on the thickness; windows sometimes have tighter gaps, so you might need something a bit slimmer to get a snug fit without making the window a pain to open.
What’s the best way to clean off all that old, crusty adhesive before I try to stick the new strips on?
Trust me, I’ve been there—nothing ruins a project faster than trying to stick new foam onto a layer of old, gummy residue. The secret is patience and a little bit of elbow grease. Grab some Goo Gone or even just some rubbing alcohol and a stiff putty knife. Scrape away the bulk of it first, then soak a rag in the cleaner to melt down those stubborn bits. Get it smooth, or the new seal won’t hold.
