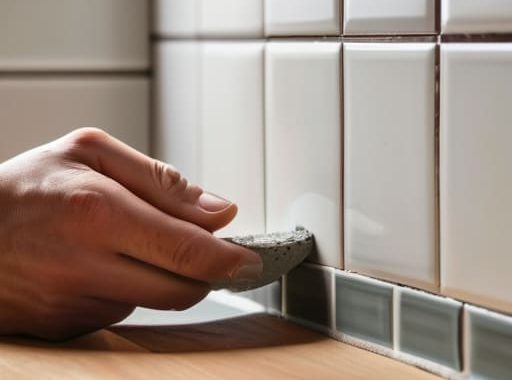
I remember standing in my first apartment kitchen, staring at a stained, beige wall and feeling like I was looking at a mountain I couldn’t climb. I’d seen the professional quotes, and they were enough to make anyone want to just keep the grease stains and call it a day. But here’s the thing: most people think you need a master contractor’s license or a massive bank account to learn how to tile a backsplash, but that’s just not true. It’s not about having fancy equipment; it’s about having a solid plan and not being afraid to get a little bit of thin-set on your hands.
I’m not going to bore you with technical jargon or tell you that you need a specialized laser level to get the job done right. Instead, I’m going to walk you through this exactly how I did it in my own kitchen—one simple, manageable step at a time. We’ll cover everything from picking your tiles to cleaning up that final grout line so your kitchen looks like a million bucks without breaking the bank. Let’s get to work and turn that wall into something you’re actually proud of.
Table of Contents
- Step-by-Step Instructions
- Mastering Backsplash Layout Planning and Your Essential Kitchen Renovation
- Getting the Perfect Subway Tile Installation With Easy Adhesive Application
- 5 Pro Secrets to Keep Your Backsplash from Turning into a Disaster
- Quick tips to keep you on track
- The Secret to a Great Finish
- Wrapping It All Up
- Frequently Asked Questions
Guide Overview
Tools & Supplies
- Manual tile cutter for straight cuts
- Notched trowel for spreading adhesive
- Rubber grout float for applying grout
- Tile spacers to maintain even lines
- Sponge and bucket for cleaning
- Backsplash tiles (enough for area plus 10% extra)
- Tile adhesive or mastic (1 tub/bag)
- Grout (1 bag)
- Caulk (1 tube for corners/edges)
Step-by-Step Instructions
- 1. Before you even touch a tile, you’ve got to get that wall ready for action. Clear off everything from your counters and give the wall a good scrub with a degreaser. If there’s any old grease or grime hiding behind your stove, it’ll prevent the adhesive from sticking, and nobody wants tiles falling off six months later. Once it’s clean and bone-dry, grab some painter’s tape to protect your countertops and any outlets that aren’t moving.
- 2. Now, grab your tiles and a handful of spacers. You don’t want to just start slapping them on randomly; you need a plan. I like to lay them out on the counter first to see how they look, but the real trick is to find your starting point. Usually, that means finding the center of the wall and working your way out to the corners. This ensures you don’t end up with a tiny, annoying sliver of tile on one side and a full tile on the other.
- 3. It’s time to get a little messy with the thin-set mortar. Scoop some out onto a mixing board and spread it onto the wall using a notched trowel. You’re looking for a consistent, ridged pattern—think of it like spreading peanut butter on toast, but with specific grooves to help the tile seat properly. Don’t try to do the whole wall at once, or the mortar will start to skin over and get useless; just work in small, manageable sections.
- 4. Press your tiles into the mortar, giving them a little wiggle to make sure they’re seated firmly. As you go, pop those plastic spacers into the gaps between the tiles. These are your best friends because they keep your lines perfectly straight and prevent the tiles from drifting into each other. If a tile looks a little crooked, don’t panic—just give it a gentle nudge until it aligns with the others.
- 5. Once you’ve finished your first section, take a damp sponge and wipe away any excess mortar that squeezed up into the joints. You want to clean those gaps now while the stuff is still wet, because trying to scrape it out once it hardens is a total nightmare. Let the whole thing sit overnight so the mortar can fully cure and get rock-solid.
- 6. After a day of waiting, it’s time for the satisfying part: grouting. Mix your grout to a peanut butter consistency and use a rubber grout float to push it deep into the spaces between the tiles. Work in small patches and move diagonally across the tiles so you don’t accidentally scrape them out. Once the grout is spread, let it sit for about 15-20 minutes, then wipe the surface clean with a barely damp sponge.
- 7. The final stretch is the cleanup. After another hour or so, a light haze might appear on the tiles; just buff that off with a clean, dry microfiber cloth. If you see any grout stuck in the texture of the tile, don’t go at it with a knife—just wait a little longer and try a softer touch. Once everything is dry and sparkling, you can pop your outlet covers back on and finally enjoy your handiwork.
Mastering Backsplash Layout Planning and Your Essential Kitchen Renovation
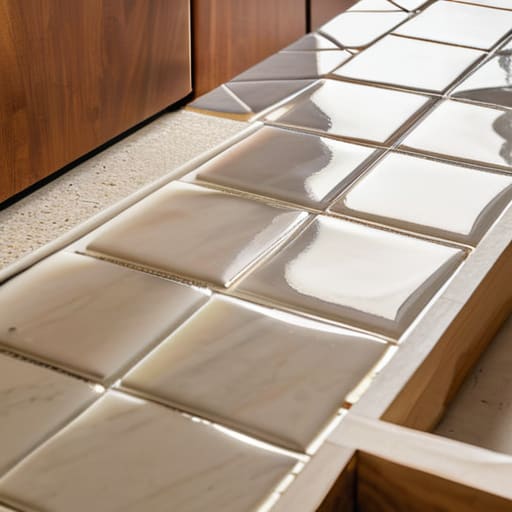
Before you even touch a bucket of thin-set, you’ve got to get your head in the game with some solid backsplash layout planning. I’ve made the mistake of starting at a corner and ending up with a tiny, pathetic sliver of tile right next to my stove. Trust me, you don’t want that. Instead, find the center point of your main wall and work outward. If you’re doing a classic subway tile installation, dry-lay a few pieces on your counter first. It lets you see exactly how the pattern flows and helps you catch any awkward gaps before they become permanent headaches.
As for your gear, don’t just grab whatever is sitting in the junk drawer. You’re going to need a decent set of kitchen renovation tools to make this look professional rather than “DIY-gone-wrong.” A notched trowel is your best friend for even coverage, and a good spirit level is non-negotiable—if your first row is crooked, the whole kitchen is going to look slanted. Grab a good sponge, some spacers, and a bucket. Having the right kit ready to go means you won’t be running back to the hardware store halfway through the job.
Getting the Perfect Subway Tile Installation With Easy Adhesive Application
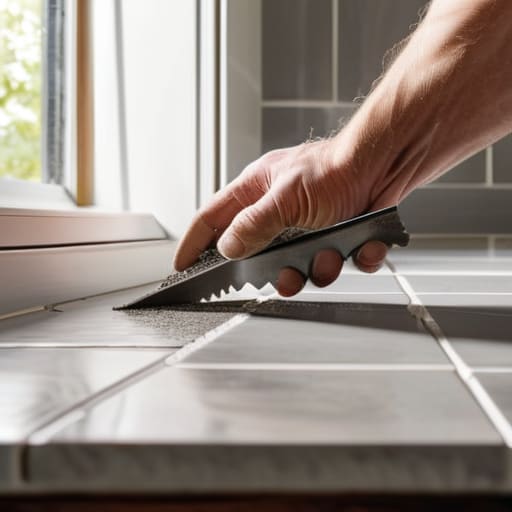
Now that you’ve got your layout mapped out, it’s time to get a little messy. When it comes to subway tile installation, the secret isn’t in the tile itself, but in how you prep the surface. Grab your notched trowel and start spreading your adhesive. I used to think more was better, but if you pile it on too thick, your tiles will start sliding down the wall before the glue even sets. Instead, aim for a consistent, thin layer of ridges. This ensures that when you press the tile in, you’re getting full coverage without creating huge air pockets that lead to cracks later on.
Once you’re actually sticking the tiles to the wall, work in small sections—maybe a few square feet at a time. If you try to spread adhesive across the whole backsplash at once, it’ll start skinning over and losing its grip. Keep your movements steady, and don’t be afraid to wiggle each piece slightly to settle it into the bed of glue. It feels a bit finicky at first, but once you find your rhythm, you’ll realize that a controlled, steady application is what makes the whole project look professional rather than amateur.
5 Pro Secrets to Keep Your Backsplash from Turning into a Disaster
- Don’t skip the dry run. Before you even touch a bucket of thin-set, lay your tiles out on the counter or even tape them to the wall. It’s way easier to realize your pattern looks wonky when there’s no glue involved.
- Watch your grout lines like a hawk. If you want that clean, professional look, invest in some decent tile spacers. If you try to “eyeball” the gaps, you’re going to end up with a wavy mess that’ll drive you crazy every time you make coffee.
- Clean as you go, seriously. If grout gets dried on the face of your tiles, it can be a real pain to scrape off without scratching the finish. Keep a damp sponge handy and wipe the tile faces down every few minutes while you’re working.
- Mind the corners. This is where most DIYers lose their cool. Instead of trying to force a full tile into a tight corner, plan your cuts ahead of time so the edges meet up cleanly. It makes the whole kitchen look intentional rather than “I tried my best.”
- Give it time to breathe. I know you want to get that grout in and be done with it, but let your adhesive set fully according to the package instructions. If you rush the drying process, you risk tiles sliding out of alignment or even falling off the wall.
Quick tips to keep you on track
Take your time with the layout before you touch any glue; a little bit of measuring now saves you a massive headache once the tiles are stuck to the wall.
Don’t try to rush the adhesive process—spread it thin and even, and remember that consistency is what keeps your tiles from sliding out of place.
Keep your workspace organized and your tools handy, because once you get into a rhythm, you’ll want to keep that momentum going until the job is done.
The Secret to a Great Finish
“Look, you don’t need a master craftsman’s hands to get a pro result; you just need a little patience, a steady eye for your lines, and the confidence to know that if a tile looks wonky, you can always pull it up and try again.”
Nathan Cole
Wrapping It All Up
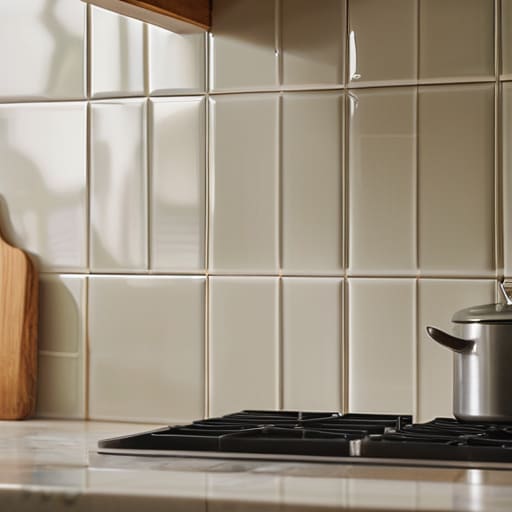
Once you’ve finished grouting and wiped away those excess smears, take a second to look back at what you’ve actually accomplished. We covered everything from the initial layout math to getting that adhesive spread just right, and honestly, that’s the hardest part. It’s easy to get overwhelmed by the idea of a “renovation,” but as we’ve seen, it really just comes down to taking it one tile at a time. By focusing on your prep work and not rushing the drying process, you’ve turned a daunting kitchen project into a finished product that looks like it cost twice as much as it actually did.
I know there might be a few tiny imperfections or a slightly wonky grout line here and there, but don’t let that get in your head. Those little quirks are just proof that a real person—not a factory machine—built this. There is a massive sense of pride that comes from standing in your kitchen, making a cup of coffee, and knowing you did this yourself. Most things in life feel a lot more figure-out-able once you actually get your hands dirty. So, wipe down your tools, grab a cold drink, and enjoy that brand-new kitchen. You earned it.
Frequently Asked Questions
How do I deal with those annoying uneven corners or tricky outlets without making a mess?
Those tricky corners and outlets are usually where people start to panic, but don’t sweat it. For outlets, just pull the cover plate off first—it makes life way easier. When you hit a corner, don’t try to force a full tile in there; use a manual tile cutter or a wet saw to trim it down. Take your time, measure twice, and remember: a little extra patience now saves a massive headache later.
Once the tile is stuck to the wall, how long do I actually have to wait before I can start grouting?
I know the feeling—you’ve finally got those tiles lined up, and you just want to see the finished product. But hold your horses! You need to let that adhesive cure properly so your tiles don’t shift or slide when you start pushing grout into the joints. Generally, I like to give it at least 24 hours. If you’re in a rush, check the thin-set bag, but playing it safe is always better than a messy disaster.
What’s the best way to clean the grout so it stays looking fresh and doesn't just soak up grease?
Look, the biggest mistake I see is letting grease sit and soak into those porous grout lines. Once it’s in there, it’s a battle. To keep things fresh, I swear by a simple mix of baking soda and water to make a paste. Scrub it in with an old toothbrush, rinse, and—this is the pro move—seal it. Applying a good grout sealer is the only way to stop that grease from winning.
