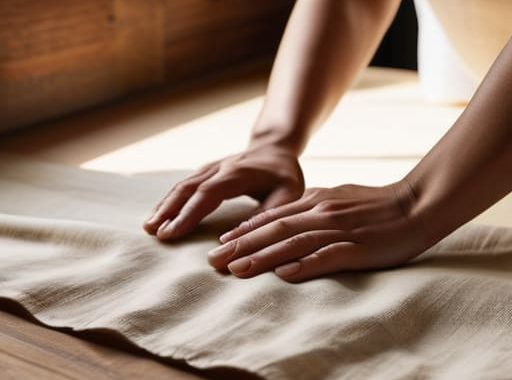
I was standing in the middle of my living room last Saturday, staring at a pile of expensive fabric and a set of measuring tapes, feeling completely defeated. I had just spent way too much money on high-end linen, thinking I’d need a professional seamstress to make it look halfway decent. But then I remembered something my dad used to say: “Don’t let the fancy tools intimidate you; just focus on the straight lines.” That’s when it hit me that making diy curtains isn’t about having a studio-grade sewing machine or a degree in design. It’s really just about measuring twice, cutting once, and not being afraid to make a few mistakes along the way.
In this guide, I’m going to skip all the complicated jargon and show you exactly how to get the job done without breaking the bank. I’ll walk you through picking the right fabric, getting your measurements spot-on, and a few simple sewing hacks that make the whole process feel way more manageable. Whether you’re working with a basic needle and thread or a heavy-duty machine, we’re going to get those windows covered so you can finally sit back and enjoy your space.
Table of Contents
- Step-by-Step Instructions
- Smart Fabric Selection for Window Treatments That Look Expensive
- Measuring Windows for Curtains Without the Stressful Guesswork
- Five Pro Secrets to Keep Your DIY Curtains from Looking "Homemade"
- The Quick Cheat Sheet for Your Project
- The Real Win
- You've Got This
- Frequently Asked Questions
Guide Overview
Tools & Supplies
- Fabric scissors for clean edges
- Sewing machine for stitching hems
- Measuring tape for accurate dimensions
- Pins or clips to hold fabric in place
- Iron and ironing board to press seams
- Fabric (2-3 yards depending on window size)
- Thread (1 spool matching fabric color)
- Curtain tape or header tape (1 roll)
- Measuring tape (1 unit)
Step-by-Step Instructions
- 1. First things first, you’ve got to get your measurements right. Grab a metal measuring tape—don’t use a flimsy fabric one if you can help it—and measure the width of your window. I always recommend adding about six to eight inches of extra width to your total so the curtains don’t look like they’re struggling to cover the glass. Then, decide how long you want them to hang; floor-length looks classy, but a shorter, sill-length cut is much easier if you’re just starting out.
- 2. Next, pick out your fabric. Since we’re keeping this budget-friendly, head to the fabric aisle and look for something with a bit of weight to it, like a cotton duck or a heavy linen blend. If you want to skip the headache of fraying edges, look for pre-washed fabrics so they don’t shrink and turn into mini-curtains on you after the first wash.
- 3. Now, let’s get to the cutting. Lay your fabric out flat on a clean floor or a large table, and use your measurements to mark your lines with tailor’s chalk or a simple pencil. Remember to add an extra inch or two to your length and width for the seam allowances—that’s the extra bit of fabric that gets folded over and sewn. If you don’t account for these, your finished curtains will end up way too small.
- 4. Time to break out the sewing machine. Start by folding the raw edges of your fabric inward by about half an inch, then fold them again to hide those messy edges completely. Pin them in place so they don’t shift while you’re working, and then run a straight stitch along the edge. I find that a double stitch along the hem makes everything feel a lot more professional and sturdy.
- 5. If you’re going for a classic look, you’ll need to create a “rod pocket.” This is basically a tunnel at the top of the curtain that your curtain rod slides through. Fold the top edge down about three or four inches (depending on how thick your rod is), pin it, and sew a straight line across the bottom of that fold. Just make sure you leave enough room for the rod to slide through easily without getting stuck.
- 6. Once you’ve sewn your hems and your rod pocket, give the whole thing a good steam with an iron. This is the “secret sauce” step that separates a DIY project from something that looks like a craft accident. Pressing those seams flat makes the fabric hang much more naturally and gives your work that clean, polished finish you’re looking for.
- 7. Finally, slide your rod through the pocket and hang them up. If the fabric feels a little too stiff, don’t sweat it; just give them a few good shakes or a light wash (check the care label first!) to help them settle into their new home. Now, take a look around—you just saved a ton of money and made your space look way better.
Smart Fabric Selection for Window Treatments That Look Expensive
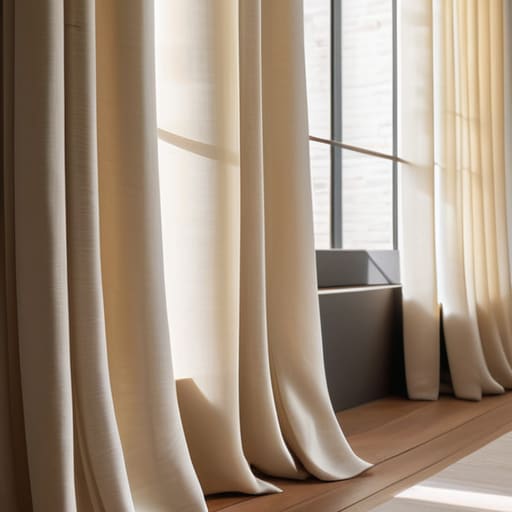
Here’s the thing about making your own window dressings: the secret to making them look high-end isn’t actually in the sewing—it’s in the fabric selection for window treatments. If you pick something too thin or flimsy, it’s going to look like a cheap dorm room project. I always tell my friends to look for fabrics with a bit of “weight” to them. Think heavy linens, velvet, or a thick cotton weave. When the material has some heft, it hangs with those beautiful, deep folds you see in expensive showrooms, rather than just clinging to the window awkwardly.
If you aren’t exactly a pro with a sewing machine, don’t sweat it. You can use custom window drapery techniques like using iron-on hem tape for curtains to get those crisp, clean edges without a single stitch. It’s a total game-changer for a clean finish. Also, keep an eye on the pattern scale; a massive, loud print can sometimes overwhelm a small room, whereas a subtle texture or a solid neutral color tends to look much more sophisticated and intentional.
Measuring Windows for Curtains Without the Stressful Guesswork
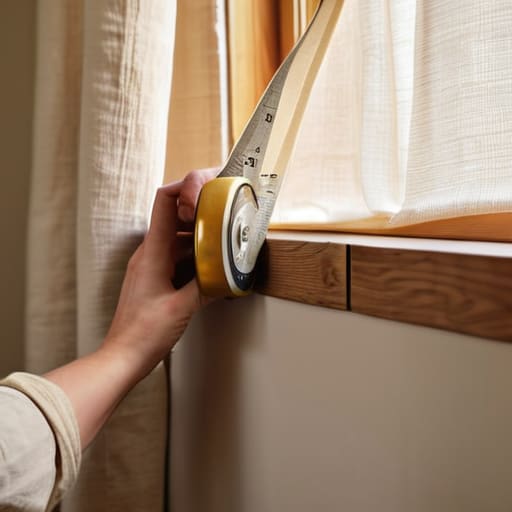
Look, I’ve been there—standing on a shaky stepladder with a metal tape measure that keeps snapping back and hitting my knuckles. It’s easy to feel like you need a degree in geometry just to get the dimensions right, but measuring windows for curtains is actually pretty straightforward if you follow a simple system. My biggest piece of advice? Always measure twice, and measure a third time just to be safe. You want to measure the width of your window frame, then add about six to ten inches on each side. This gives your fabric enough room to “stack” beautifully when the curtains are open, rather than blocking all your natural light.
When it comes to the height, don’t just measure from the windowsill. If you want that high-end look, measure from where your rod will actually sit down to the floor. I usually aim for the fabric to just barely “kiss” the floor or hover about half an inch above it. If you’re working in a rental and looking into hanging curtain rods without drilling, you’ll need to be even more precise with your placement to ensure the tension rods stay secure. Just grab a notepad, write everything down, and don’t rush the process.
Five Pro Secrets to Keep Your DIY Curtains from Looking "Homemade"
- Don’t skimp on the hem weight. If your fabric feels a bit too light or flimsy, sew some drapery weights into the bottom hem. It gives them that heavy, expensive drape you see in high-end showrooms instead of looking like a bedsheet hanging from a rod.
- Use a tension rod for a quick win. If you’re renting or just don’t want to go drilling holes into your walls, a sturdy tension rod can hold up a decent amount of weight and still look surprisingly clean and intentional.
- Get a good iron, and use it often. This is the one thing I wish I’d known sooner. If you don’t press your seams flat and crisp, the whole project is going to look a little messy. A sharp crease makes a world of difference.
- Mind the “stack back.” When your curtains are open, you don’t want them covering up the entire window. Make sure your rod is wide enough so the fabric bunches up nicely on the sides, letting in as much natural light as possible.
- Double up on the width. A common mistake I see is buying fabric that’s just wide enough to cover the window. For that lush, pleated look, you actually want about two to two-and-a-half times the width of your window in total fabric width.
The Quick Cheat Sheet for Your Project
Don’t skimp on the measuring part—it’s way easier to add a little extra fabric now than to realize your curtains are two inches too short once they’re already hanging.
You don’t need a designer budget to get a high-end look; picking a heavy, textured fabric is the easiest way to make DIY curtains look like they came from a boutique.
Just remember that most things are figure-out-able, so don’t sweat a tiny crooked stitch; the goal is a cozy room, not a museum exhibit.
The Real Win
“At the end of the day, it’s not about having a showroom-perfect window; it’s about that feeling of looking up and knowing you’re the one who made it happen without emptying your wallet.”
Nathan Cole
You've Got This
At the end of the day, making your own curtains really comes down to a few fundamentals. We covered how to pick out a fabric that feels high-end without emptying your wallet, how to get those crucial measurements exactly right so you aren’t left with awkward gaps, and the actual assembly process to get them hanging straight. It might feel like a lot of moving parts when you first look at a bolt of fabric, but once you realize that it’s just a series of small, manageable tasks, the whole thing becomes much less intimidating. If you take your time and measure twice, you’re already halfway to a professional-looking window.
I know that feeling of standing in the middle of a room, surrounded by fabric scraps and measuring tapes, wondering if you actually made the right call. Trust me, I’ve been there more times than I can count. But there is a specific kind of satisfaction that comes from looking up at a window and knowing you built that with your own two hands. It’s not about being a master tailor or a professional interior designer; it’s about the fact that you took a project and saw it through to the end. So, grab your shears, clear off your workspace, and just get started. You’ll be surprised at how good it feels when those curtains finally go up.
Frequently Asked Questions
Do I really need a sewing machine for this, or can I get away with using fabric glue or iron-on hem tape?
Look, if you don’t have a sewing machine—or just don’t want to deal with the headache of threading one—you can absolutely skip it. I’ve used iron-on hem tape on plenty of projects, and it works great for straight edges. Fabric glue is a solid backup too, just make sure you follow the drying times. It might not be “heirloom quality,” but for a quick DIY win, it gets the job done perfectly.
How do I make sure the curtains hang straight and don't look "homemade" or wonky once they're up?
The secret to avoiding that “wonky” look is all in the prep. First, make sure your rod is perfectly level—don’t just eyeball it; use a bubble level. Next, use a heavy steam iron on your finished curtains before you hang them. Getting those wrinkles out makes a massive difference. Finally, use consistent spacing for your clips or rings. If everything is even and pressed, nobody will ever know you made them yourself.
What’s the best way to handle the weight of the fabric so it doesn't pull my curtain rod out of the wall?
That’s a great question, and honestly, it’s the one thing that keeps me up at night when I’m hanging something new. If you’re using heavy velvet or thick linen, don’t just rely on those tiny screws that come in the box. Use heavy-duty wall anchors, or better yet, find a stud. If you can’t hit a stud, grab some toggle bolts—they’re a lifesaver for keeping those rods exactly where they belong.
