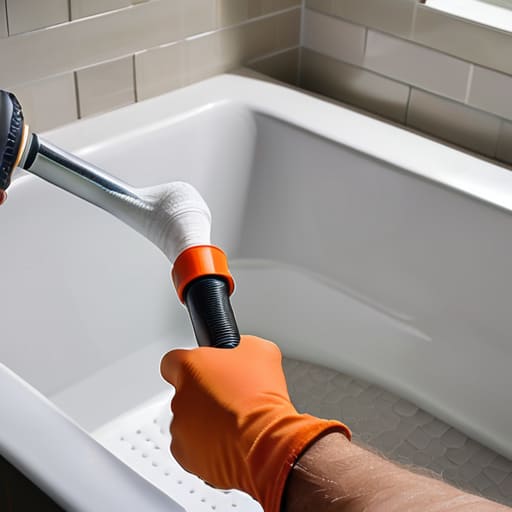
I remember standing in my first apartment, staring at a jagged, moldy mess around the bathtub, feeling like I was staring at a professional-grade disaster. I honestly thought that learning how to caulk required some kind of secret, steady-handed wizardry that I just didn’t possess. I spent an hour at the hardware store—which, let’s be real, is my happy place—just trying to figure out why every tube of silicone looked exactly the same. But here’s the truth I learned the hard way: it’s not about having a surgeon’s hands; it’s about having the right setup and a little bit of patience.
If you’ve ever ended up with a wobbly, uneven bead of goo that looks more like a slug than a seal, don’t sweat it. I’m going to walk you through my personal, no-nonsense method for getting a clean, professional line without the headache. We’ll cover everything from picking the right stuff at the store to that final, satisfying smoothing step. By the time we’re done, you’ll realize that mastering how to caulk is actually totally figure-out-able, and your bathroom will look a whole lot better for it.
Table of Contents
Guide Overview
Tools & Supplies
- Caulking gun to apply the sealant
- Caulk removal tool or utility knife to scrape old material
- Small bucket or container for cleaning
- Caulk tube (Silicone or Acrylic depending on surface)
- Painter's tape for clean lines
- Cleaning solution or rubbing alcohol to prep surface
Step-by-Step Instructions
- 1. First things first, you’ve gotta get that surface ready. If you’re working over old, crusty caulk, don’t even try to layer new stuff on top of it—it’ll just peel off in a week. Grab a utility knife and carefully scrape away the old stuff until you’re down to the bare surface. Once that’s done, grab a damp rag and wipe it down with a bit of rubbing alcohol to make sure there’s no grease or dust left behind. If the surface isn’t bone dry before you start, nothing is going to stick.
- 2. Next, you need to prep your caulk tube. Most people just jam the nozzle into the gun and go, but I’ve learned that’s a recipe for a mess. Cut the tip of the tube at a 45-degree angle, and keep the cut small to start. You want a tiny opening so you can control the flow. If the hole is too big right out of the gate, you’ll end up with a giant glob that’s a pain to clean up.
- 3. Now, grab your caulk gun and load it up. Position the nozzle so it’s resting right against the corner or the gap you’re trying to fill. As you squeeze the trigger, move the gun at a steady, even pace along the line. Think of it like drawing a line with a pen; if you go too fast, the bead will be thin and won’t fill the gap, and if you go too slow, you’ll get a huge bulge. It’s all about that consistent pressure.
- 4. Once you’ve laid down a bead, it’s time for the “magic” part: smoothing it out. Don’t just stare at it—get to work while it’s still wet. I like to use a small container of water or a spray bottle with a little bit of dish soap in it. Dip your finger in the soapy water and lightly run it along the bead to flatten it out. The soap is the secret sauce here because it prevents the caulk from sticking to your skin, which keeps the line looking sharp instead of messy.
- 5. Don’t overdo the smoothing, though. If you go back and forth too many times, you’ll actually pull the caulk out of the gap you just filled. Just one or two smooth, decisive passes is usually all you need to get that professional look. If you see a little drip or a bump, don’t panic; just wet your finger and try to blend it in one more time.
- 6. Finally, just step back and let it do its thing. Most silicone-based caulks need at least 24 hours to fully cure before you should get them wet or put any stress on them. I know it’s tempting to go back and check it every hour, but patience is your best friend here. Cover it with a piece of painter’s tape if you’re worried about dust landing in it while it dries.
First Clear the Way by Removing Old Caulk
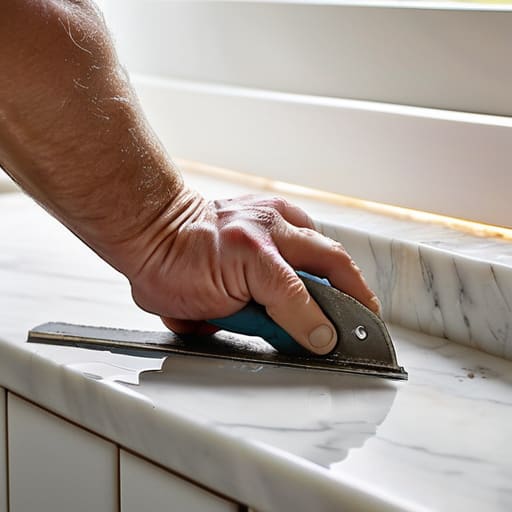
Look, I know it sounds like the most tedious part of the job, but you cannot skip this. If you try to lay new sealant right on top of the old stuff, it’s going to peel off faster than a cheap sticker. You’re essentially building a house on sand if you don’t start with a clean slate. I usually grab a sharp utility knife or a specialized caulk removal tool to get the bulk of it out. When I’m removing old caulk from around a sink or window, I try to be careful not to gouge the surrounding surface, but you’ve gotta be thorough.
Once the heavy lifting is done, don’t just call it a day. You’ll likely find tiny, stubborn bits of residue stuck in the corners. I like to use a stiff nylon brush or even a little bit of rubbing alcohol on a rag to really scrub that gap clean. This is especially huge when you’re caulking bathtub seams, because any leftover grime or soap scum will prevent a watertight seal. If that surface isn’t bone-dry and spotless, your new bead won’t stick, and you’ll be right back where you started.
Choosing Your Weapon Silicone vs Acrylic Caulk
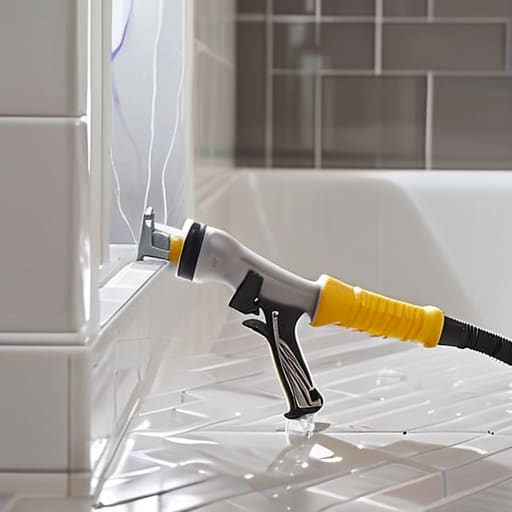
Before you head to the hardware store, you’ve got to make a choice. Walking down that aisle, you’ll see a dozen different tubes, but it usually boils down to the classic debate of silicone vs acrylic caulk. If you’re working on something that’s constantly getting soaked, like caulking bathtub seams or kitchen backsplash areas, you want silicone. It’s waterproof, flexible, and stays looking good even when the house shifts a little. It’s your best bet for preventing water damage in those high-moisture zones.
Now, acrylic is a different beast. It’s much easier to work with because you can wipe away mistakes with a damp rag before it sets, making it a solid choice for baseboards or window frames where water isn’t a constant threat. The trade-off? It’s not as flexible or water-resistant as silicone. My rule of thumb is simple: if it’s going to get wet, go silicone; if it’s just for looks and trim, acrylic is your friend. Just make sure you grab the right one for the job so you don’t have to do this all over again next year.
Pro Moves to Keep Your Caulking From Looking Like a Mess
- Don’t skip the masking tape. If you’re worried about your steady hand, run two strips of painter’s tape along both sides of the gap first. It keeps your lines razor-sharp, and you just peel them off when you’re done.
- Keep a wet rag handy. No matter how careful you are, a little bit of caulk is bound to end up where it shouldn’t. Having a damp cloth ready to wipe away the excess immediately saves you a massive headache later.
- Use a caulking tool or your finger, but don’t overdo it. I usually dip my finger in a little bit of soapy water before smoothing the bead. It helps the caulk glide instead of sticking to your skin and making a mess.
- Watch your pressure. If you’re using a caulk gun, try to keep a steady, even squeeze. If you pump it too fast, you’ll get huge blobs; too slow, and you’ll end up with gaps that look like Swiss cheese.
- Give it time to breathe. It’s tempting to run the shower or hit the sink right away, but resist that urge. Let it cure for the full time recommended on the tube so you don’t end up washing away all your hard work.
Quick Wins for a Clean Finish
Don’t rush the prep work; if you leave old, crusty caulk behind, your new bead is going to look a mess no matter how good your technique is.
Pick the right tool for the job, whether it’s silicone for that wet bathroom environment or acrylic for your indoor trim, so you aren’t fighting the material later.
Remember that it’s okay to mess up a bead—just wipe it away while it’s wet and try again. It’s all part of the learning process.
My Golden Rule for a Clean Finish
“Look, nobody’s going to win a beauty pageant for the neatest bead of caulk, but if you take the time to prep the surface and don’t rush the smoothing, you’ll end up with a seal that actually works instead of just looking like a mess.”
Nathan Cole
Finishing Strong
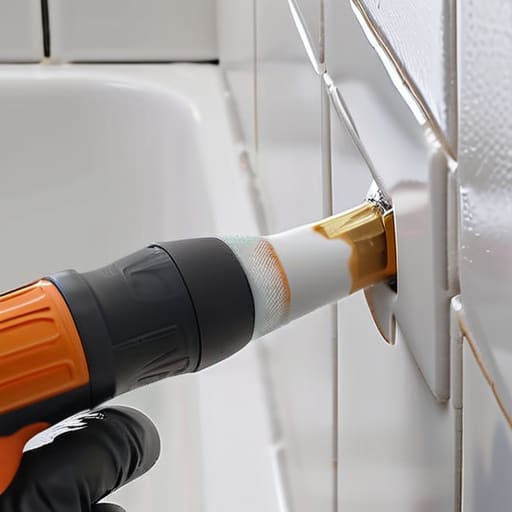
Once you’ve scraped away that old, crusty residue and picked the right tube for the job, the hard part is actually behind you. Just remember that a little patience goes a long way; don’t rush the application or skip the smoothing step with your finger or a tool. Whether you went with the heavy-duty silicone for your shower or a quicker acrylic for some baseboards, the goal is a clean, consistent bead that keeps the water out and the mess at bay. If you end up with a little extra mess on the edges, don’t sweat it—just wipe it away while it’s still wet and try again on the next section.
I know that looking at a messy gap can feel a bit intimidating at first, but honestly, it’s one of those small wins that makes a massive difference in how your home feels. There is something incredibly satisfying about looking at a freshly sealed sink or bathtub and knowing you didn’t have to call a pro to get it done. It’s not about being a master craftsman; it’s just about taking care of your space one step at a time. So, grab your caulk gun, take a deep breath, and get to it. You’ve totally got this!
Frequently Asked Questions
How long do I actually have to wait before I can get the area wet again?
The short answer? Don’t touch it with water for at least 24 hours. I know, waiting feels like forever when you just want your shower back, but patience is your best tool here. If you’re using silicone, it might feel “dry” to the touch in an hour, but it hasn’t actually cured deep down yet. Give it a full day to set properly so you aren’t dealing with a peeling mess next week.
Is there a trick to getting a smooth bead without making a huge mess on my tiles?
Honestly, I used to make a total disaster of this until I learned the finger trick. Here’s the secret: keep a small spray bottle of soapy water handy. Once you lay down your bead, lightly mist it with the soapy water. Then, dip your finger in that same mix and run it along the line. The soap prevents the caulk from sticking to your skin, letting you glide through for a smooth finish without the mess.
What do I do if I mess up the first pass and the line looks totally wonky?
Don’t sweat it—we’ve all been there. I once tried to caulk a backsplash and it looked like a jagged mountain range. If the line looks wonky, don’t try to just smear it more; you’ll just make a bigger mess. Grab a damp rag or a finger dipped in soapy water and smooth it out immediately. If it’s really bad, just wipe it all away with a putty knife and start that section over.
