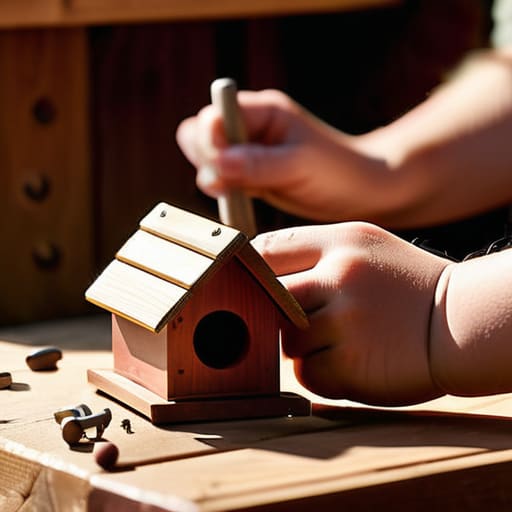
I remember standing in my backyard last spring, staring at a pile of scrap cedar and a handful of rusty nails, feeling completely overwhelmed by a “simple” DIY project. I had this idea that learning how to build a birdhouse required a professional-grade workshop and a master carpenter’s precision, but honestly? That’s just a myth that keeps people from ever picking up a hammer. I spent way too much time worrying about whether my joints were perfectly seamless, only to realize that the birds don’t care about perfection—they just want a sturdy place to nap.
In this guide, I’m stripping away all the fancy jargon and complicated blueprints that make woodworking feel intimidating. I’ll walk you through exactly how to grab your tools, cut your wood, and assemble a home that actually lasts through a rainy season. We’re going to focus on practical, easy steps that anyone can follow, even if you haven’t touched a saw in years. By the time we’re done, you won’t just have a finished project; you’ll have the confidence to tackle whatever else you decide to build next.
Table of Contents
- Step-by-Step Instructions
- Picking the Best Wood for Birdhouses and Simple Tools
- Getting the Dimensions Right for Your Local Bird Species
- Five Pro-Tips to Make Sure Your Birdhouse Actually Works
- Quick Tips to Keep You on Track
- ## A Little Perspective on the Project
- Finishing Your Project
- Frequently Asked Questions
Guide Overview
Tools & Supplies
- Hand saw or miter saw for cutting wood
- Hammer for assembling pieces
- Drill with small bits for pilot holes and entrance
- Untreated cedar or pine board (1" x 6" x 4')
- Galvanized nails or exterior screws (small box)
- Wood glue (waterproof)
Step-by-Step Instructions
- 1. First things first, you’ve got to grab your materials. I usually head to the local hardware store and pick up a single cedar board—about a one-by-six—because cedar is naturally rot-resistant and holds up great against the weather. You’ll also need some exterior-grade wood screws (or galvanized nails if you prefer), a drill, a saw, and a tape measure. Don’t worry about getting the fanciest tools in the shop; as long as you can make a straight cut, you’re already halfway there.
- 2. Now, let’s get to the measuring and cutting. Grab your tape measure and mark out your pieces: a floor, a roof, a front, a back, and two sides. I like to make the back piece a little longer than the rest so you have some extra wood at the top and bottom to screw it onto a tree or a post later. When you’re cutting, just take your time; a slightly crooked line won’t kill the bird, but it’ll definitely make your life harder if you rush it.
- 3. Once you have your pieces laid out, it’s time to tackle the entrance hole. This is the most important part because different birds like different sized “front doors.” For a standard bluebird, you’ll want a hole about 1.5 inches wide. Use a drill with a spade bit to cut the hole into your front panel, about two-thirds of the way up. I always tell people: measure twice, drill once, because you don’t want to end up with a hole that’s way too low or off-center.
- 4. Time to start putting the pieces together. I like to start by attaching the sides to the back piece using your drill and screws. If you’re using screws, I highly recommend pre-drilling small pilot holes first. This prevents the wood from splitting, which is a rookie mistake I definitely made a lot when I was starting out. Once the sides are steady, go ahead and screw in the floor and the front panel.
- 5. Let’s get that roof on. You want the roof to have a bit of an overhang—kind of like a porch—to keep the rain from splashing directly into the entrance hole. Line up your roof piece so it sits flush against the back, but extends out over the front. Secure it firmly with your screws, and just make sure there aren’t any huge gaps where water could seep in and make the whole thing a soggy mess for the birds.
- 6. Before you hang this thing up, I like to do a quick “safety check.” Take a piece of sandpaper and smooth out any rough edges around the entrance hole so the birds don’t snag a feather on a splinter. Also, make sure you haven’t left any screw heads sticking out. Finally, if you want to add a little character, you can leave the wood natural or use a non-toxic outdoor stain, but keep it simple—birds generally prefer a house that looks like it belongs in nature.
Picking the Best Wood for Birdhouses and Simple Tools
Before you head out to the lumber aisle, let’s talk about what you’re actually working with. You don’t need anything fancy or expensive, but you do want something that can stand up to the elements. In my experience, the best wood for birdhouses is usually cedar, redwood, or pine. These woods are naturally durable, and since we want to keep things safe for the birds, I always recommend avoiding pressure-treated lumber, which can have nasty chemicals. If you’re using pine, just make sure you have a plan for protecting birdhouses from weather by using a non-toxic sealant on the exterior only.
As for the gear, don’t feel like you need a professional workshop to get this done. Most of the essential woodworking tools for birdhouses are things you probably already have in your garage or can grab at a local hardware store: a handsaw, a hammer, a drill, and some galvanized nails. If you’re feeling a bit more advanced, a cordless drill makes life a lot easier when you’re attaching the birdhouse roof or drilling those precise entrance holes. Just keep it simple, stay steady, and you’ll be fine.
Getting the Dimensions Right for Your Local Bird Species
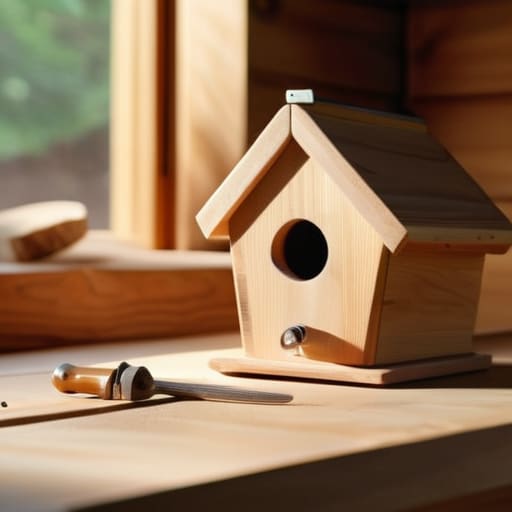
Now, before you start cutting, you’ve got to think about who your new neighbors are going to be. I’ve learned the hard way that a birdhouse isn’t a “one size fits all” kind of project. If you make the entrance hole too big, you might end up inviting a bully like a blue jay or even a squirrel into the nest. You really want to nail down the safe birdhouse entrance hole size based on the specific birds in your neck of the woods—like bluebirds, wrens, or chickadees. Each one has its own “goldilocks” zone for height and width.
I always tell folks to do a quick bit of backyard scouting first. See who’s hanging around your trees, then look up the specific birdhouse dimensions for different species online. A house built for a tiny wren is going to be way too cramped for a larger bird, and vice versa. It’s a little extra legwork upfront, but it makes all the difference. Getting these measurements right ensures you aren’t just building a pretty wooden box, but a real, functional home where birds actually feel safe raising their families.
Five Pro-Tips to Make Sure Your Birdhouse Actually Works
- Skip the paint on the inside. I know, a bright red birdhouse looks cool in a catalog, but you want to keep the interior natural. Chemicals in paint or stains can be nasty for the birds, so just stick to raw wood or a very light, non-toxic exterior finish if you really want to dress it up.
- Don’t go overboard with the “fancy” entrance. It’s tempting to carve a cool design around the hole, but keep it simple. If the hole is too big, predators like squirrels or larger birds can get in and make a mess of things. Stick to the size you planned for your specific bird.
- Give them some breathing room. You don’t want your feathered friends sitting in a sauna. Make sure you drill a couple of small holes in the bottom for drainage and a few near the top for ventilation. It keeps the nest dry and the air moving.
- Forget the perch. This is a big one that a lot of people get wrong. Most people think birds need a little stick to land on before they go inside, but actually, those perches just make it easier for predators to hang onto while they try to get to the nest. Real birds are great at landing on the edge of the hole without any help.
- Mount it smart. Don’t just slap it on a tree and hope for the best. Try to mount it in a spot that’s stable and away from where cats or other neighborhood bullies can easily reach it. A little bit of height and a clear line of sight goes a long way in making them feel safe.
Quick Tips to Keep You on Track
Don’t sweat the perfection; birds care way more about a sturdy, dry home than they do about whether your saw lines are laser-straight.
Always pick a wood that can handle the weather, like cedar or pine, so you aren’t rebuilding the whole thing after the first big rainstorm.
Double-check your hole size before you start drilling, because getting that measurement right is the difference between a happy local bird and a visitor that just can’t get in.
## A Little Perspective on the Project
“At the end of the day, don’t sweat the tiny imperfections or the slightly crooked nail; a bird isn’t going to care if your craftsmanship is museum-quality, they just want a sturdy place to call home that you built with your own two hands.”
Nathan Cole
Finishing Your Project
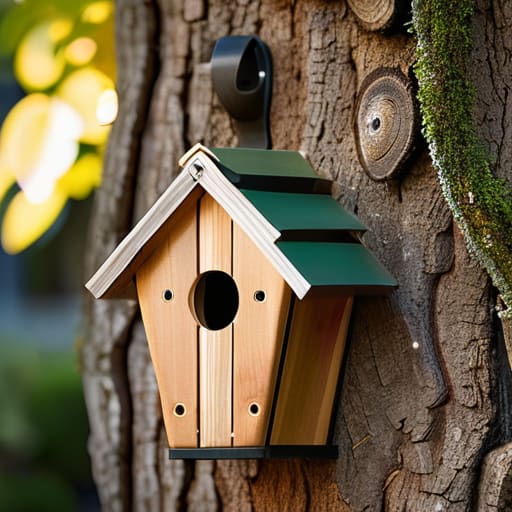
Once you’ve got your wood selected and those dimensions dialed in for your local birds, you’re basically home free. Just remember that it doesn’t have to be a masterpiece straight out of a high-end woodworking magazine. As long as you’ve used the right species of wood, kept the entrance hole sized correctly, and made sure your assembly is sturdy enough to withstand a summer storm, you’ve done the heavy lifting. Take a second to double-check that there aren’t any sharp edges or protruding nails that might catch a bird’s wing, and then you are officially ready to mount that thing and let nature do its thing.
I know that starting a project like this can feel a little daunting when you’re staring at a pile of lumber and a handful of tools, but look at what you just did. You took an idea and actually turned it into something real and useful. That’s the best part of DIY—that feeling of looking at something you built with your own two hands and knowing it’s going to serve a purpose in the world. So, get that birdhouse up in a good spot, grab a cold drink, and wait for your first feathered tenants to move in. You earned it.
Frequently Asked Questions
Do I need to paint or stain the outside of the birdhouse to make it last longer?
Here’s the thing: you definitely want to protect the wood, but you’ve got to be careful about how you do it. I usually suggest a light coat of water-based exterior stain on the outside only. It helps the wood stand up to the rain and sun. Just whatever you do, never paint or stain the inside. You don’t want any fumes or chemicals drifting near the birds or their nestlings. Keep it natural in there!
How do I stop squirrels or other predators from getting into the birdhouse?
Look, I’ve been there—you spend all weekend building this perfect little sanctuary only to have a squirrel try to turn it into a snack bar. To keep the uninvited guests out, your best bet is a predator guard. You can buy metal baffles that slide onto your pole, or even DIY a simple metal shroud. Also, keep that entrance hole small; if it’s too wide, larger predators will squeeze right in.
Where is the best spot in my yard to actually hang or mount the finished birdhouse?
Now that your birdhouse is looking sharp, don’t just toss it anywhere. You want a spot that’s safe and quiet. I usually aim for somewhere about five to ten feet off the ground—high enough to keep cats at bay, but low enough that you can actually enjoy watching the birds. Try to find a location that gets some morning sun but stays shaded during the heat of the afternoon. A sturdy post or a tree trunk in a calm corner of the yard is your best bet.
