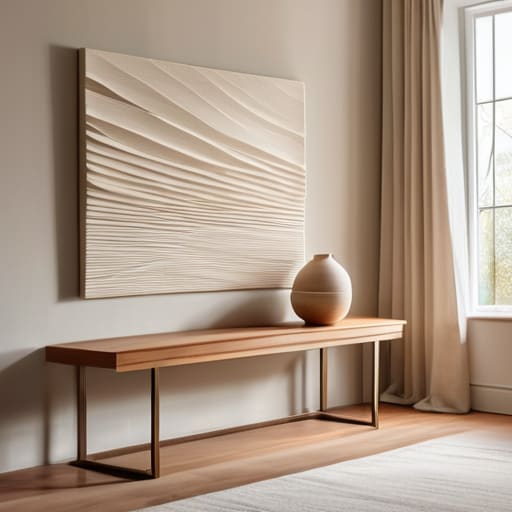
I used to think that if I wanted my place to look decent, I had to drop a couple hundred bucks at a high-end home decor store just to find something that didn’t look like it came out of a factory. But honestly? That’s a total myth. You don’t need a massive budget or a degree in fine arts to fix those empty, depressing spaces in your living room. I learned the hard way that learning how to make wall art is less about being “talented” and more about having the right plan and a few basic tools. Once I stopped overthinking it and started experimenting with what I already had in my garage, I realized that some of my favorite pieces are the ones I built myself for next to nothing.
In this guide, I’m going to strip away all the fluff and show you exactly how to get started. We aren’t doing anything overly complicated or pretentious here; I’m talking about real-world projects that actually look good. I’ll walk you through picking the right materials, avoiding the common mistakes that turn a project into a mess, and executing your vision step-by-step. By the end of this, you’ll have the confidence to stop staring at blank walls and finally start creating something you’re proud to hang up.
Table of Contents
- Step-by-Step Instructions
- Budget Friendly Wall Decor Without the Designer Price Tag
- Mastering Abstract Canvas Painting Techniques in Simple Steps
- 5 Pro Tips to Keep Your Projects from Looking Like a Mess
- Quick Wins to Remember
- ## The Real Secret to Decorating
- Don't Stop at the First Project
- Frequently Asked Questions
Guide Overview
Tools & Supplies
- Paintbrushes various sizes for application
- Painter's tape for creating clean lines
- Pencil for sketching designs
- Canvas or wood panel 1 unit
- Acrylic paint set 1 set
- Palette 1 unit
- Water cup 1 unit
Step-by-Step Instructions
- 1. First things first, you need to decide what kind of vibe you’re going for. Don’t get stuck in “analysis paralysis” here—just pick a style that doesn’t make you cringe. Are we talking about minimalist line drawings, some rugged reclaimed wood pieces, or maybe some colorful abstract canvas work? Once you’ve got a general direction, grab a notebook and jot down a few colors or textures that match your room. This keeps you from wandering aimlessly into the craft aisle later.
- 2. Next, let’s talk supplies. I’m a big believer in not overspending on stuff you’ll only use once, so check your junk drawer or the back of your closet before hitting the store. You’ll likely need your base material (like a canvas, a wooden board, or even a thick piece of heavy cardstock), some kind of adhesive or paint, and a few basic tools like brushes or even a sponge. If you’re doing something wood-based, make sure you have some sandpaper handy because smooth edges make all the difference between a professional look and a DIY disaster.
- 3. Now, prep your workspace. I can’t tell you how many times I’ve ended up with dried acrylic paint on my dining room table because I was too lazy to lay down some protection. Grab some old newspapers, a cheap plastic tablecloth, or even just some cardboard boxes from your last delivery. Clear off a flat surface and get organized by laying out all your tools in the order you’ll use them. It sounds tedious, but it saves you from that frantic “where’s the tape?” scramble halfway through.
- 4. Time to get your hands dirty and start the actual creation. If you’re painting, start with your background colors first—don’t try to do the fine details until the base is completely dry. If you’re working with textures or collage elements, layer them from the bottom up. The trick here is to embrace the imperfections. If a line isn’t perfectly straight, don’t sweat it; sometimes that slight bit of character is exactly what makes handmade art look so much better than something mass-produced from a big-box store.
- 5. Once your piece is looking the way you want, you have to let it cure. This is the hardest part for me because I want to hang it up immediately, but patience is a virtue when it comes to glue and paint. If you try to hang a piece that’s still tacky, you’re going to end up with a mess on your wall and a ruined project. Give it at least a few hours—or even overnight if you’re using heavy-duty materials—to make sure everything is set solid.
- 6. Finally, let’s get that beauty off the workbench and onto the wall. Don’t just slap a nail in and hope for the best. Use a level (or a leveling app on your phone if you don’t have a physical one) to make sure it’s not sitting crooked. I usually like to test the placement by leaning the art against the wall first to see how the light hits it. Once you’re happy, secure it firmly, step back, and take a second to actually admire your work. You built this, and that’s a pretty great feeling.
Budget Friendly Wall Decor Without the Designer Price Tag
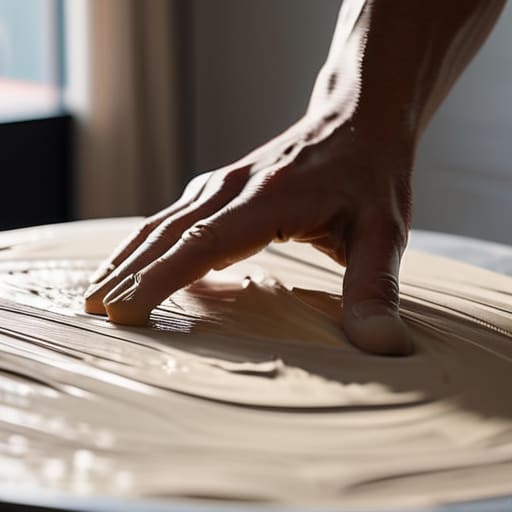
Look, I get it. You walk into a high-end home goods store, see a piece of art that actually looks decent, and then you see the price tag. It’s enough to make you want to walk right back out. But here’s a secret from someone who’s spent way too much time browsing aisles: you don’t need a massive bank account to pull off modern home decor DIY projects that look intentional rather than “cheap.” Most of the time, you’re just paying for a brand name, not the actual soul of the piece.
If you’re working with a tight budget, my best advice is to raid your local thrift store or even your own junk drawer. You can find incredible mixed media art supplies—like old frames, interesting scraps of fabric, or even interesting hardware—that add character you just can’t buy new. I love using heavy-duty textured paste or even just some joint compound from the hardware store to create a textured art tutorial vibe on a basic canvas. It adds that high-end, tactile feel without the designer markup. Just keep it simple, keep it tactile, and don’t be afraid to get a little messy.
Mastering Abstract Canvas Painting Techniques in Simple Steps
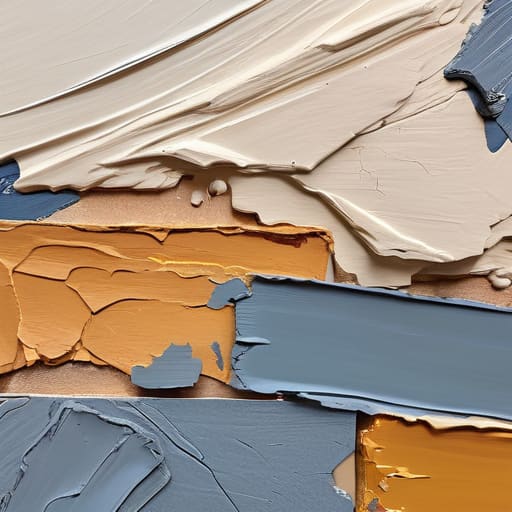
If you’re feeling a little intimidated by a blank canvas, don’t sweat it. Abstract art is honestly one of the best ways to practice because there is no “wrong” way to do it. One of my favorite abstract canvas painting techniques is the layering method. Instead of trying to paint a perfect picture, just start by applying a base color, let it dry, and then layer different shades or even some texture paste on top. It’s all about building depth rather than precision.
To really level up your piece, I highly recommend experimenting with some mixed media art supplies. I’ve found that grabbing a cheap palette knife or even an old credit card from your junk drawer can create amazing ridges and grooves that a standard brush just can’t mimic. This is a great way to nail that high-end, textured look without spending a fortune on professional studio tools. Just remember: if you make a stroke you don’t like, just let it dry and paint right over it. That’s the beauty of abstract work—you can always pivot.
5 Pro Tips to Keep Your Projects from Looking Like a Mess
- Don’t skip the layout test. Before you hammer a single nail into the drywall, grab some painter’s tape or even just some old newspaper and mock up your art on the wall. It’s way easier to move a piece of paper than it is to patch a hole because you hung something too high.
- Mix up your textures. If every single piece of art you hang is a flat canvas, your room is going to feel a little “one-note.” Try throwing in some wood elements, a woven basket, or even a framed piece of vintage fabric to give the wall some actual depth.
- Think about your lighting. You can make a ten-dollar thrift store find look like a gallery piece if you hit it with the right light. A simple, inexpensive battery-operated picture light can completely change the vibe of your DIY project.
- Mind the “eye level” rule. I see this all the time—people hang art way too high. A good rule of thumb is to aim for the center of the piece to be about 57 to 60 inches from the floor. It feels weird at first, but it makes the whole room feel more professional.
- Embrace the imperfection. If you’re doing something handmade, like a wood print or a painted canvas, don’t sweat the tiny wobbles. That’s what makes it yours. If it looks too perfect, it starts looking like something you just bought from a big-box store, and we’re here to make something real.
Quick Wins to Remember
Don’t sweat the perfection—the best part about DIY wall art is that there are no real rules, so just start creating and adjust as you go.
You don’t need a massive budget to make a statement; some thrift store finds and a bit of elbow grease can look better than anything from a big-box retailer.
Always prep your space before you dive in, because nothing kills a good creative groove like realizing you’re missing a crucial tool or making a mess you can’t clean up.
## The Real Secret to Decorating
“Look, you don’t need a massive budget or a degree from an art school to make a space feel like home. You just need to stop staring at that empty wall and start playing with what you’ve already got. Most of the best stuff I’ve ever hung up wasn’t ‘perfect’—it was just something I made with my own two hands.”
Nathan Cole
Don't Stop at the First Project
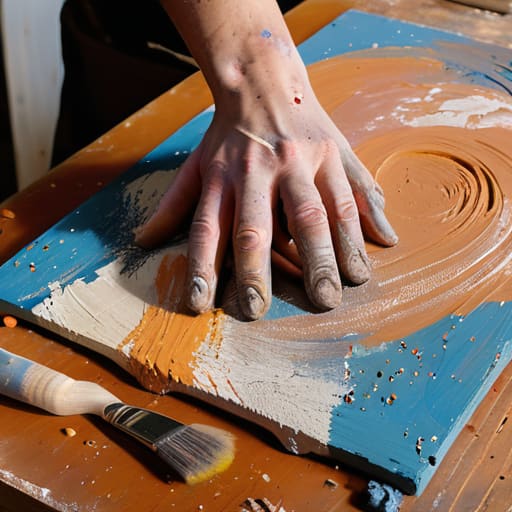
Look, we’ve covered a lot of ground here, from keeping things cheap and budget-friendly to getting your hands messy with some abstract canvas work. Whether you ended up repurposing old finds or diving headfirst into a fresh painting, the most important thing is that you actually made something with your own two hands. You don’t need a professional studio or a massive bank account to transform a room; you just need a little bit of patience and the right approach to breaking the project down into manageable chunks. Once you’ve got the basics of texture, color, and framing under your belt, you’ll realize that customizing your space is way more rewarding than just clicking “add to cart” on a generic piece of decor.
My biggest piece of advice as you wrap this up is to embrace the imperfections. If a line isn’t perfectly straight or the paint drips a little more than you planned, don’t sweat it—that’s just character. That’s what makes it yours. Every DIYer I know started with something that looked a little wonky, but that’s exactly how you learn the ropes. So, hang that piece up with pride, take a look at what you’ve accomplished, and start thinking about what’s next on your list. You’ve got the tools, you’ve got the steps, and most importantly, you’ve proven to yourself that you can figure it out.
Frequently Asked Questions
What’s the best way to hang my new art without putting massive holes in the drywall?
Look, I’ve definitely made the mistake of over-drilling holes in a wall I actually liked, so I get it. If your art isn’t heavy-duty, skip the hammer and nails entirely. Command Strips are your best friend here—just make sure you clean the wall with rubbing alcohol first so they actually stick. If it’s a bit heavier, grab some slim picture hangers; they use tiny pins that leave almost zero trace once you pull them out.
I’m worried about the colors clashing—how do I know if my DIY piece actually fits my room's vibe?
Look, I’ve definitely stared at a half-finished project and thought, “Is this actually going to look good or am I just making a mess?” Here’s my trick: grab some painter’s tape and a few scraps of your art, then stick them on the wall. Better yet, take a photo of the wall with your phone and use a basic editing app to “overlay” the colors. If it feels jarring, tweak the palette before you commit.
Are there any specific tools I absolutely need, or can I just wing it with stuff I already have around the house?
Look, I’m a big believer in using what you’ve got, but there’s a line between “winging it” and “making a mess.” You don’t need a professional studio, but grab a decent set of brushes and some painters’ tape so you aren’t fighting your tools. If you’re painting, definitely have some old rags and drop cloths handy—trust me, your carpet will thank you. Use what you have, but don’t skip the basics!
