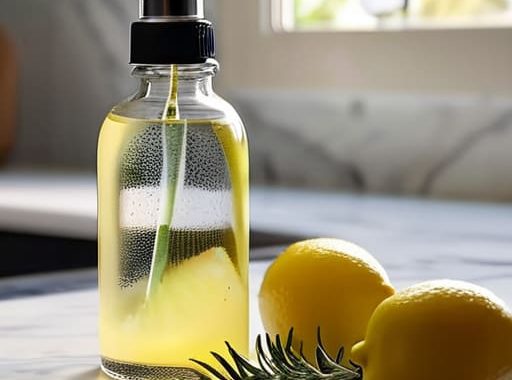
I used to think that if a cleaner didn’t make my eyes water or smell like a chemical factory exploded in my kitchen, it probably wasn’t actually working. I spent way too much money on those neon-colored sprays in fancy bottles, convinced that the higher the price tag, the better the grime would disappear. But after years of scrubbing my own place and realizing most of those “specialized” formulas are just overpriced water and perfume, I got tired of the hustle. Honestly, the truth is that most diy cleaning products work better than the big-brand stuff, and they won’t leave your lungs feeling like they’ve been through a sandstorm.
I’m not here to sell you some complicated, five-page recipe involving rare essential oils that cost more than my monthly grocery bill. I’m going to show you how to use the basic stuff you probably already have sitting in your pantry to get a real professional clean. We’re going to stick to simple, effective methods that actually work on grease, soap scum, and whatever else life throws at you. My goal is to help you stop overpaying for chemicals and start feeling confident that you can tackle any mess with just a few household staples.
Table of Contents
- Mastering Vinegar and Baking Soda Cleaning Without the Fuss
- Cost Effective Cleaning Solutions Using Pantry Staples
- Pro Tips to Keep Your DIY Cleaning from Turning into a Mess
- The Quick Cheat Sheet for Scrappy Cleaning
- ## My Philosophy on the Scrappy Clean
- Final Thoughts from the Workbench
- Frequently Asked Questions
Mastering Vinegar and Baking Soda Cleaning Without the Fuss
Look, if you walk into any big-box store, they’ll try to sell you a dozen different bottles for every single surface in your house. Honestly? You don’t need them. The absolute heavy hitters for me are vinegar and baking soda. They are the backbone of cost-effective cleaning solutions that actually work. I always keep a big jug of white distilled vinegar in my pantry because it’s a powerhouse for cutting through grease and mineral deposits. When you mix it with baking soda, you get that satisfying fizz that helps lift grime out of grout or stuck-on food without you having to scrub your fingers raw.
The best part about sticking to these basics is that you’re using safe cleaning for pets and kids. I don’t love the idea of my dog licking a floor covered in harsh, synthetic chemicals, so I stick to the stuff I can actually pronounce. If you want to level up the experience, grab a bottle of lemon or tea tree essential oils. Adding a few drops to your spray bottle makes the whole house smell like a spa instead of a salad dressing factory. It’s simple, it’s cheap, and it just works.
Cost Effective Cleaning Solutions Using Pantry Staples
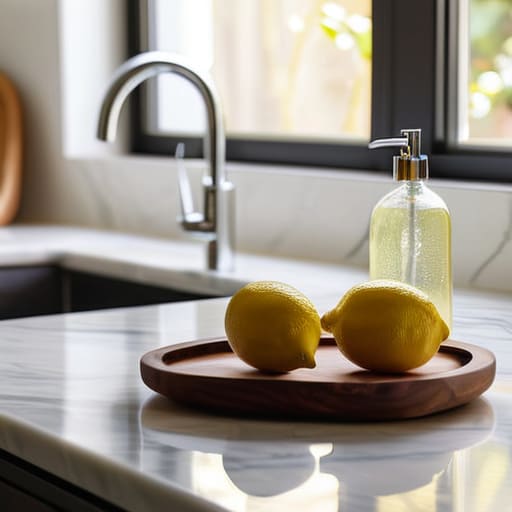
If you’re looking to slash your grocery bill while keeping your place spotless, look no further than your spice rack and pantry. I’ve found that most of the heavy lifting in cleaning can be done with stuff you probably already have sitting in a cupboard. For instance, a little bit of lemon juice works wonders on stubborn hard water stains in the sink, and a dash of cornstarch can actually help you buff out streaks on glass. Using these cost-effective cleaning solutions means you aren’t throwing money away on fancy, single-use bottles that just end up in a landfill.
Beyond the basics, you can really level up your game by adding a few drops of essential oils for cleaning. If you’re tired of your house smelling like a science experiment, a tiny bit of lemon, tea tree, or lavender oil can turn a basic spray into something that actually smells great. The best part? This approach is a total win for anyone looking for safe cleaning for pets and kids. You don’t have to worry about your toddler crawling on a floor covered in harsh residues or your dog licking up something toxic. It’s simple, it’s cheap, and it just works.
Pro Tips to Keep Your DIY Cleaning from Turning into a Mess
- Don’t mix vinegar and baking soda in a closed bottle. I learned that the hard way—they react and create gas, which can actually pop the lid off your spray bottle or cause a massive leak. Use them one after the other instead of trying to force them into one liquid.
- Grab some old glass spray bottles if you can. Since things like essential oils or pure lemon juice can actually eat away at cheap plastic over time, glass is a much safer bet for keeping your concoctions stable and your hands clean.
- Always do a “spot test” first. I know, I know, it sounds tedious, but before you douse that expensive marble countertop in your homemade citrus cleaner, wipe a tiny, hidden corner to make sure it doesn’t leave a dull spot or a stain.
- Keep your labels clear and honest. There’s nothing worse than grabbing a bottle thinking it’s water, only to realize it’s a concentrated vinegar mix that stings your nose. Write exactly what’s inside and the date you made it on a piece of masking tape.
- Less is usually more. It’s tempting to dump half a cup of dish soap into your homemade multi-surface spray, but that just leaves a sticky residue that actually attracts more dust. A few drops do the trick, and it’ll rinse off much cleaner.
The Quick Cheat Sheet for Scrappy Cleaning
You don’t need a chemistry degree or a cabinet full of expensive, neon-colored sprays to get a clean house; most of the heavy lifting can be done with stuff you already have in your pantry.
Keep your basics—like white vinegar, baking soda, and some dish soap—on hand at all times so you can whip up a solution the second a mess hits the floor.
Don’t overcomplicate it. The best DIY cleaners are the ones that are easy to mix, cheap to make, and actually get the job done without breaking the bank.
## My Philosophy on the Scrappy Clean
“Look, you don’t need a chemistry degree or a cabinet full of neon-colored sprays to get your house looking sharp. Most of the time, the stuff that actually works is already sitting in your pantry, waiting for you to stop overthinking it and just get to work.”
Nathan Cole
Final Thoughts from the Workbench
Look, I know it can feel a bit overwhelming when you first swap out those neon-colored bottles for a jug of white vinegar and a box of baking soda. But once you get the hang of it, you’ll realize you’ve already mastered the heavy lifting. We’ve covered how to use vinegar to cut through grime, how baking soda acts as a gentle but effective scrub, and how your pantry is basically a goldmine of cleaning power. You don’t need a chemistry degree or a massive budget to keep your place looking sharp; you just need to stop overthinking it and start using what you already have on hand.
At the end of the day, this isn’t just about saving a few bucks at the grocery store—though that definitely feels good. It’s about taking a little bit of control back over your home and your health. There is a certain kind of quiet satisfaction that comes from knowing exactly what went into the spray you just used to wipe down your kitchen counters. So, don’t feel like you have to overhaul your entire cleaning cabinet overnight. Just pick one thing, try one recipe, and see how it goes. I promise you, it’s way more figure-out-able than you think.
Frequently Asked Questions
Is it actually safe to use vinegar on everything, or am I going to end up ruining my stone countertops?
That is a killer question, and honestly, I’m glad you asked before you went grabbing the spray bottle. Short answer: No, don’t use vinegar on everything. If you’ve got granite, marble, or any natural stone countertops, keep that vinegar far away. The acid will eat right through the sealant and dull the finish, leaving you with a permanent mess. Stick to mild dish soap and warm water for those—it’s safer and works just fine.
How long can I keep these homemade sprays in a spray bottle before they start smelling weird or losing their punch?
Here’s the deal: since we aren’t using heavy-duty preservatives, you can’t just make a gallon and forget about it. If you’re using just vinegar and water, you’re usually good for about two weeks. But if you add citrus peels or essential oils, try to use them up within a week. If it starts smelling funky or looks cloudy, toss it. Better to spend two minutes mixing a fresh batch than cleaning with something gross!
If I'm switching from store-bought chemicals to DIY stuff, do I need to do anything special to make sure I'm actually killing germs?
Look, I get the worry. When you’re used to those heavy-duty sprays, switching to pantry staples can feel like you’re just moving dirt around. Here’s the deal: vinegar is great for grime, but it isn’t a heavy-duty disinfectant. For high-traffic spots like cutting boards or bathroom handles, I use a simple 70% isopropyl alcohol spray. It kills the nasties fast and evaporates clean. Just stick to the basics and use it where it counts.
