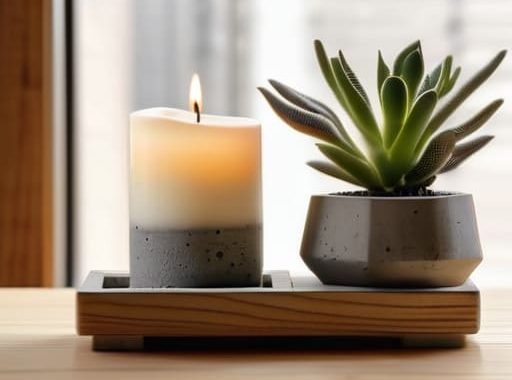
I’ll be the first to admit it: the first time I tried working with cement, I thought I was going to end up with a permanent, gray disaster all over my kitchen floor. Most people look at a bag of quick-set mix and see a heavy, messy headache, but I see a massive opportunity to create something actually cool for your home. Whether you’re trying to spruce up a boring desk or looking for a way to make your houseplants look a bit more high-end, diving into concrete craft ideas shouldn’t feel like a high-stakes construction project. It’s honestly one of the most forgiving mediums out there once you get past that initial fear of the mess.
In this guide, I’m skipping the complicated industrial stuff and focusing on five simple, repeatable projects that anyone can pull off in a weekend. I’m going to walk you through everything from minimalist planters to custom coasters, showing you exactly how to get a smooth, professional finish without needing a degree in masonry. By the time we’re done, you’ll have five solid projects under your belt and the confidence to stop overthinking it and just start building.
Table of Contents
Minimalist Desk Organizers
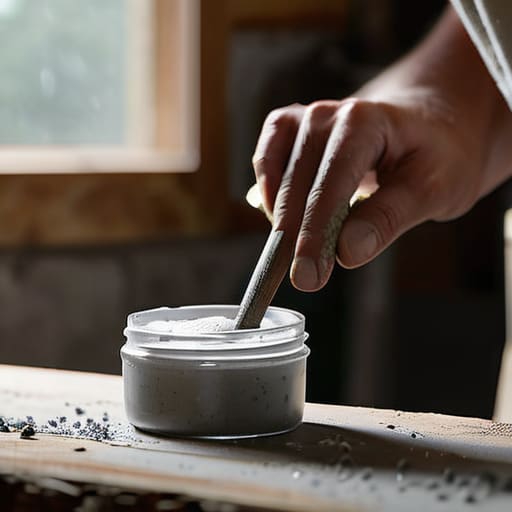
If your workspace looks like a junk drawer exploded, you don’t need to drop fifty bucks on some fancy designer tray. I love making these because you can use old yogurt containers or even sturdy cardboard boxes as your molds. Just make sure you coat the inside of your mold with a little bit of vegetable oil first; it makes getting the concrete out way smoother and prevents that frustrating moment where the piece just snaps.
Modern Succulent Planters
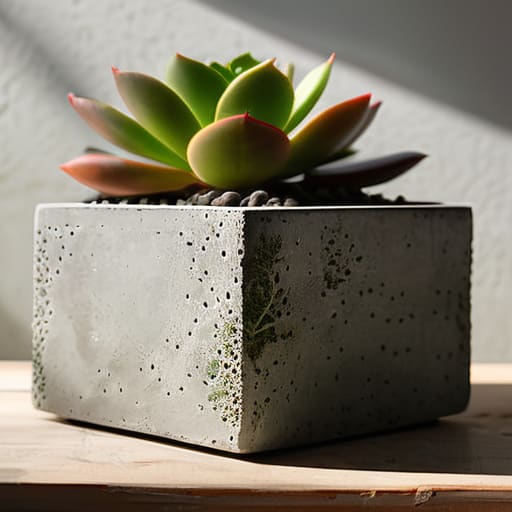
There is something incredibly satisfying about pairing a living, green plant with the heavy, rugged texture of concrete. These are my go-to gift for housewarming parties because they are almost impossible to mess up. To get started, find two plastic containers of different sizes—one that will be your outer shell and a smaller one that will create the hollow center where the dirt goes.
Industrial Candle Holders
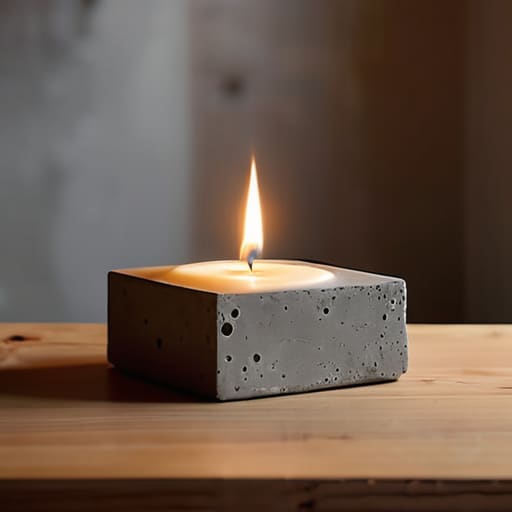
I’ve always thought that candlelight looks better when it’s sitting on something that feels substantial. You can make these in a single afternoon using basic craft concrete and some simple silicone molds from the hardware store. If you want to get really creative, try using old tea tins or even small wooden bowls as your base to give the piece a more unique silhouette.
Custom Coaster Sets
We’ve all been there—you’re enjoying a cold drink and realize you don’t have a coaster in sight. Instead of hunting through the cabinets, you can just whip up a set of these. I like to use small silicone baking molds for this because they are cheap and the release is incredibly easy. You can even try a “marbled” look by mixing two different colors of concrete together just slightly before pouring.
Heavy-Duty Bookends
If you’ve got a collection of heavy hardcovers that keep sliding around, these bookends are a total game-changer. You can make them in any shape you fancy, but I usually stick to simple geometric blocks because they look great on a bookshelf. To get that heavy-duty feel, make sure you’re using a high-strength concrete mix and don’t be afraid to add some weight by embedding a few large pebbles or even old metal bolts into the wet mix.
Quick Tips Before You Start Pouring
Don’t sweat the perfection; concrete is meant to look a little raw and organic, so embrace the small bubbles or uneven edges as part of the charm.
Invest in a decent pair of gloves and a mask—working with dry cement mix is messy, and you don’t want that dust getting into your lungs or irritating your skin.
Take your time with the drying process; rushing to unmold your project too early is the fastest way to end up with a cracked or broken piece.
The Beauty of the Build
“Don’t let the grit or the mess scare you off; concrete is one of those rare materials that’s actually pretty forgiving once you get your hands dirty and start figuring it out.”
Nathan Cole
Don't Be Afraid to Get Your Hands Dirty
Look, we’ve covered a lot of ground today, from those sleek minimalist planters to the heavy-duty desktop organizers that actually keep your workspace from becoming a disaster zone. Whether you’re casting small candle holders or going big with a custom concrete tray, the main takeaway is that you don’t need a professional studio to get results. It’s all about having the right mix, a few sturdy molds, and the patience to let things set properly before you start sanding. Once you realize that concrete is basically just a predictable, forgiving material, you’ll stop seeing it as a construction mess and start seeing it as a limitless creative medium waiting for you to play with it.
If I’m being honest, my first few attempts at pouring anything looked more like sidewalk rubble than actual decor, but that’s just part of the process. The real magic happens when you stop worrying about perfection and just start making things. Don’t let the fear of a little dust or a messy workbench keep you from trying something new. Grab a bag of mix, find some old containers you were going to toss anyway, and just see what happens. I promise you, there is nothing quite like the feeling of pulling a finished piece out of a mold and realizing, “Hey, I actually made that.”
Frequently Asked Questions
Do I really need a professional mixer, or can I just use a bucket and a stick to mix the concrete?
Look, I’ve been there—staring at a bag of concrete and wondering if I can just wing it. The short answer? You can use a bucket and a stick, but man, it’s a workout. If you’re just doing a tiny patch, a bucket is fine. But for anything bigger, you’ll end up with clumps and a sore back. If you can swing it, rent a mixer. It’ll save your shoulders and your sanity.
How do I stop my concrete projects from getting those annoying air bubbles on the surface?
Look, I’ve been there—you finish a beautiful piece, only to realize it looks like it has teenage acne. Those bubbles are a total pain. The trick is all about vibration and patience. First, once you pour your mix, give the mold some serious, consistent taps on the table to force those air pockets to the surface. If you’re feeling fancy, a palm sander (without sandpaper!) works wonders for vibrating the mold. Don’t rush it, either.
What’s the best way to get the concrete out of my molds without breaking the project or ruining the container?
I’ve definitely been there—staring at a beautiful concrete piece that feels stuck for good. First rule: patience is your best tool. If you’re using silicone molds, give them a little wiggle and peel them back slowly from the edges. If they’re stubborn, pop the whole thing in the freezer for twenty minutes; the temperature change helps the concrete shrink just enough to release. Just avoid forcing it, or you’ll end up with a broken project and a very frustrated DIYer.