We’ve all been there: you’re sitting on your couch, looking around your living room, and realizing it just feels… off. Maybe it’s a bit too sterile, or perhaps it’s just staring back at you with that same beige emptiness you’ve had since move-in day. You want a space that actually feels like home, but the thought of dropping a massive paycheck at a high-end furniture boutique makes your stomach churn. I used to think that having a stylish house was reserved for people with bottomless bank accounts, but I’ve learned that the best diy home decor ideas aren’t about how much you spend; they’re about how you use your hands to breathe life into a room.
In this post, I’m breaking down five specific projects that will take your space from “rental basic” to “actually awesome” without breaking your budget. I’m talking about real, hands-on tasks that you can tackle this weekend with just a few basic tools and a bit of grit. By the time we’re done, you’ll have a roadmap to transform your space using simple, figure-out-able steps that make decorating feel less like a chore and more like a win.
Table of Contents
Give Old Shelves a Second Life
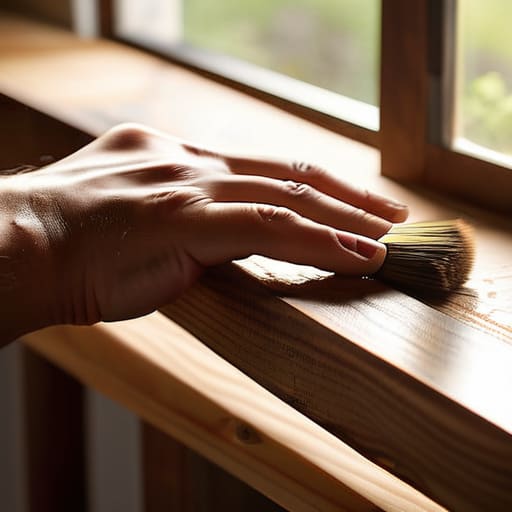
I’ve spent way too many weekends staring at those cheap, particle-board shelves that look like they belong in a dorm room rather than a home. Instead of tossing them, grab a sander and some decent sandpaper to smooth out those rough edges. Once you’ve got a clean surface, a fresh coat of dark walnut stain or even just a matte black paint can make a massive difference in how they feel in your living room.
The Magic of Floating Mantels
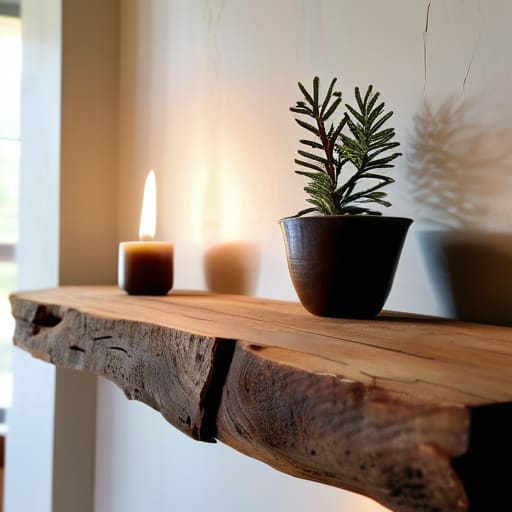
If you’ve got a blank wall that’s just staring at you, a floating wood mantel is one of the easiest ways to add some warmth to a room. You don’t need to be a master carpenter to pull this off; you just need a solid piece of reclaimed wood and a few heavy-duty brackets. I personally love using reclaimed timber because the natural knots and imperfections give the room an instant sense of history and soul.
Upcycled Mason Jar Lighting
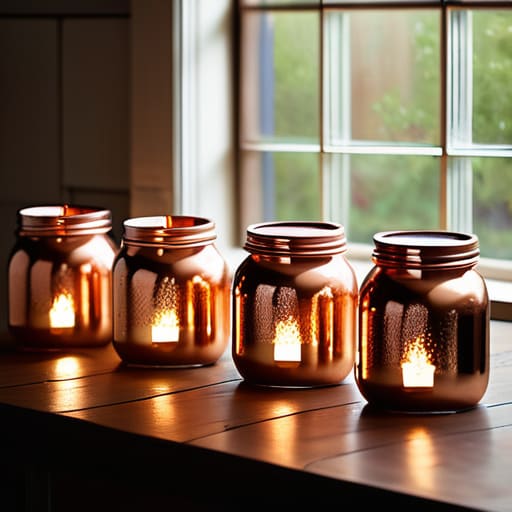
We all have that cabinet full of empty glass jars, so let’s stop letting them collect dust and start using them. You can turn a simple mason jar into a pretty pendant light or even a rustic candle holder with just a bit of effort. I like to take a few jars, clean them up thoroughly, and use a bit of copper spray paint on the lids to give them a more sophisticated, industrial vibe.
Custom Framed Textile Art
Sometimes you find a cool patterned fabric or even a vintage bandana that just doesn’t fit into your wardrobe, but it’s too nice to throw away. Instead of letting it sit in a drawer, turn it into textile art. All you really need is a sturdy wooden frame and some heavy-duty staples. I usually stretch the fabric tight over a piece of foam board before securing it, which keeps everything looking crisp and professional.
The Painted Accent Corner
You don’t have to commit to painting an entire room just to change the vibe. If you’re feeling a bit hesitant about a big color change, try painting just one corner or a single architectural feature, like a window frame or a built-in nook. I’ve found that a deep forest green or navy can create a stunning focal point that makes the rest of your furniture really pop.
The Bottom Line: Keep It Simple and Start Small
You don’t need a massive budget or a professional contractor to make a space feel new; most of the best changes come from small, intentional tweaks you can do yourself.
Don’t get paralyzed by perfectionism—the goal isn’t to make it look like a showroom, it’s to make it look like your home.
Always measure twice and buy your supplies only when you’re ready to go; it keeps the project from turning into a pile of expensive, half-finished clutter.
## The Real Secret to a Great Home
“At the end of the day, your home shouldn’t look like a page from a showroom catalog; it should look like a collection of things you actually built, fixed, or finished yourself. That’s where the real character comes from.”
Nathan Cole
Final Thoughts Before You Grab Your Tools
Look, I know it can feel a little overwhelming when you stare at a blank wall or a dated corner of your living room, but we just covered how much you can actually achieve with a bit of elbow grease. Whether you decided to tackle that custom shelving project, refresh your old furniture with a new coat of paint, or just hang some framed art to break up the monotony, the goal was never about perfection. It was about taking those small, manageable steps—from prepping your surfaces to picking the right hardware—to create something that actually feels like home. You don’t need a massive renovation budget or a professional contractor on speed dial to see a real difference in your space.
At the end of the day, the best part of these projects isn’t even the finished product sitting in your living room; it’s that feeling of looking at something and knowing, “I did that myself.” There is a specific kind of confidence that comes from picking up a screwdriver or a paintbrush and actually seeing a result. So, don’t let the fear of making a mistake keep you from starting. If you mess up a measurement or get a little too much paint on the floor, just wipe it up and try again. Most things are way more figure-out-able than they seem, so go ahead and get started. You’ve got this.
Frequently Asked Questions
I don't have a ton of fancy tools in my garage; can I still pull these projects off with just a basic screwdriver and some glue?
Honestly? Absolutely. I’ve pulled off more projects with a screwdriver and a bottle of wood glue than I care to admit. You don’t need a workshop full of power tools to make something look good; you just need a little patience and the right approach. If a project calls for something more heavy-duty, I’ll tell you upfront. But for most of these, if you can turn a screw and wait for glue to dry, you’re golden.
What’s the best way to make sure my DIY decor actually looks "intentional" and not just like a bunch of random junk I found in the attic?
That is the million-dollar question. I’ve definitely been there—standing in a room surrounded by “cool” stuff that just looks like a yard sale exploded. The secret is a cohesive color palette or a repeating material. If you’re using reclaimed wood for a shelf, maybe throw a wooden bowl on the table. Pick two or three main tones and stick to them. It ties the random pieces together so they look like a choice, not an accident.
How do I know which paints or finishes are actually durable enough to handle everyday wear and tear in a busy house?
Look, don’t just grab the cheapest can on the shelf because the color looks pretty. In a busy house, you need to check the sheen. For walls that get touched constantly—like hallways or kids’ rooms—aim for satin or eggshell; they hide imperfections but can actually take a sponge to them. For trim and doors, go with semi-gloss or even high-gloss. They’re tougher and way easier to wipe down when life happens.
