I was standing in my kitchen three years ago, staring at these heavy, dark oak cabinets that made my whole apartment feel like a cave, thinking there was absolutely no way I could fix them without spending five grand on a contractor. I actually thought that learning how to paint kitchen cabinets was some kind of professional-grade magic trick reserved for people with expensive spray booths and years of training. But after a few failed attempts with cheap brushes and a lot of wasted weekend afternoons, I finally figured out the real secret: it’s not about having the fanciest tools, it’s just about the prep work and having a little bit of patience.
I’m not here to sell you on some complicated, high-tech system that requires a workshop full of gear. Instead, I’m going to walk you through my tried-and-true, no-nonsense method for getting a smooth, factory-like finish on a budget. We’re going to break this down into manageable chunks—from the initial degreasing to that final, satisfying coat—so you can transform your space without losing your mind in the process. Let’s get to work and make those cabinets look brand new.
Table of Contents
- Step-by-Step Instructions
- Mastering the Prep How to Prep Cabinets for Painting
- Choosing Your Gear a Simple Cabinet Painting Supplies List
- Five Pro Tips to Keep You From Losing Your Mind (and Your Finish)
- The Bottom Line: Keep It Simple and Stick to the Plan
- ## The Secret to a Professional Finish
- You’ve Got This: Final Thoughts Before You Start
- Frequently Asked Questions
Guide Overview
Tools & Supplies
- Sandpaper (various grits for smoothing surfaces)
- Paint roller (small foam or microfiber for smooth finish)
- Angled brush (for cutting in corners and details)
- Screwdriver (to remove hardware and doors)
- Painter's tape (to protect edges and countertops)
- Cabinet paint (2-3 quarts depending on size)
- Primer (1-2 quarts, high-adhesion formula)
- Degreaser/TSP (1 bottle to clean surfaces)
- Tack cloth (1 pack to remove dust before painting)
Step-by-Step Instructions
- 1. First things first, you’ve gotta get everything out of those cabinets. I know, it sounds like a massive headache, but trying to paint around your cereal boxes and heavy cast iron pans is a recipe for a mess. Take your time clearing the counters and moving the doors to a safe spot. If you can, label everything with some painter’s tape so you know exactly which door belongs to which cabinet when you’re putting it all back together.
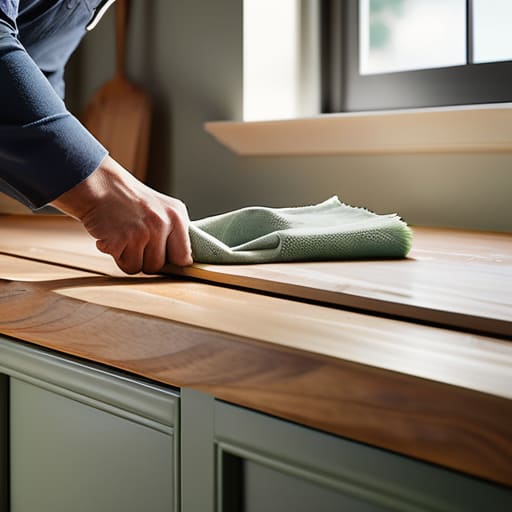
- 2. Next up is the part most people try to skip, but trust me, don’t skip the cleaning. Kitchen cabinets are basically magnets for grease and cooking oils, and if you try to paint right over that film, your new finish is going to peel off faster than a cheap sticker. Grab a good degreaser—something like TSP (trisodium phosphate) if you can find it—and scrub every inch of the wood. You want those surfaces to be completely bone-dry and spotless before we move on.
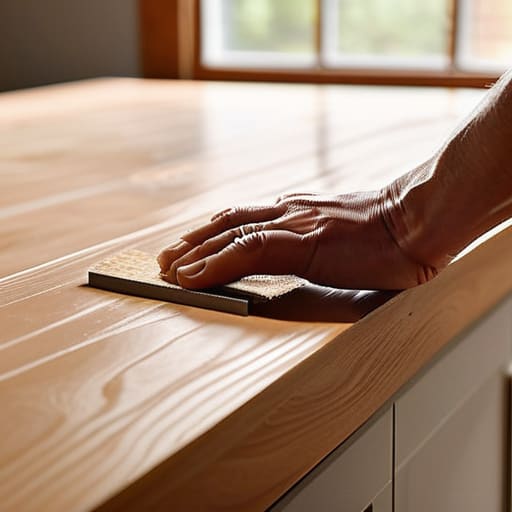
- 3. Now we get into the real work: sanding. You aren’t trying to sand the wood down to nothing; you just want to scuff up the surface so the paint has something to grab onto. Use a medium-grit sandpaper to take the shine off the existing finish. It’s a bit dusty and a little tedious, but if you don’t create that “tooth” in the wood, your hard work will eventually flake away. Just grab a vacuum or a damp cloth to wipe away all that dust once you’re done.
- 4. Before the paint even touches the wood, you need to apply a high-quality primer. I can’t stress this enough—don’t go for the cheapest gallon on the bottom shelf. A good primer acts as the bridge between your old cabinet and your new color. It seals the wood and prevents any old stains from bleeding through your fresh paint. I usually find that two thin coats work much better than one thick, gloppy one.
- 5. Now comes the fun part—the actual painting! When you’re ready, grab a high-quality brush or a small foam roller to get a smooth finish. I like to work in small sections, following the natural grain of the wood. The secret here is to work quickly but steadily to avoid those annoying brush marks. Remember, it’s much better to do multiple thin layers than to try and cover everything in one heavy, dripping pass.
- 6. Once you’ve finished your last coat, you have to be incredibly patient with the drying time. This is where most DIYers trip up. It might feel dry to the touch in an hour, but that doesn’t mean it’s cured. If you try to hang the doors back up too soon, they might stick to the frame or leave permanent marks. Give it at least 24 to 48 hours of downtime before you start putting the heavy plates back in.
- 7. Finally, it’s time for the victory lap: installing your hardware. While you’re at it, this is the perfect time to swap out those old, dated handles for something fresh and modern. It’s like putting new shoes on a great outfit—it just makes the whole kitchen pop in a whole new way. Once the screws are tight and the doors are level, take a step back and enjoy the fact that you just saved yourself a small fortune.
Mastering the Prep How to Prep Cabinets for Painting
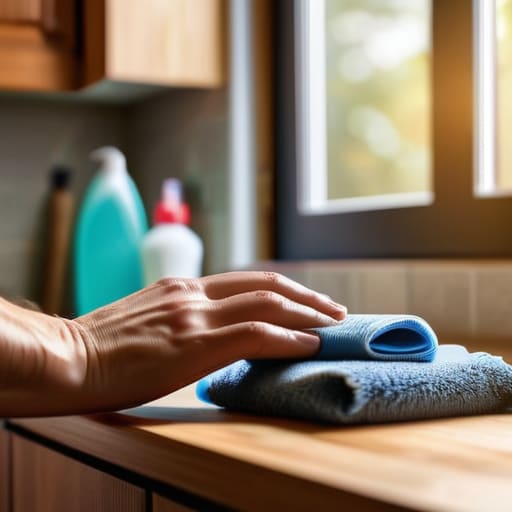
Look, I’ll be the first to admit it: I used to be the guy who wanted to skip straight to the fun part—the actual painting. But after a few DIY disasters where the finish started peeling off like a bad sunburn, I learned my lesson. If you want this project to actually last, you have to obsess over how to prep cabinets for painting. It’s not just about a quick wipe-down; it’s about stripping away every bit of grease, old wax, and dust that’s hiding in the grooves. If you leave even a tiny bit of kitchen grease behind, your new coat won’t stick, and you’ll be back at square one in six months.
Before you even crack open a can of primer, go ahead and double-check your cabinet painting supplies list. Make sure you’ve got a good degreaser, some high-grit sandpaper, and plenty of tack cloths. I personally like to spend a little extra time sanding the edges and corners because that’s where most people get lazy. It might feel like you’re doing more work than necessary, but trust me on this one—a smooth, clean surface is the only way to ensure your finish looks professional rather than homemade.
Choosing Your Gear a Simple Cabinet Painting Supplies List
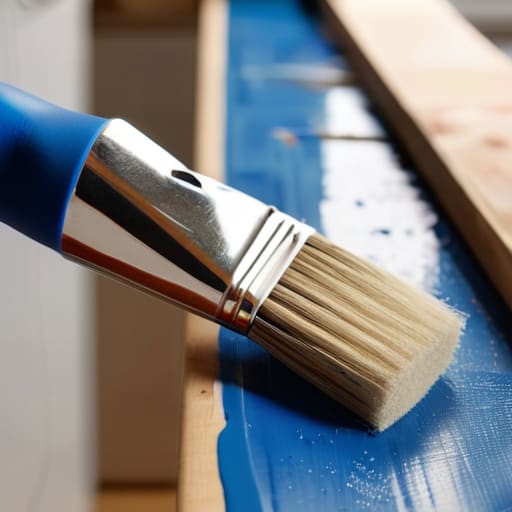
Before you dive in, let’s talk about what you actually need to grab from the hardware store. I’ve learned the hard way that showing up with a cheap, flimsy brush is a one-way ticket to a headache. For a successful cabinet painting supplies list, don’t skimp on the basics. You’ll want high-quality painter’s tape, a good degreaser, sandpaper (start with a medium grit and move to fine), and a few high-density foam rollers. If you’re feeling brave and want that factory-smooth look, you might consider looking into spray vs brush painting cabinets, but for most of us working in a standard kitchen, a good roller and a high-quality brush will get the job done just fine.
The real secret, though, is the liquid in the can. You aren’t just looking for any old wall paint; you need something that can stand up to grease, spills, and a lot of scrubbing. When you’re hunting for the best paint for kitchen cabinets, look for specialized cabinet enamels or waterborne alkyds. These are designed to dry much harder than standard latex, giving you those durable cabinet paint finishes that won’t chip the first time you bump a pot against them.
Five Pro Tips to Keep You From Losing Your Mind (and Your Finish)
- Don’t rush the drying time between coats. I know it’s tempting to grab that second coat because you want to be done, but if you paint over a layer that isn’t fully cured, you’re going to end up with a sticky, gummy mess that never quite hardens. Grab a coffee, take a breather, and let it dry.
- Work in a dust-free zone if you can. Even if you think you’ve cleaned everything, a tiny speck of sawdust or a stray hair can ruin a smooth finish. I always try to do a final wipe-down with a tack cloth right before the brush hits the wood to catch those last little rebels.
- Keep your edges wet. If you’re painting one door and then moving to the next, try to stay consistent. If the edge of the first door dries completely before you get back to it, you might see a visible “lap mark” where the new paint meets the old. It’s all about keeping that flow steady.
- Use a high-quality primer, not the cheap stuff. This is one area where I really learned the hard way that saving ten bucks on a gallon of primer isn’t worth it. A good primer acts like the glue between your prep work and your paint; if the foundation is solid, the color will look professional.
- Test your color on a scrap piece first. Lighting in a kitchen changes like crazy from morning to night. I always grab a piece of leftover wood or even a heavy piece of cardboard, paint a test patch, and move it around the room at different times of day so I don’t end up with a color I hate by dinner time.
The Bottom Line: Keep It Simple and Stick to the Plan
Don’t rush the prep work—I know it’s tempting to jump straight to the fun part, but a clean, smooth surface is the only way to make sure your hard work actually lasts.
Invest in decent tools rather than the cheapest stuff you can find; a good brush or roller makes a massive difference in how much sanding you have to do later.
Be patient with the drying times, because trying to rush a second coat is the quickest way to end up with a sticky, ruined mess.
## The Secret to a Professional Finish
“Look, you can buy the fanciest spray gun in the world, but it won’t save you if you skip the sanding. A great paint job isn’t actually about the paint—it’s about how much love you put into the prep work before the brush even touches the wood.”
Nathan Cole
You’ve Got This: Final Thoughts Before You Start
Look, I know looking at a pile of hardware, sandpaper, and half-empty paint cans can feel a bit overwhelming, but remember why we started this. It really all comes down to the details. If you don’t skimp on the thorough cleaning and the sanding, you’re going to regret it when the finish starts peeling in six months. Take your time with the prep work, choose a quality brush that won’t leave streaks, and don’t be afraid to apply thin layers rather than trying to cover everything in one go. If you stick to the process we talked about, you’re going to end up with a kitchen that looks like a million bucks without the million-dollar price tag.
At the end of the day, the goal isn’t just to have pretty cabinets; it’s about that feeling you get when you step back, wipe the dust off your hands, and realize you actually did this yourself. There’s a certain kind of pride that comes from tackling a project that felt “too big” and realizing it was just a series of small, manageable tasks. So, grab your gear, clear off the counters, and just dive in. You might get a little messy, and you might need to fix a drip or two, but I promise you—the satisfaction of a job well done is worth every bit of the effort.
Frequently Asked Questions
How long do I actually have to wait before I can start using my kitchen again without ruining the finish?
This is the question I get asked most, and honestly, it’s the hardest part: being patient. You’ll see the cabinets feeling dry to the touch in a few hours, but don’t let that fool you. I usually tell people to wait at least 48 to 72 hours before doing any heavy lifting or slamming doors. If you can, give it a full week before you start scrubbing them. Let that finish cure properly so it doesn’t peel!
What’s the best way to deal with those annoying little nicks or deep scratches in the wood before I start painting?
Those little nicks are a total pain, but don’t sweat it—they’re easy to fix if you catch them during prep. For tiny scratches, a little bit of wood filler or even some spackle works wonders. If the gouge is deeper, grab some wood putty that matches your cabinet type. Just smear it in, let it dry completely, and sand it flush. Once it’s smooth, it’ll disappear under the paint like it was never there.
Can I just use regular wall paint, or am I really going to regret not buying the expensive stuff?
Look, I get it—wall paint is cheap and you probably already have a bucket of it in the garage. But honestly? Save yourself the heartache and skip it. Wall paint is designed to sit on a vertical surface and stay there. Cabinets get touched, bumped, and wiped down constantly. If you use wall paint, it’ll likely peel or feel tacky within a few months. Grab a dedicated cabinet enamel; it’s worth the extra few bucks to avoid doing this twice.
