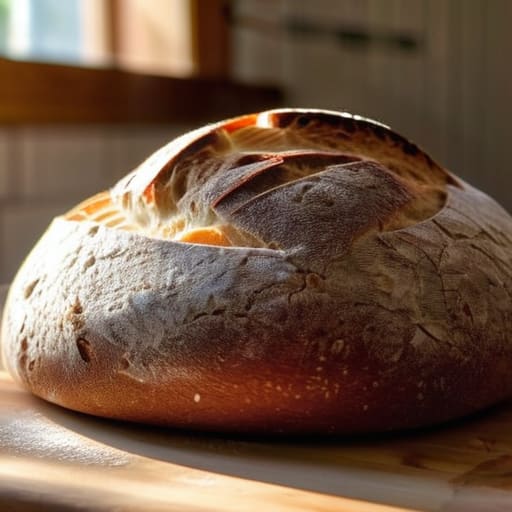
I still remember the first time I tried to tackle a sourdough starter. I spent three weeks hovering over a jar of flour and water like it was a science experiment, only to end up with a sticky, sour mess that looked more like drywall compound than food. Most of the fancy tutorials online make it seem like you need a degree in chemistry and a hundred-dollar proofing basket just to get a decent crust. Honestly, it’s a total myth that you need all that gear to learn how to bake bread at home. You don’t need a specialized kitchen or a decade of training; you just need to stop overthinking the process and start trusting the basics.
I’m not here to sell you on some complicated, twelve-step artisan ritual that takes up your entire weekend. My goal is to strip away the fluff and show you that bread making is actually pretty figure-out-able with just a few pantry staples and a little patience. I’m going to walk you through a straightforward, no-nonsense method that works, even if your kitchen is small and your equipment is basic. By the time we’re done, you’ll be pulling warm, crusty loaves out of your own oven without all the stress.
Table of Contents
Choosing the Right Flour Types for Bread Success
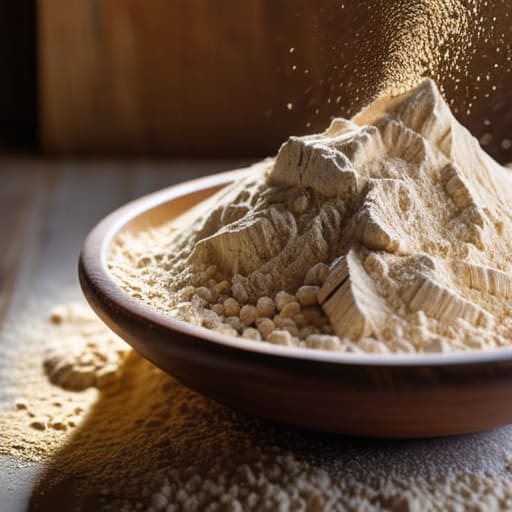
Before you even touch a bowl, you’ve got to talk about the foundation: your flour. I know, it sounds boring, but picking the wrong bag is the fastest way to end up with a dense, brick-like loaf that’ll break a tooth. If you’re just starting out with bread making for beginners, my best advice is to stick to the basics. You’re looking for flour with high protein content, because that protein is what creates the gluten structure needed to trap those lovely gases during the yeast fermentation process.
Most folks head straight for All-Purpose, which works fine in a pinch, but if you want that professional, chewy texture, you really want to grab some Bread Flour. It’s got a higher protein punch that gives your dough more “strength” to rise. If you’re feeling adventurous and want to try a rustic sourdough, you might experiment with Whole Wheat, but just a heads-up: it’s heavier and absorbs more water, so it can be a bit trickier to handle. Just pick one reliable type to start with, and don’t overthink it.
Essential Baking Equipment That Wont Break the Bank
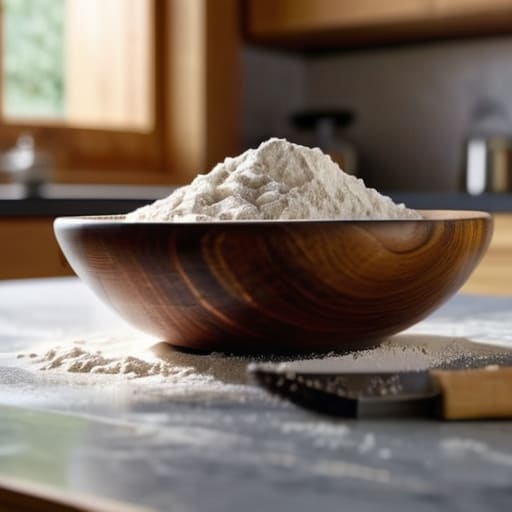
Look, I get it. You walk into a kitchen supply store and suddenly you’re staring at a $500 professional mixer and a dozen different specialized bowls, wondering if you even need any of it. Here’s the truth: you don’t. When it comes to bread making for beginners, the goal is to get some flour and water into an oven, not to build a laboratory. You really just need a decent mixing bowl, a sturdy spoon, and a kitchen scale. Seriously, skip the measuring cups if you can; weighing your ingredients is the single best way to ensure your dough turns out consistent every single time.
Beyond the basics, you’ll want a simple baking sheet or a Dutch oven if you have one tucked away in a cupboard. A heavy pot helps trap steam, which is one of those pro proofing bread tips that makes your crust crackle just right. You don’t need fancy gadgets to master essential baking equipment; you just need the right tools to support the process. If you’ve got a bowl, a scale, and a way to bake it, you’re already halfway there.
Five Pro Tips to Keep Your Kitchen From Turning Into a Flour War Zone
- Don’t rush the rise. I know it’s tempting to turn the oven on the second you finish kneading, but dough works on its own schedule. If your kitchen is chilly, your bread will take longer to puff up—just be patient and let the yeast do its thing.
- Get a digital scale if you can. I used to eyeball everything with measuring cups, but flour is sneaky; you can pack way too much into a cup and end up with a loaf that’s basically a brick. Weighing your ingredients in grams is the easiest way to get consistent results every single time.
- Watch the dough, not the clock. Every house has different humidity and temperature, so a recipe might say “let rise for one hour,” but your dough might need ninety minutes. Look for it to roughly double in size rather than staring at your watch.
- Master the “Windowpane Test.” Before you stop kneading, grab a small piece of dough and stretch it thin. If it stretches until it’s translucent without tearing, you’ve built enough gluten to hold all those lovely air bubbles. If it snaps immediately, keep working that dough.
- Give it room to breathe after baking. This is the hardest part for me, but resist the urge to slice into that loaf the second it comes out of the oven. The bread is actually still cooking inside while it cools; cutting it too early lets the steam escape and can leave you with a gummy texture.
Quick Wins for Your First Loaf
Don’t sweat the expensive gear; you really only need a few basic tools to get a great crust and crumb.
Get your flour right from the start, because using the wrong type is the easiest way to end up with a brick instead of a loaf.
Remember that baking is a process of trial and error, so keep things simple and don’t be afraid to make a mess.
## My Take on the Whole Process
“Look, you don’t need a professional kitchen or a fancy degree to make a killer loaf. At the end of the day, bread is just flour, water, salt, and a little bit of patience—and once you nail that first batch, there’s nothing quite like the feeling of knowing you built something real with your own two hands.”
Nathan Cole
You've Got This
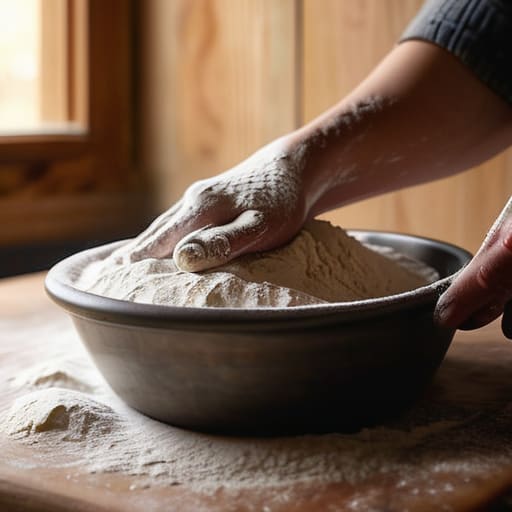
So, let’s look at the big picture before you get your hands messy. We’ve covered how to pick out the right flour so your loaf actually has some structure, and we talked about grabbing the basic gear without spending a fortune at a specialty kitchen shop. Remember, you don’t need a professional-grade stone oven or a fancy French mill to get started; you just need the right ingredients and a little bit of patience. Once you’ve got your flour and basic tools sorted, the rest is really just about getting comfortable with the rhythm of the dough. It might feel a bit clunky the first few times, but that’s just part of the process of learning the craft.
At the end of the day, don’t sweat the small stuff. If your first loaf comes out a little dense or looks more like a brick than a baguette, don’t throw in the towel. I’ve definitely had my fair share of “bread bricks” in my own kitchen, and honestly, they still taste great with enough butter. The real magic isn’t in a perfect crust; it’s in the fact that you made something from scratch using nothing but flour, water, and salt. So, preheat that oven, get stuck in, and embrace the mess. I promise you, that first warm slice is going to feel incredibly rewarding.
Frequently Asked Questions
I tried making a loaf and it came out like a brick—what am I doing wrong with my kneading?
Man, I’ve been there. There is nothing quite as soul-crushing as pulling a literal brick out of your oven after all that work. Usually, when a loaf is that dense, it means you didn’t develop enough gluten through kneading. You’ve gotta work that dough until it’s smooth and elastic, not just “mixed.” Try the “windowpane test”—stretch a small piece of dough; if it pulls thin enough to see light through without tearing, you’re golden.
Do I really need to buy a kitchen scale, or can I just use measuring cups like everyone else?
Look, I get it. Measuring cups are right there in the drawer, and they’re easy. But if you want to stop guessing and start actually baking, get a scale. Measuring flour by volume is a trap; one person scoops a light handful, while another packs it down like they’re tamping concrete. That’s the difference between a fluffy loaf and a brick. It’s a cheap upgrade that’ll save you a ton of frustration.
How do I know if my yeast is actually alive or if I'm just wasting flour?
There is nothing more frustrating than getting all your ingredients ready only to realize your yeast is dead. Don’t guess—test it! Grab a small glass, add a half-cup of warm water (not hot, or you’ll kill it!), and stir in a teaspoon of sugar. Drop in your yeast and wait about ten minutes. If it gets foamy and smells like beer, you’re golden. If it just sits there looking sad, toss it and grab a new packet.
