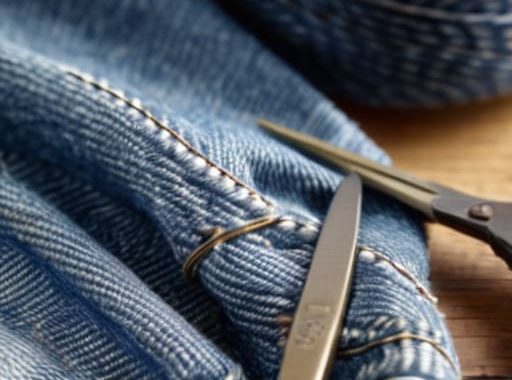
I was standing in front of my closet last Tuesday, staring at my favorite pair of heavy-duty denim jeans, feeling that familiar sting of defeat. There it was: a jagged tear right along the thigh that looked like it had been through a war zone. My first instinct was to toss them in the donation bin and head straight to the mall, but then I remembered something my dad used to say about not throwing away things that still have life in them. Most people think you need a fancy sewing machine or a degree in fashion design to fix a snag, but that’s just not true. Learning how to mend clothes isn’t about being a master tailor; it’s just about having the right mindset and a few basic tools to keep your gear in the game.
In this guide, I’m going to strip away all the complicated jargon and show you the real-world methods I use to keep my wardrobe together. We aren’t going for runway perfection here; we’re aiming for repairs that are strong, functional, and look totally natural. I’ll walk you through everything from basic needlework to simple patches so you can stop spending money on replacements and start feeling like a pro.
Table of Contents
Guide Overview
Tools & Supplies
- Hand sewing needles of various sizes
- Fabric scissors for clean cuts
- Seam ripper for removing old threads
- All-purpose polyester thread (3-5 assorted colors)
- Fabric patches or scraps (2-3 pieces)
Step-by-Step Instructions
- 1. First things first, you’ve gotta grab your gear. You don’t need a professional tailor’s kit, but you should have a decent needle, some thread that actually matches the color of your fabric, and a pair of sharp scissors. If you’re fixing something heavy like denim, go grab a thicker thread so it doesn’t snap the second you sit down.
- 2. Clean up the damage site. I know it sounds weird, but you really want to trim away any frayed or loose threads that are hanging around the hole. If you leave those little fuzzy bits there, your stitches are just going to snag on them, and you’ll end up with a messy-looking patch instead of a clean fix.
- 3. Thread the needle and tie a knot. This is the part where most people get frustrated, so take a breath. Run the thread through the eye of the needle, pull it until you have a good length, and tie a sturdy knot at the very end. If you’re working with a really thin fabric, try using a smaller knot so it doesn’t create a weird bump on the inside of the shirt.
- 4. Start your first stitch. Don’t just dive into the middle of the hole; instead, start about a quarter-inch away from the edge of the tear. Push the needle through the fabric from the back to the front, then bring it back down a little further away. You’re essentially building a foundation of stitches that will hold the edges together without pulling the fabric too tight.
- 5. Use the “running stitch” for small holes. If it’s just a tiny nick, you can just go in and out in a straight line like you’re drawing with thread. Keep your stitches close together—think of it like a tight fence. If you space them too far apart, the hole is just going to keep growing every time you do laundry.
- 6. Try the “darning” method for bigger gaps. If you’ve got a real chunk missing, you’ll need to weave. Go back and forth across the hole horizontally to create a bunch of parallel lines, then go vertically over them to create a little woven grid. It looks a bit like a tiny basket, and it’s honestly the most solid way to make sure that hole stays closed for good.
- 7. Tie it off and double-check. Once you’ve covered the damage, don’t just pull the needle out and call it a day. Bring the needle to the underside of the fabric, loop the thread through itself to create a knot, and pull it nice and snug. Give the fabric a gentle tug to make sure everything feels secure before you head back out into the world.
The Sewing Kit Essentials You Actually Need
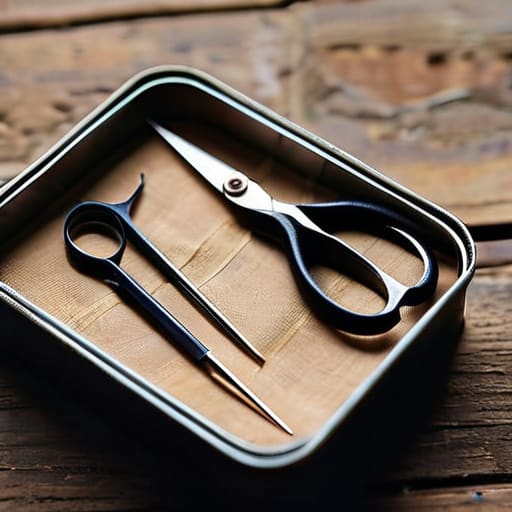
Look, you don’t need to go out and buy one of those massive, velvet-lined sewing chests that costs a fortune. Honestly, most of that stuff is just clutter. To get started, I usually just grab a small, sturdy tin or a zippered pouch and keep it in my junk drawer. The real sewing kit essentials are pretty simple: a handful of decent needles (get a variety of sizes), a few spools of high-quality thread in neutral colors like black, grey, and navy, and a sharp pair of small scissors. If you’ve got those, you’re already halfway there.
I also highly recommend picking up a pack of “safety pins” and some sewing notions like thimbles or seam rippers. If you’re planning on tackling more heavy-duty projects, like learning how to patch denim holes, you’ll definitely want some heavy-duty thread and maybe a few scraps of similar fabric to work with. Having the right tools doesn’t make the job “fancy,” it just makes it way less frustrating when you’re trying to fix a favorite pair of jeans on a Tuesday night.
Mastering Basic Sewing Stitches for Beginners
Before you dive into the heavy lifting, you’ve got to get a feel for how the needle actually moves through the fabric. Don’t worry about making everything look like it came straight off a runway; the goal here is durability. I always tell people to start with a simple running stitch for basic seams, but if you’re looking to actually save a garment, you’ll want to practice a few basic sewing stitches for beginners like the backstitch. The backstitch is my absolute go-to because it creates a continuous, strong line that won’t unravel the moment you pull your favorite jeans on in the morning.
Once you’ve got the rhythm down, you can start tackling the trickier stuff. If you’ve got a hole in a pair of heavy-duty jeans, you aren’t just sewing lines; you’re looking at fabric reinforcement methods like using a scrap of denim underneath the tear to give your stitches something solid to grab onto. If you’re dealing with something thinner, like a sweater or a sock, you might want to look into a darning socks tutorial style of weaving to fill in those gaps. It takes a little patience, but seeing a hole disappear is a massive win.
Pro Moves to Keep Your Repairs from Looking Like a Patchwork Quilt
- Don’t just eyeball the color; grab a few different shades of thread from the store. Sometimes a slightly lighter thread looks more intentional than trying to find a “perfect” match that doesn’t exist.
- Turn the garment inside out while you’re working. It’s way easier to manage the tension and see what you’re doing when you aren’t fighting against the outside of the fabric.
- Use a thimble if you’re working with heavy stuff like denim or canvas. Your fingers will thank you, and it keeps your stitches from getting all wonky when you’re pushing through thick seams.
- Always leave a little “give” in your stitches. If you pull the thread too tight, the fabric will bunch up and look stiff, which is a dead giveaway that it’s been mended.
- Test your knot on a scrap piece of similar fabric first. I know it sounds extra, but there’s nothing worse than realizing your tension is all wrong halfway through a repair on your favorite jeans.
The Quick Version: What to Remember
Don’t let a small tear scare you off; most clothing damage is way more “figure-out-able” than it looks once you have the right needle and thread.
You don’t need a massive, expensive sewing machine to get the job done—a few solid hand-stitching basics will carry you through 90% of your repairs.
Take your time and match your thread color as closely as possible; it’s the difference between a repair that stands out and one that disappears into the fabric.
## A New Way to Look at a Rip
“I’ve learned that a loose thread or a small tear isn’t a sign that a piece of clothing is dead; it’s just an invitation to get your hands dirty and make it even better than it was before.”
Nathan Cole
You’ve Got This
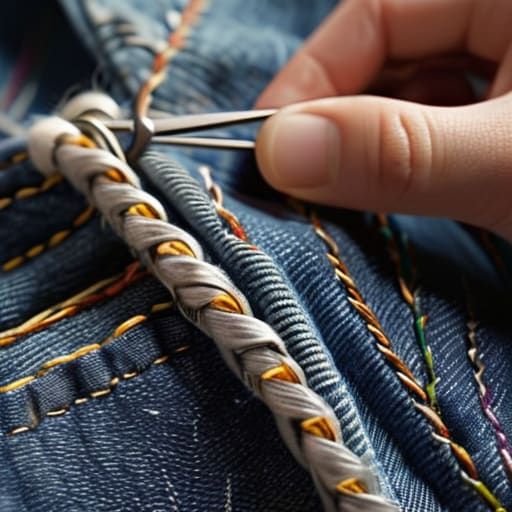
Look, I know that staring at a pile of ripped jeans or a loose button can feel a little intimidating at first, but you’ve already done the hard part. We’ve gone over the essential kit you need, walked through those foundational stitches, and broken down the actual mechanics of the repair. Once you realize that mending isn’t some mysterious art form reserved for grandmothers, but just a series of small, manageable movements, the whole thing changes. You don’t need a professional sewing machine or a degree in textile design to keep your favorite gear in rotation; you just need a little patience and the right thread.
At the end of the day, mending is about more than just saving a few bucks or keeping a shirt out of the landfill—though those are huge wins. It’s about the satisfaction of fixing something with your own two hands instead of just clicking “add to cart” on a replacement. There is a real, tangible sense of pride that comes from wearing a sweater that has a tiny, neat repair right where it used to be broken. So, don’t let a small tear stop you. Grab your needle, find some good light, and remember that most things in life are just a few stitches away from being good as new.
Frequently Asked Questions
What if I mess up a stitch and it looks even worse than the original hole?
Look, we’ve all been there. I once tried to fix a hem and ended up making it look like a topographical map of the Rockies. Don’t panic. The best move is to grab your seam ripper (or a sharp pair of small scissors) and carefully undo the mess. It’s much better to start fresh than to try and “patch” a bad stitch. Take a breath, re-thread your needle, and try again. You’ve got this.
Can I actually fix clothes that have a massive tear or a missing chunk of fabric?
Look, I’ll be honest: if there’s a giant gaping hole where a chunk of fabric used to be, a simple stitch won’t cut it. But don’t toss it in the bin just yet! You can definitely save it using a patch or even some cool embroidery to cover the damage. It’s less about “fixing” the hole and more about “rebuilding” the area. It takes a bit more patience, but it’s totally doable.
Do I really need a sewing machine for this, or can I get away with just a needle and thread?
Honestly? You can absolutely skip the machine for now. I’ve mended more holes and loose buttons with nothing but a needle, some thread, and a bit of patience than I have with a fancy sewing machine. Machines are great for big projects, but for the everyday stuff—like a ripped seam or a missing button—hand sewing is faster, cheaper, and way less intimidating. Just grab a needle and get to work. You’ve got this.