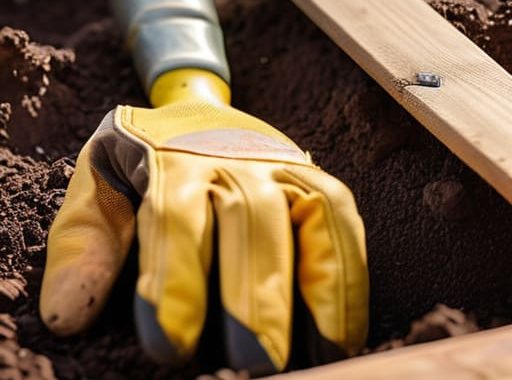
I remember standing in my backyard three years ago, staring at a pile of lumber and a bag of soil, feeling completely overwhelmed by what I thought was going to be a massive, expensive weekend project. I had this idea in my head that learning how to build a raised garden bed required a master carpenter’s toolkit and a professional landscaping degree, but honestly? That’s just not true. Most people get stuck in the “analysis paralysis” phase, worrying about the perfect wood type or complex joinery, when all you actually need is a bit of grit and a few basic tools.
I’m not here to give you some fancy, over-engineered blueprint that requires a specialized workshop. Instead, I’m going to show you a no-nonsense approach that works for anyone, regardless of whether you’ve ever picked up a drill before. We’re going to break this down into manageable, bite-sized steps—from picking out the right materials to getting that first layer of dirt in the ground. By the time we’re done, you’ll have a solid, sturdy garden setup that’s ready for planting before your next weekend is even over.
Table of Contents
- Step-by-Step Instructions
- Choosing the Best Wood for Raised Beds Without the Stress
- Getting Your Garden Bed Dimensions for Vegetables Just Right
- Five pro-tips to save you a headache later
- Quick wins for your new garden bed
- ## A little dirt under the fingernails goes a long way
- Time to Get Your Hands Dirty
- Frequently Asked Questions
Guide Overview
Tools & Supplies
- Drill/Driver to assemble the wood
- Measuring tape to mark cuts
- Level to ensure stability
- Hand saw or miter saw for sizing
- Untreated cedar or redwood boards (approx. 4-6 pieces)
- Galvanized wood screws (1 box)
- Garden soil/compost mix (enough to fill volume)
- Hardware cloth or landscape fabric (optional for base)
Step-by-Step Instructions
- 1. First things first, you’ve gotta head to the lumber yard or your local big-box store and grab some wood. I always recommend going with untreated cedar or redwood if your budget allows, because they naturally resist rot without needing any of those nasty chemicals. If you’re on a tighter budget, just make sure you’re getting something sturdy that won’t warp the second it gets rained on.
- 2. Once you’ve got your lumber, it’s time to do some measuring and cutting. Grab a tape measure and a speed square to make sure your lines are dead on, then use a circular saw or even a hand saw if you’re feeling old-school. I usually aim for a standard 4×8 foot bed, but honestly, you can make it whatever size fits your yard best—just don’t make it so wide that you can’t reach the middle without stepping in it.
- 3. Now, let’s get those boards together. You’re going to want some heavy-duty exterior wood screws—the kind that won’t rust out after one season. I like to pre-drill my holes to prevent the wood from splitting, which is a classic rookie mistake I made plenty of times when I was starting out. Line up your corners, drive those screws in, and you’ll have a solid frame that feels nice and sturdy.
- 4. Before you move the bed to its permanent home, I highly suggest lining the bottom with a layer of cardboard or hardware cloth. If you’re worried about weeds popping up from underneath, the cardboard is your best friend; it’ll eventually rot down and become part of the soil. If you’ve got hungry gophers or moles in your neighborhood, use a bit of metal mesh instead to keep them out of your veggie patch.
- 5. Pick your spot and get to digging—just a little bit. You don’t need to excavate the whole yard, but leveling the ground where the bed will sit is absolutely crucial so your frame doesn’t sit crooked. Once it’s level, slide your bed into place and get ready for the best part: the filling.
- 6. Don’t just dump cheap topsoil in there and call it a day. For a raised bed to really thrive, you want a killer mix of compost, peat moss, and high-quality soil. I like to think of this as the “engine” of your garden; if you give the plants a rich, airy environment to grow in, they’ll practically do the work for you.
- 7. Finally, give everything a good, deep soak with the hose. You want the soil to be moist all the way to the bottom, not just damp on the surface. Once it’s settled, you’re officially done. Take a second to step back and admire what you just built—you earned it!
Choosing the Best Wood for Raised Beds Without the Stress
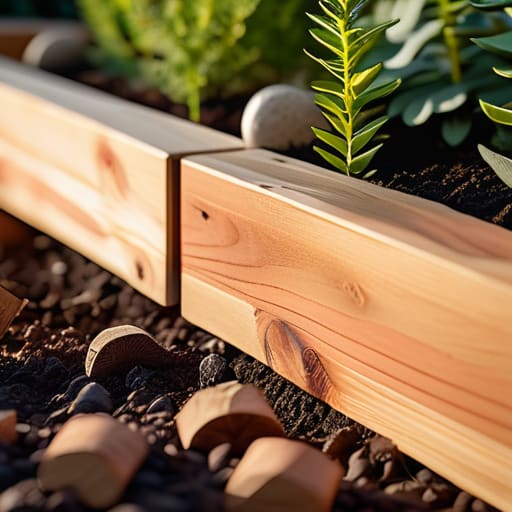
When you walk into a big-box hardware store, the lumber aisle can feel a bit overwhelming. You’re staring at a mountain of wood, trying to figure out what’s actually going to last more than one season in the dirt. Most people find themselves stuck on the classic cedar vs pressure treated lumber debate. If you’ve got the extra cash, I always lean toward cedar; it’s naturally rot-resistant and doesn’t require any nasty chemical treatments, which is a huge plus if you’re growing things you plan to eat.
That said, if you’re working with a tighter budget, modern pressure-treated wood is a much safer bet than it used to be, but you still want to be smart about it. If you decide to go the cheaper route, I’d suggest lining the inside with some landscape fabric for garden beds to add an extra layer of protection between the wet soil and the wood. It’s a small step that can add a year or two to the life of your project. Just pick what fits your wallet and your garden goals, and don’t let the decision paralyze you.
Getting Your Garden Bed Dimensions for Vegetables Just Right
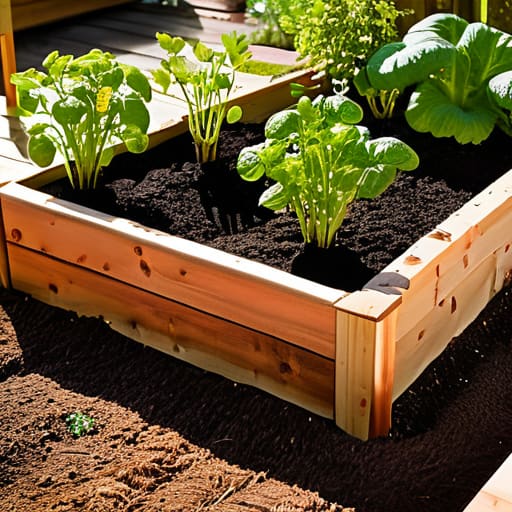
Before you grab your saw, you need to talk about scale. It’s easy to get carried away and build a massive wooden fortress, but I’ve learned the hard way that if you can’t reach the middle, you’re going to hate gardening. When you’re figuring out your garden bed dimensions for vegetables, my golden rule is to never make a bed wider than four feet if you can access it from both sides. If it’s against a fence, keep it to two or three feet. You want to be able to reach every single plant without stepping into the bed, because compacting your soil is a quick way to kill the very life you’re trying to grow.
Depth is the other thing people usually overlook. If you’re just planting lettuce or herbs, a shallower bed works fine, but if you’re dreaming of big, heavy hitters like carrots or tomatoes, you’ll want at least 12 to 18 inches of depth. This ensures your roots have plenty of room to stretch out and find nutrients. Getting these dimensions right from the start means you won’t have to rebuild or expand later, which saves you both time and money.
Five pro-tips to save you a headache later
- Don’t skip the hardware cloth. If you’ve got hungry gophers or moles in your yard, lining the bottom of your new bed with a bit of metal mesh is a total lifesaver. It’s much easier to do it now than to try and dig it in once your plants are already growing.
- Level your ground before you commit. It’s tempting to just plopping the boards down and calling it a day, but even a slight tilt can cause water to pool in one corner, drowning your roots while the other side stays bone dry. Grab a cheap level and spend five minutes getting it flat.
- Think about your reach. I’ve seen people build these massive four-foot-wide beds that look great, but then they realize they can’t reach the middle without stepping inside. Once you step in, you compact the soil, and compact soil is bad news for veggie roots. Keep it narrow enough to reach the center easily.
- Use screws, not nails. I know, nails are faster, but wood expands and contracts with the weather. Screws actually bite into the wood and hold everything tight for years. Grab some exterior-grade deck screws so they don’t rust out on you after the first big rain.
- Plan for your irrigation. While you’ve got the bed empty, think about how you’re going to water it. If you’re planning on running a drip line or even just a simple soaker hose, it’s way easier to lay that groundwork before the soil is filled and the plants are in the way.
Quick wins for your new garden bed
Don’t get paralyzed by the perfect wood choice; whether you go with cedar for longevity or a budget-friendly treated lumber, just get it in the ground so you can start planting.
Keep your bed dimensions manageable—if you can’t reach the middle without stepping into the soil, you’re going to have a hard time weeding later on.
Remember that the hardest part is usually just starting, so grab your tools, follow the steps, and don’t sweat the small stuff if things aren’t perfectly level on day one.
## A little dirt under the fingernails goes a long way
“At the end of the day, don’t get paralyzed by trying to build a professional-grade farm; just get some wood, some soil, and a few seeds in the ground. The best garden isn’t the one that looks perfect in a magazine, it’s the one you actually built with your own two hands.”
Nathan Cole
Time to Get Your Hands Dirty
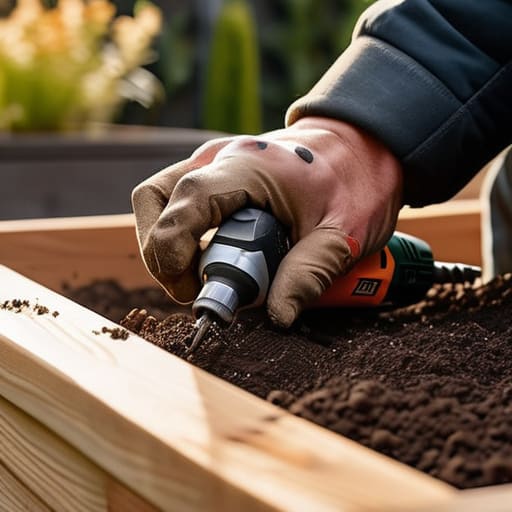
At the end of the day, building a raised bed doesn’t require a master carpenter’s license or a massive budget. You’ve already done the heavy lifting by picking out the right wood, figuring out your dimensions, and getting your tools ready. Just remember that the most important part is the foundation you’re laying—both literally in the soil and figuratively for your garden. Once those boards are screwed in place and your soil is leveled, you’ve officially moved from someone who just thinks about gardening to someone who is actually doing the work.
I know it can feel a little intimidating when you’re standing there in the middle of the yard with a pile of lumber, but I promise you, it gets easier. There’s nothing quite like the feeling of sitting back with a cold drink, looking at something you built with your own two hands, and knowing that a few weeks from now, you’ll be harvesting your own homegrown veggies. Don’t sweat the small mistakes or a slightly crooked board; nature doesn’t care about perfection, it just cares about growth. So, grab your drill, head outside, and just start building. You’ve got this.
Frequently Asked Questions
Do I really need to line the bottom with cardboard, or is that just extra work?
Look, I get it—it feels like just one more thing to haul from the recycling bin. But honestly? It’s worth the extra ten minutes. Laying down plain, non-glossy cardboard acts as a natural weed barrier that eventually breaks down into compost. It smothers the grass or weeds underneath so they don’t fight your veggies for nutrients. Think of it as setting yourself up for a much easier growing season later.
How often should I actually be adding more soil to keep my plants happy?
Here’s the deal: you don’t need to top it off every week, but you can’t just set it and forget it either. I usually check my beds once a season—usually in early spring before planting. Soil settles over time, and as your plants grow, they’ll munch through those nutrients. If you see the level dropping significantly, just toss in a few inches of fresh compost. It’s like giving your garden a quick vitamin boost.
Is it worth spending the extra cash on a drip irrigation kit, or can I just use a hose?
Look, if you’re just starting out, a hose works fine. But if you want to actually enjoy your weekend instead of playing “water the garden” every single evening, get the drip kit. It’s a bit more cash upfront, but it delivers water right to the roots where it counts, saves a ton of water, and keeps your plants way happier. It’s one of those “set it and forget it” upgrades that’s totally worth it.
