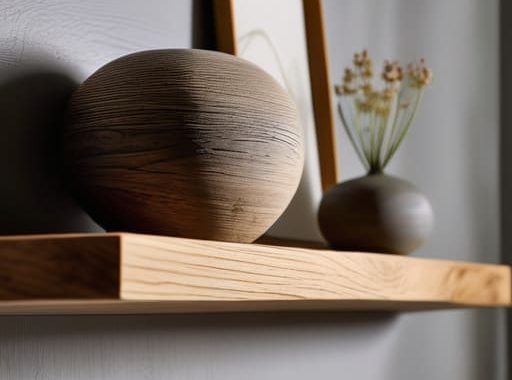
I was standing in my hallway last summer, staring at a pile of expensive, heavy timber and a set of mounting brackets that looked way more complicated than any YouTube video had let on. I had this vision of sleek, modern storage, but looking at those instructions, I was this close to just giving up and calling a professional. But here’s the thing I learned the hard way: you don’t need a master carpenter’s toolkit to master a floating shelves diy project. Most people think you need specialized heavy-duty anchors or a built-in stud system to keep things from sagging, but it’s really just about knowing exactly where to bite into that wall.
I’m not going to feed you any of that high-end designer fluff that requires a workshop full of power tools. Instead, I’m going to show you how to get these up using the stuff you likely already have in your garage. We’re going to walk through the essential gear, how to find your studs without losing your mind, and the trick to making sure they actually stay level. By the time we’re done, you’ll have some solid, beautiful shelving that looks like it cost a fortune, but was actually just a Saturday afternoon well spent.
Table of Contents
- Step-by-Step Instructions
- Finding Your Grip Using a Stud Finder for Shelf Installation
- Mastering Hidden Bracket Installation Without the Stress
- Five Pro-Tips to Keep Your Shelves from Becoming Floor Decor
- Quick Wins for Your Shelf Project
- ## A Little Confidence Goes a Long Way
- You’ve Got This: Final Thoughts on Your New Shelves
- Frequently Asked Questions
Guide Overview
Tools & Supplies
- Drill/Driver for mounting brackets
- Level to ensure evenness
- Stud Finder to locate wall supports
- Saw for trimming wood to size
- Sandpaper for smoothing edges
- Wood planks (2-3 pieces)
- Floating shelf brackets/hardware (1 set)
- Wood screws (1 pack)
- Wall anchors (if no studs are available)
- Wood stain or paint (1 can)
Step-by-Step Instructions
- 1. First things first, you’ve got to grab your gear. You’ll need a drill, a level (this is non-negotiable if you want to avoid a crooked mess), a stud finder, some wall anchors, and your shelf materials. I always tell people to double-check their measurements before they even touch a tool; there is nothing more frustrating than realizing your “perfect” shelf is two inches too wide for the nook you picked out.
- 2. Now, let’s find those studs. Take your stud finder and run it along the wall where you want the shelves to live. If you can hit at least two studs, you’re in serious business because that’s where your real strength is going to come from. If your layout doesn’t line up with the studs, don’t sweat it—we’ll just use heavy-duty toggle bolts instead of standard plastic anchors to keep things secure.
- 3. It’s time to mark your spots. Once you know where the studs are, use a pencil to mark the exact height and position. This is where that level becomes your best friend. Hold it up against the wall and draw a light line; if that line isn’t perfectly straight, your shelves will look like they’re sliding off the wall, and we definitely don’t want that.
- 4. Time to get the drill moving. If you’re mounting directly into studs, drill your pilot holes first to prevent the wood from splitting. If you’re using anchors, follow the instructions on the package to drill a hole that fits the anchor’s diameter. Just remember to take your time here—you don’t need to rush or force the drill, just steady, even pressure.
- 5. Let’s get the brackets or the internal support system into the wall. Screw your brackets into the pilot holes or anchors until they are tight and won’t budge when you give them a little tug. I like to give them a quick “test pull” because peace of mind is worth the extra ten seconds it takes to make sure they aren’t going anywhere.
- 6. Slide your shelves onto the supports. Most DIY floating shelves use a bracket that hides inside the wood, so you’ll just guide the shelf onto the pegs or bracket arms. Once it’s seated, check it one last time with your level. If it’s sitting true, you can use a couple of tiny finishing nails or specialized shelf screws to lock it into place from underneath so it doesn’t slide forward.
- 7. Finally, the fun part: decorating! Start by placing your heavier items—like thick cookbooks or ceramic planters—closer to the wall or directly over the studs. This keeps the weight distributed properly. I usually like to leave a little “breathing room” between items so the shelf doesn’t look cluttered. Now, step back and admire your work; you just leveled up your entire room.
Finding Your Grip Using a Stud Finder for Shelf Installation
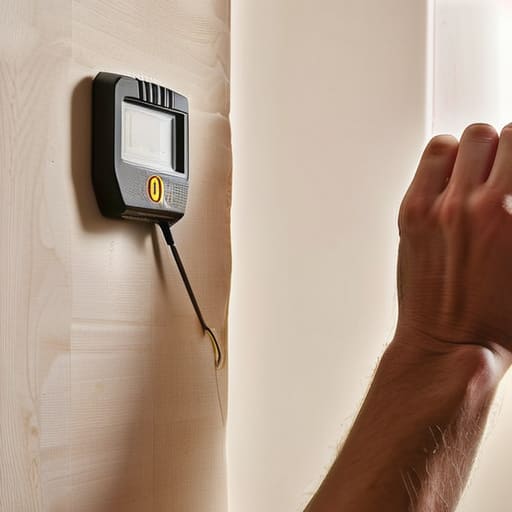
Now, before you go driving any screws into that drywall, we need to talk about the most important tool in your kit: the stud finder. I’ve seen way too many people try to wing it, only to have their hard work come crashing down an hour later. When you’re working on hidden bracket installation, you aren’t just looking for any random spot; you’re hunting for that solid wood backing that’s going to do the heavy lifting. If you don’t hit a stud, you’re relying entirely on drywall anchors, and let’s be honest, that’s a gamble I’m not willing to take with my favorite books.
Once you find those studs, grab a pencil and mark them clearly. I like to use a little bit of painter’s tape on the wall first so I don’t make a mess with my marks. This is where you really determine your floating shelf weight capacity. If your brackets are spaced perfectly between two studs, you can load those shelves up with heavy stoneware or thick novels without a second thought. Just remember: measure twice, drill once. It’s a cliché for a reason, and in this case, it’ll save you a massive headache.
Mastering Hidden Bracket Installation Without the Stress
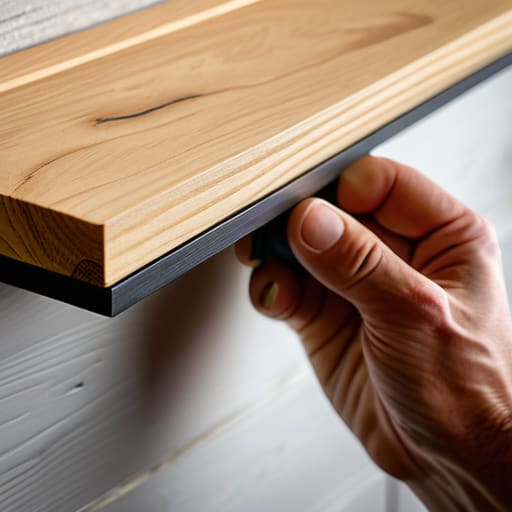
Now, here’s where things can get a little nerve-wracking: the actual hidden bracket installation. Since you won’t see any supports once the wood is up, you really want to get that bracket seated perfectly flush against the wall. If it’s even slightly crooked, your shelf is going to look tilted, and trust me, that’ll drive you crazy every time you walk past it. I always recommend double-checking your level after the bracket is screwed in, but before you slide the shelf on. It’s much easier to fix a loose screw now than to try and shim a heavy piece of timber later.
You also need to keep a close eye on your floating shelf weight capacity. It’s tempting to go all out with a library of heavy hardcovers, but even the sturdiest custom wood shelving projects have their limits. If you aren’t hitting a stud, make sure you’re using high-quality toggle bolts rather than those cheap plastic anchors. I’ve seen plenty of DIYers end up with a pile of books on the floor because they underestimated the load. Take it slow, measure twice, and you’ll have a setup that looks professional and stays put.
Five Pro-Tips to Keep Your Shelves from Becoming Floor Decor
- Don’t skip the level check. I know, I know, you think you’ve got a steady hand, but even a tiny tilt looks massive once you actually put books or plants on the shelf. Use a real bubble level, not just a phone app, to make sure everything is dead-on.
- Account for your “stuff” weight. Before you get too attached to a heavy oak slab, think about what’s actually going up there. If you’re planning on a massive collection of heavy hardcovers, you’re going to need more than just a couple of drywall anchors to keep them from sagging.
- Mind the gap. When you’re mounting those brackets, leave just a hair of breathing room. If you try to force a shelf onto a bracket that’s too tight, you risk cracking the wood or, worse, stripping the screws you just worked so hard to set.
- Test your layout with painters tape. Before you go drilling holes that you’ll regret for the next five years, use some blue painter’s tape to outline where the shelves will sit. It helps you see if the spacing looks weird or if you’ve accidentally blocked a light switch.
- Keep your hardware organized. There is nothing more frustrating than being halfway through a project and realizing you’ve mixed up your 2-inch screws with your 2.5-inch ones. Grab a cheap little plastic organizer or even an old muffin tin to keep your bits and pieces separated while you work.
Quick Wins for Your Shelf Project
Don’t skip the stud finder—hitting a solid stud is the difference between a shelf that holds your favorite books and one that ends up on the floor.
Take your time with the leveling; a shelf that’s even by just a tiny fraction looks professional, while a crooked one will drive you crazy every time you walk past it.
Remember that it’s okay to make a mistake, so keep a little extra wall patch or touch-up paint handy just in case a screw goes in a little wonky.
## A Little Confidence Goes a Long Way
“At the end of the day, those floating shelves aren’t just about extra storage or making a room look a bit more ‘Pinterest-ready’—it’s about that feeling you get when you step back, see something sturdy holding up your favorite books, and realize you’re the one who made it happen.”
Nathan Cole
You’ve Got This: Final Thoughts on Your New Shelves
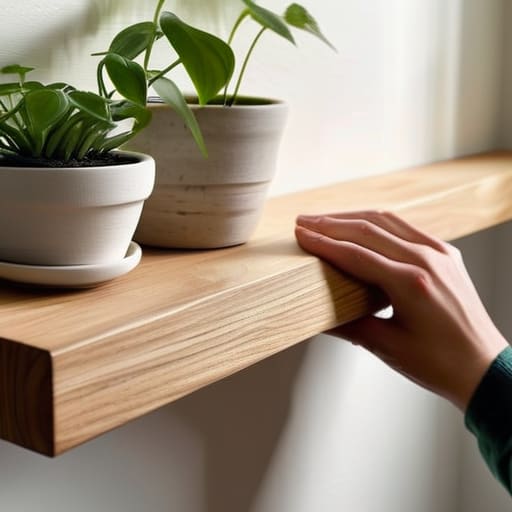
Once you’ve finished leveling those brackets and sliding the wood into place, take a second to step back and look at what you’ve actually accomplished. We covered a lot of ground today—from the crucial step of locating those studs to the slightly nerve-wracking process of mounting hidden hardware. It’s easy to get overwhelmed by the math or the fear of putting a hole in the wrong spot, but by following these steps, you’ve ensured your shelves are actually going to hold your books and plants without a hitch. Just remember: if things feel a little wonky at first, it’s usually just a matter of double-checking your level and giving it one more tweak.
At the end of the day, DIY isn’t about being a master carpenter or having a workshop full of expensive power tools. It’s about that feeling of satisfaction when you look at a blank wall and realize you didn’t need to call a professional to fix it. You took a project that looked complicated, broke it down into manageable chunks, and built something real with your own two hands. So, go ahead and decorate those shelves, grab a coffee, and enjoy the view. You earned it, and honestly? I bet they look incredible.
Frequently Asked Questions
Can I actually put heavy books on these, or are they strictly for light decor?
That’s the million-dollar question, isn’t it? Here’s the straight truth: it all comes down to what you’re mounting into. If you’ve followed my advice and secured those brackets directly into the wall studs, you’re golden—you can definitely load them up with those heavy hardcovers. But if you’re just using drywall anchors? Stick to light decor like small plants or photos. I’ve seen too many “book lover” shelves end up on the floor because of it!
What should I do if my stud finder isn't finding anything in the wall?
Don’t panic—this happens to the best of us. If your stud finder is coming up blank, it might be a low battery or you’re just moving it too fast. If it’s definitely working, try the “knock test”: tap the wall until the sound changes from hollow to a solid thud. You can also use a strong magnet to find the screws holding your drywall to the studs. It’s a bit old-school, but it works every time.
How do I make sure the shelves don't end up looking crooked or uneven?
Trust me, I’ve been there—nothing kills the vibe of a finished project faster than a shelf that looks like it’s sliding off the wall. To keep things straight, don’t just eyeball it. Grab a bubble level (or a leveling app on your phone if you’re in a pinch) and check your marks twice. I always double-check the level once the bracket is up but before I drill the holes. Better to fix a pencil mark than a hole in the drywall!
